


Mark All Unread as Read Using Outlook’s Native Features
Being the feature-packed mail client it is, Outlook can mark all emails as read in a few simple steps regardless of if you use the desktop or the web-based client.

How to Mark All Emails as Read in Outlook Web Client
To label all messages as opened in the Outlook web client, you need to:
- Go to: https://outlook.live.com/
- Log in with your email address and password.
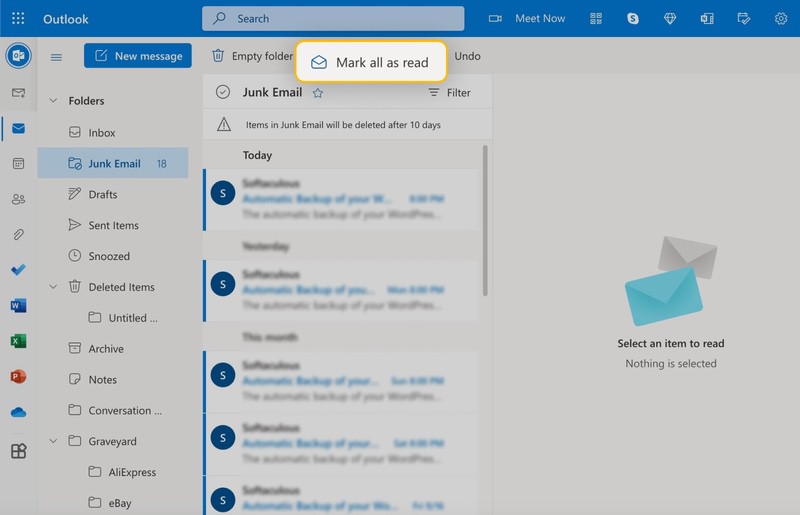
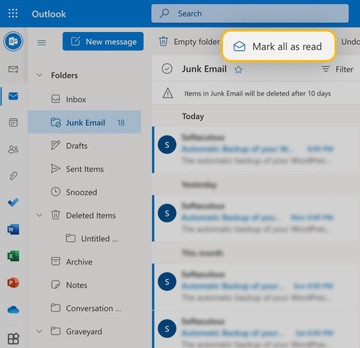
- Select the folder you want to label as read.
- Click the Mark all as read button.
You can repeat the steps for all other folders. That was pretty easy, right?
How to Mark All Emails as Read in Outlook Desktop Client
To label all messages as opened in the Outlook desktop client, you need to:
- Open the desktop client.
- Right-click the folder you want to label as read.
- Click Mark All as Read.
If you have many folders, then you should use a Search Folder to label everything as read in one go:
Windows
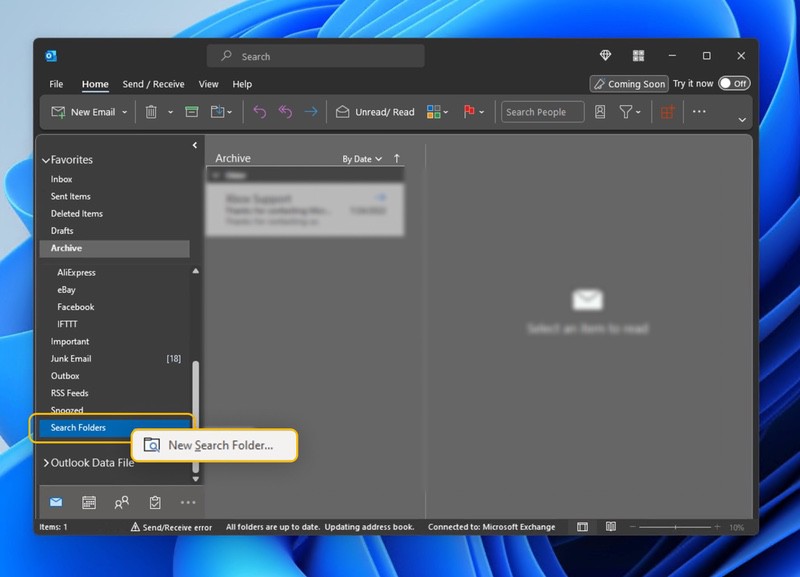
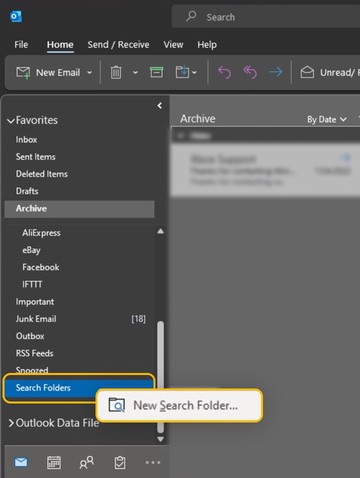
- Open the desktop client.
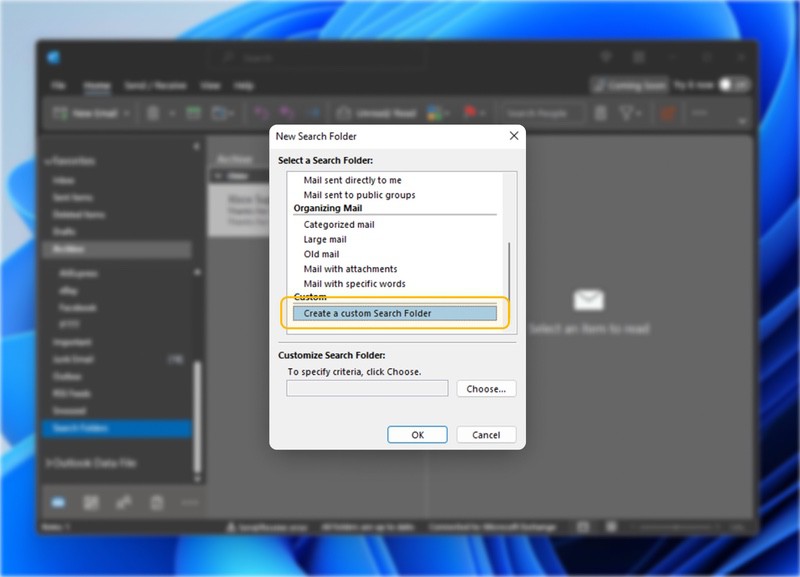
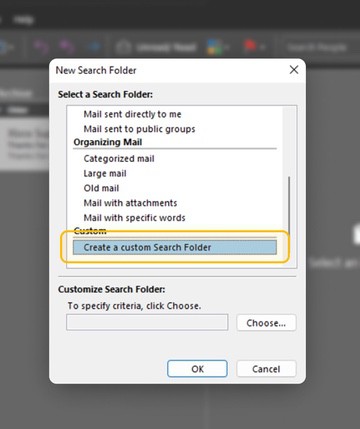
- Right-click on Search Folders and choose the New Search Folder option.
- Select Create a custom Search Folder and click Choose.
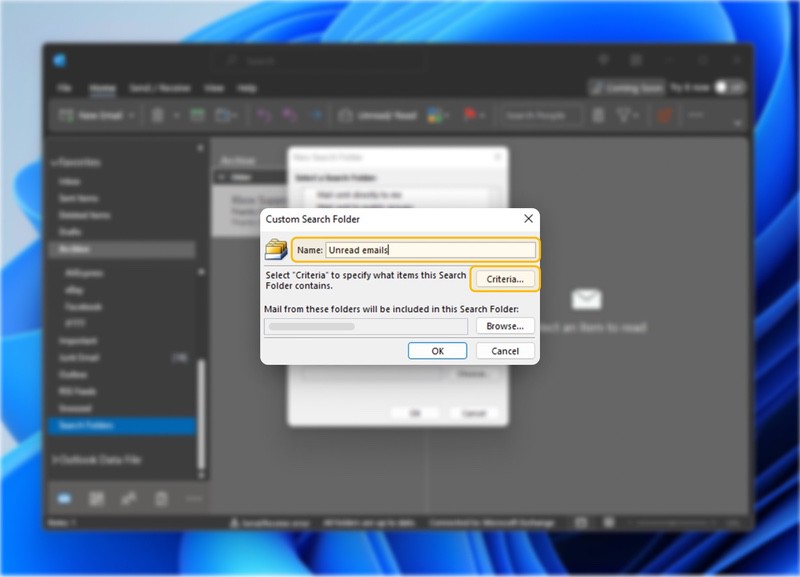
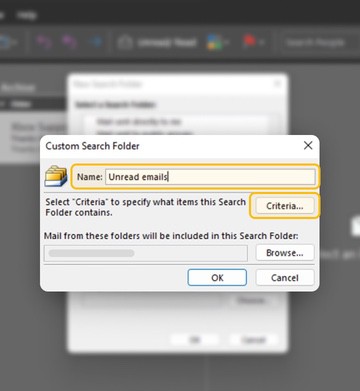
- Name the new Search Folder and click Criteria.
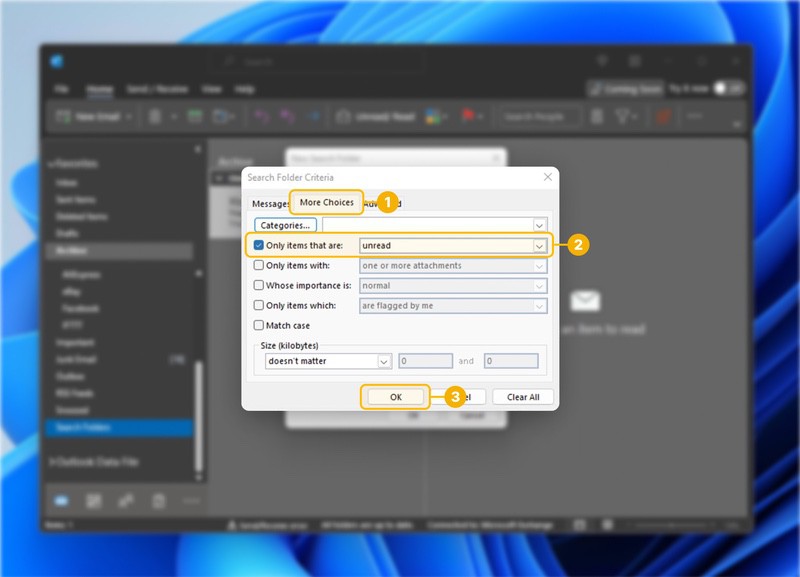
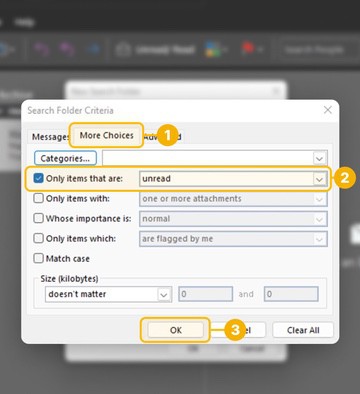
- Navigate to the More Choices tab.
- Check the Only items that are box and choose the unread option.
- Click OK to confirm.
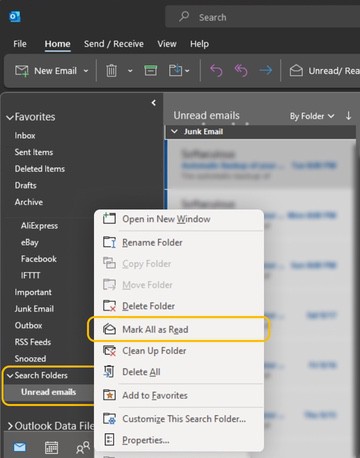
- Right-click the newly created Search Folder.
- Click Mark All as Read.

Mac
- Open the desktop client. Make sure you’re using the Legacy version of Outlook and not New Outlook.
- Navigate to the Search tab and specify the scope of the search (Current Folder, Subfolders, Current Mailbox, All Mailboxes, or All Items).
- Click the Unread button.
- Select all found messages using the CMD + A keyboard shortcut.
- Right-click any of the selected messages.
- Choose the Mark as Read option.
Marking new messages as read manually can get old very quickly, and the last thing they want is to waste time on mundane, repetitive tasks. Fortunately, Outlook can mark new messages as read automatically — all you need to do is create one or more email rules.
As capable as Outlook rules are, their creation is far from pleasant. The creation wizard looks dated, and it’s easy to feel overwhelmed by the sheer number of available options, which are displayed as long and potentially confusing lists. A single mistake can result in the wrong messages being marked as read and slipping your attention.
But you don’t need to rely solely on the native Outlook email rule creation wizard. As an Outlook user, you can make your life much easier by taking advantage of available third-party inbox organizers like Clean Email to create rules the smart way.
Mark All Unread as Read in Outlook More Efficiently Using Clean Email
Because Clean Email is designed to be efficient and accessible, it makes it much easier to automate inbox management than Outlook. Here are the few simple steps you need to follow to create an Outlook rule to mark all messages in a folder as read:
- Go to: https://app.clean.email/
- Sign in with your Outlook account.
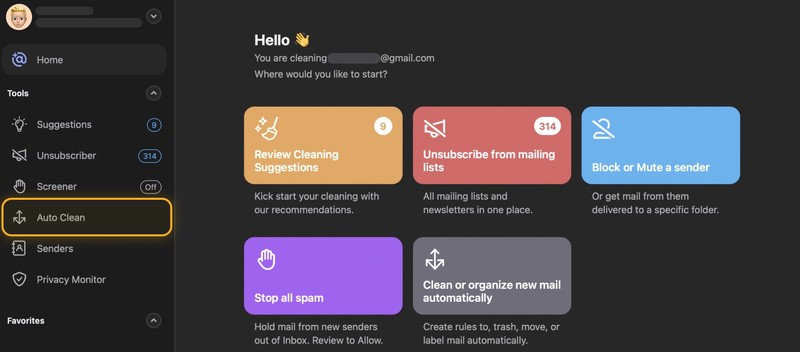
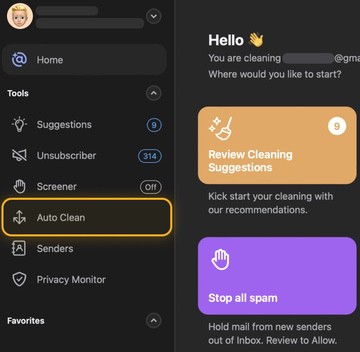
- Choose the Auto Clean tool.
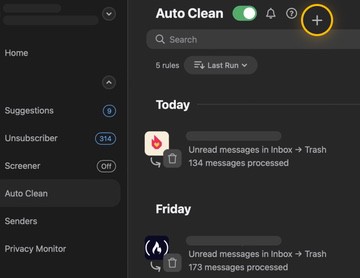
- Click the + icon to create a new rule.
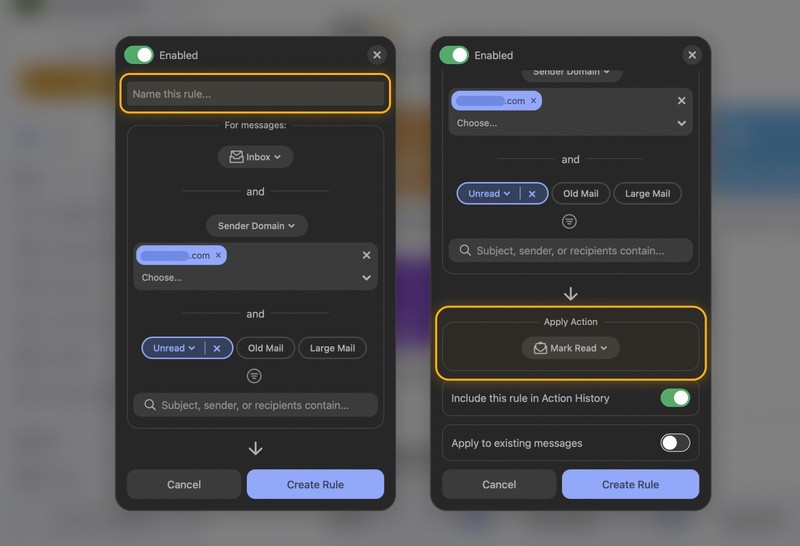
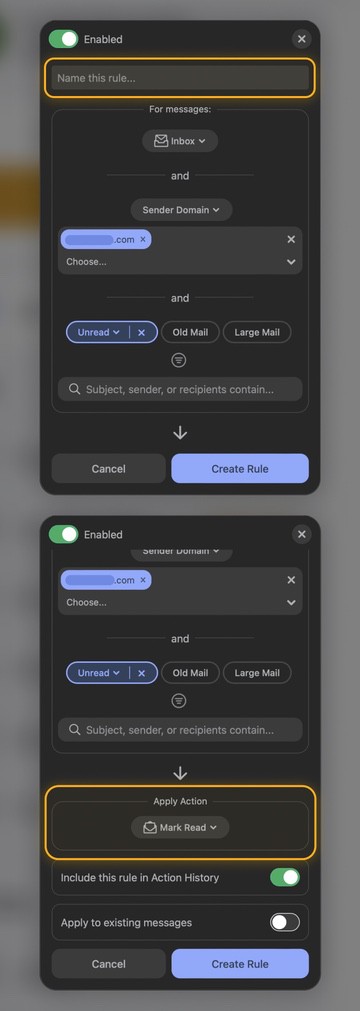
- Name the new rule and select the folder to which you want the rule to apply. You can also add additional conditions.
- Choose the desired action to happen when the rule conditions are met (Mark Read).
- (Optional) Apply the rule to existing messages.
- Click Create Rule.

If you want to create additional rules to mark emails in other folders, then you can repeat sites 4 to 8. The Auto Clean page is also where you can manage your rules.
Sometimes it’s useful to mark emails as read without creating a rule, and Clean Email lets you do that as well, allowing you to mark your entire inbox or just emails from specific senders. You can even mark emails of a certain type, such as automated messages, GDPR notifications, or online shopping confirmations, thanks to a feature called Smart Folders:
- Go to: https://app.clean.email/
- Sign in with your Outlook account.
- Select a Smart Folder in the left pane.
- Click Select and Select All.
- Click the Mark Read button.
While you’re at it, you can take advantage of the Keep Newest feature when having all emails of a certain type selected. This feature can make it so there’s never more than one message matching certain criteria in your inbox — perfect for managing newsletters and various other subscription emails.
FAQ
Do I need a license to mark all messages as read using Clean Email?
No, you don’t need a Clean Email license to label all messages as read thanks to its generous free trial.
Can I revert and mark a message as unread?
Yes, it’s possible to label opened messages as unread using Outlook’s native features and third-party inbox organizers like Clean Email. In fact, you can keep going back and forth as many times as you want.
Is it possible to mark as unread multiple emails?
Of course! Just like you can label multiple emails as read, you can label multiple emails as unread, so learning how to mark an email as unread in Outlook is as easy as clicking a slightly different button.


