Is There a Gmail Desktop App?
The short answer to this question is no, there isn’t currently a Gmail app for desktop. While a bit of a surprise considering that there are mobile apps, Google simply hasn’t provided users with a Gmail desktop version.
That being said, there are workarounds for accessing Gmail on Mac or Windows.
First, you can add a shortcut to your desktop and simply click the icon to open Gmail in its own window. Then, in a few steps, you can enable Gmail desktop notifications on both platforms as well.
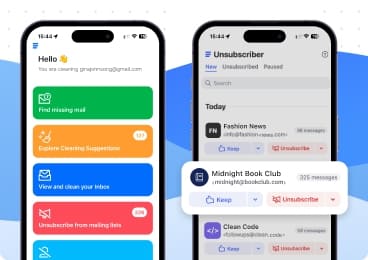
There’s also a super easy method for viewing Gmail emails on your desktop called Clean Email. This application includes extensive organizational features you won’t find in Gmail.

Add a Gmail Shortcut on Desktop
Using Google Chrome or Microsoft Edge, you can create a shortcut to Gmail that opens the website in its own window when you select the Gmail icon. The steps to grab the icon work the same on Windows and Mac.
💡 Note: If you prefer not to use Chrome or Edge or just want a simpler method, you can quickly access Gmail on your desktop using the Clean Email app for Mac. Although it's not an email client or a replacement for Gmail, it serves as a powerful supplementary email management tool that greatly enhances your email productivity.
Add a Shortcut Using Google Chrome
To add a shortcut from Chrome, follow these steps:
- Open Chrome, visit Gmail, and sign in.
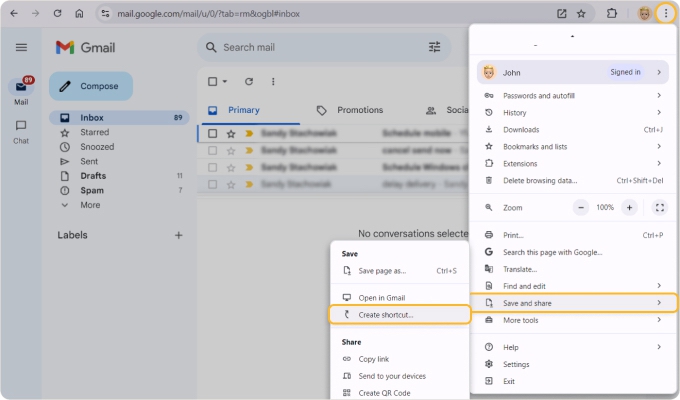
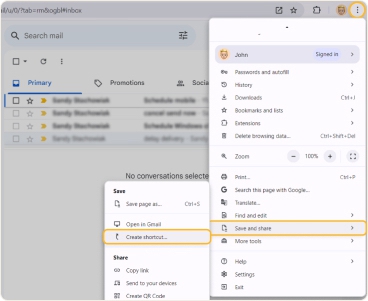
- Select the Customize and Control Google Chrome button (three dots) on the top right.
- Move to Save and Share and pick Create shortcut.
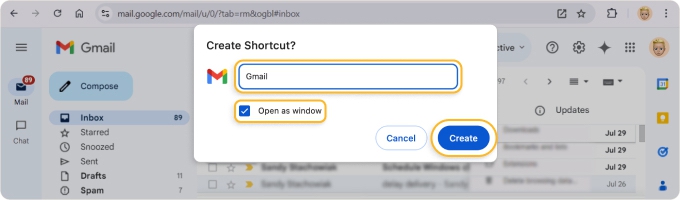
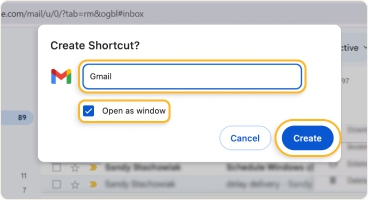
- Give the shortcut a name and check the box for Open as window.
- Click Create.
On Windows, you may see a pop-up notification asking if you’d like to pin the icon to your taskbar. Choose Yes or No thanks per your preference. If you decide not to add it, you should still see the icon on your desktop and can always add it to your taskbar later if you like.
On Mac, you’ll see the app open, and its icon display in your Dock. To pin it to your Dock, right-click the icon and pick Keep in Dock.
Add a Shortcut Using Microsoft Edge
To add a shortcut from Edge, follow these steps:
- Open Edge, visit Gmail, and sign in.
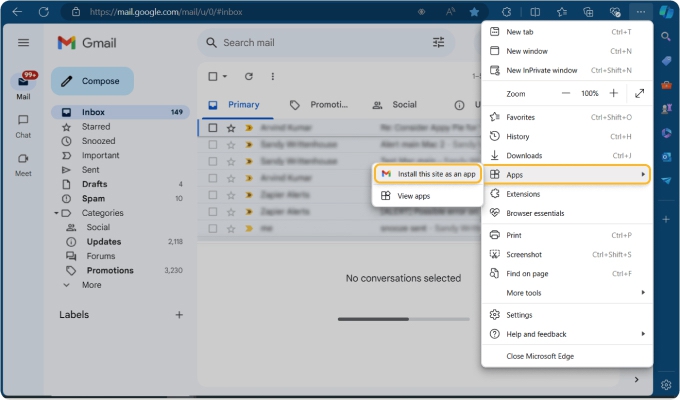
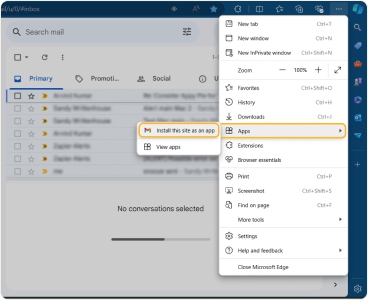
- Select the Settings and More button (three dots) on the top right.
- Move to Apps and pick Install this site as an app.
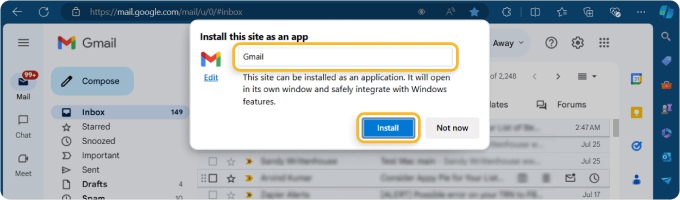
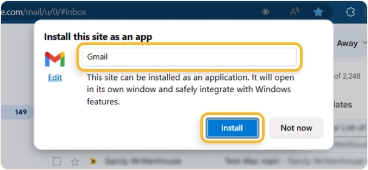
- Give the shortcut a name and click Install.
On Windows, you may see a pop-up notification asking if you’d like to pin the icon to your taskbar, pin it to the Start menu, create a Desktop shortcut, and auto-start when you log in to your device. Check the boxes per your preference and click Allow. Otherwise, pick Don’t allow.
On Mac, you’ll simply see the app open just like the Chrome shortcut. You can then keep it in your Dock if you like.
Enable Gmail Desktop Notifications
Along with notifications for your Gmail account, you must confirm that alerts are enabled for the web browser on your computer as well, whether you decide to use the Chrome or Edge shortcut on Windows or Mac.
Additionally, in order for the Gmail notifications for the web browser to work, you must have the app shortcut that you added above open. You can keep it minimized, but it must remain open to receive the alerts.
⚠️ Important: Keep in mind that the below steps and settings for Windows and Mac can vary depending on your operating system version and other settings you’ve configured on your computer.
Enable Desktop Notifications for Gmail
First, make sure that you enable notifications for Gmail itself.
- Visit Gmail, sign in, and select the Settings button (gear icon) on the top right.
- Choose See all settings.
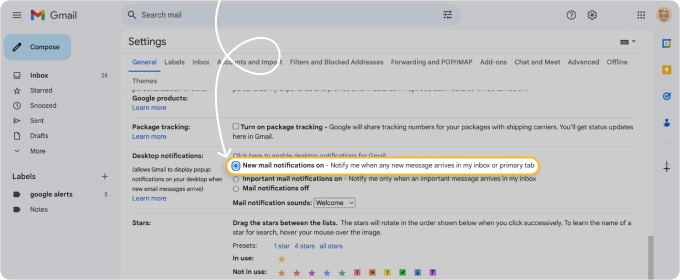
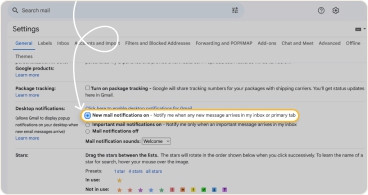
- Go to the General tab and scroll down to the Desktop notifications section.
- Pick one of the first two options to enable new or only important mail notifications.
- Optionally, select a sound.
- Click Save Changes at the bottom.
Enable Browser Notifications on Windows
To check or enable browser notifications on Windows, follow these steps:
- Open the Start menu and click the Settings button (gear).
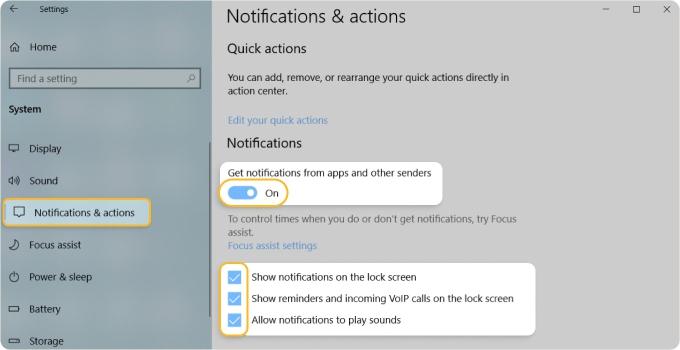
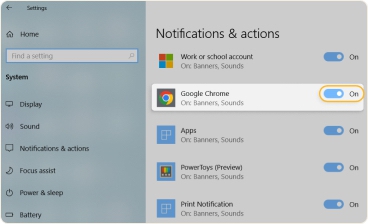
- Select System and choose Notifications & actions.
- Confirm that the toggle below Notifications at the top is enabled.
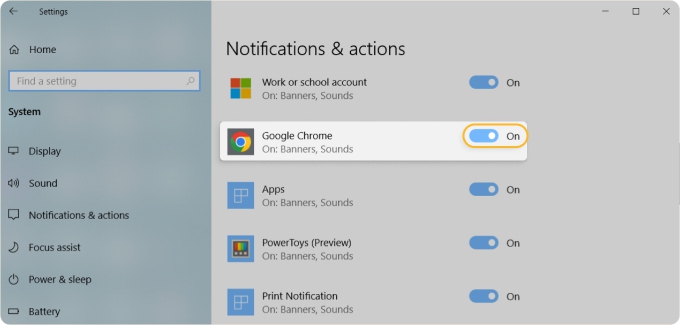
- Turn on the toggle next to the web browser.
- Optionally, select the browser to fine-tune the notification settings.
When you finish, you can close the Settings and test your Gmail notifications.
Enable Browser Notifications on Mac
To check or enable browser notifications on Mac, follow these steps:
- Open System Settings using the icon in your Dock or Apple icon in the menu bar.
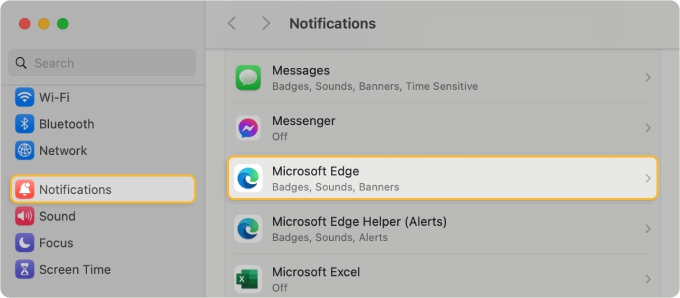
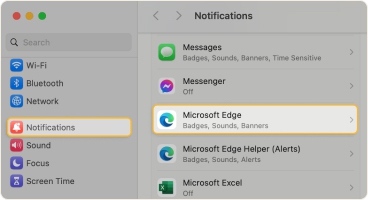
- Select Notifications on the left.
- Choose the web browser on the right.
- Turn on the Allow notifications toggle and then customize the alert appearance and other settings.
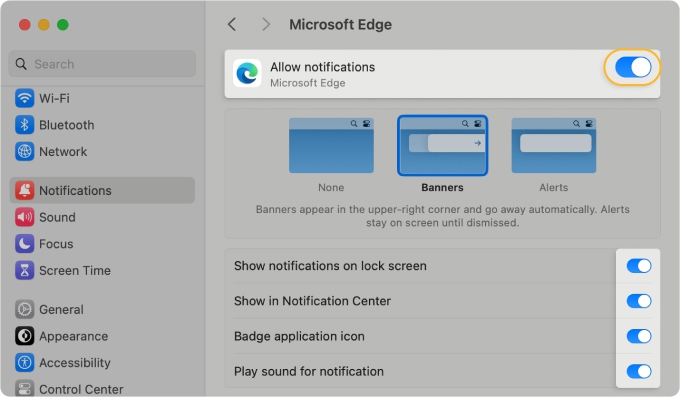
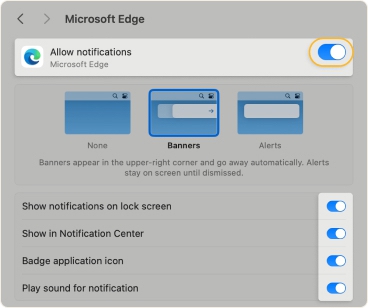
💡 Note: You may have to enable notifications for both the browser itself and the browser “Helper” that appears beneath it. In my case, Google Chrome notifications work without enabling Google Chrome Helper. However, Microsoft Edge notifications only work with both Microsoft Edge and Microsoft Edge Helper enabled.
When you finish, you can close the System Settings and test your Gmail notifications.
Be Browser-Free With Clean Email for Gmail
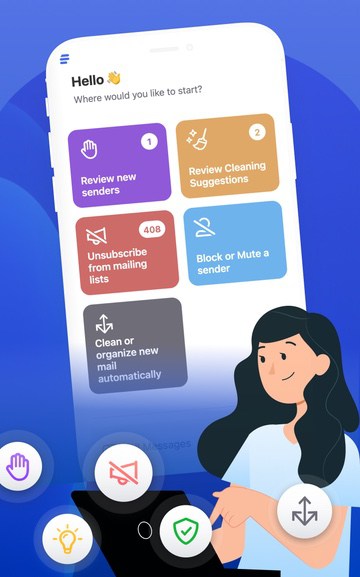
If you prefer to stick with a browseer-free method for accessing Gmail on your desktop, consider using the Clean Email application on the web for Windows or on the desktop for Mac. While it’s not an email client or Gmail’s replacement, it is an efficient and effective supplementary email management tool that boosts your email productivity.
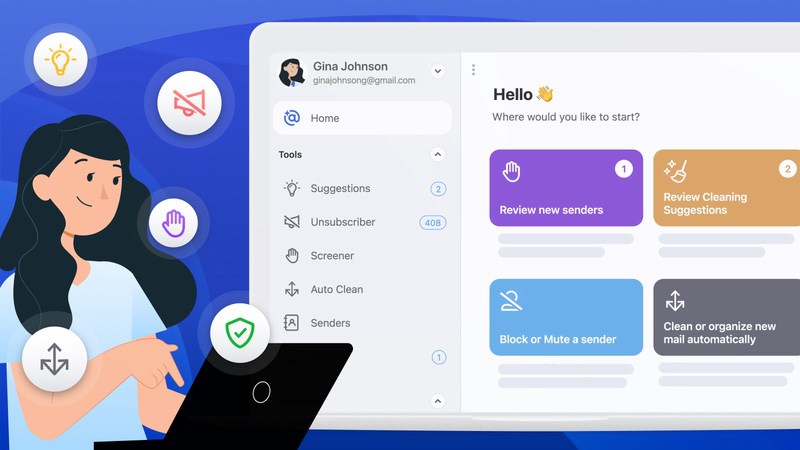
Beyond the basics of sending and receiving messages, Clean Email provides a robust feature set for mailbox organization and automations. Plus, you’ll find features in Clean Email that Gmail lacks.
Here are just a few favorite features you’ll love:
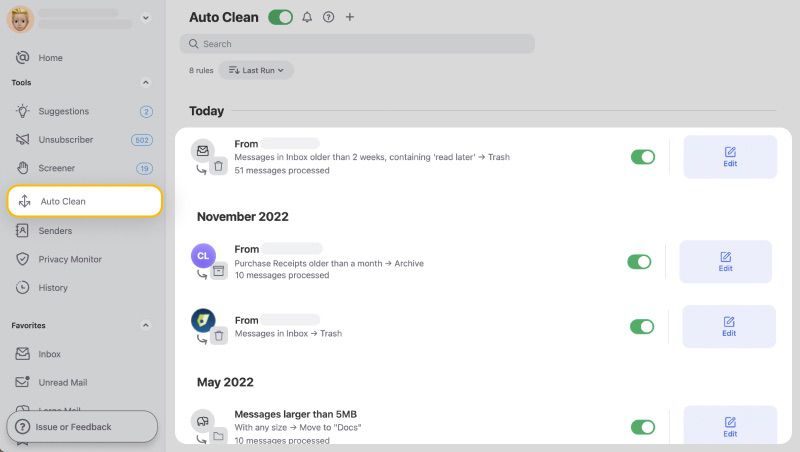
Auto Clean: While Gmail offers automated filters for managing incoming email, Clean Email provides the powerful Auto Clean tool. With more conditions available for matching messages, Auto Clean rules handle messages as they arrive.
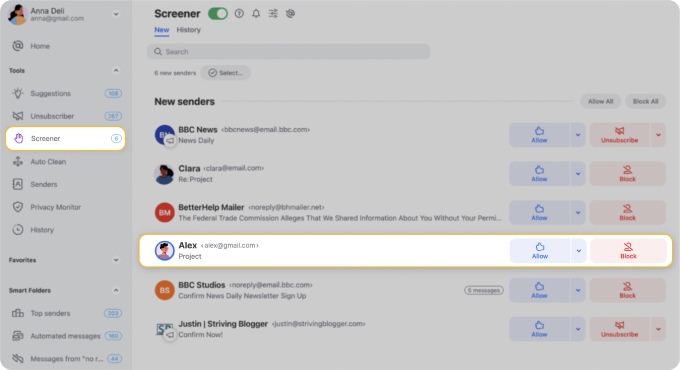
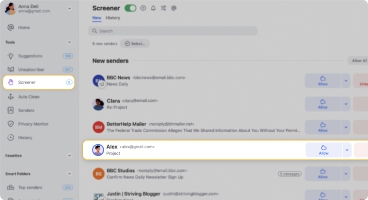
Screener: Ever get bombarded with emails from people you don’t know? Clean Email’s Screener collects messages from unknown senders in one spot. You can then allow, block, unsubscribe, and more, while keeping your inbox clear of clutter.
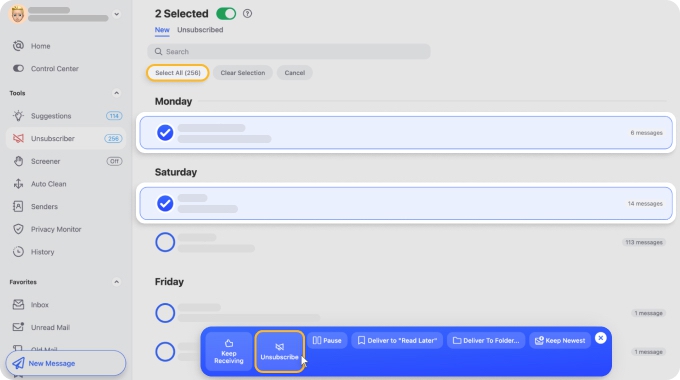
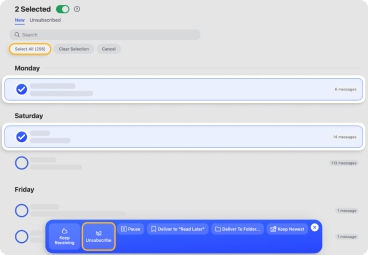
Unsubscriber: Gmail’s Unsubscribe button is fine for a single email. But with Clean Email’s Unsubscriber, you can remove yourself from multiple (or even all) newsletters at once, pause subscriptions for a short time, and even resubscribe later.
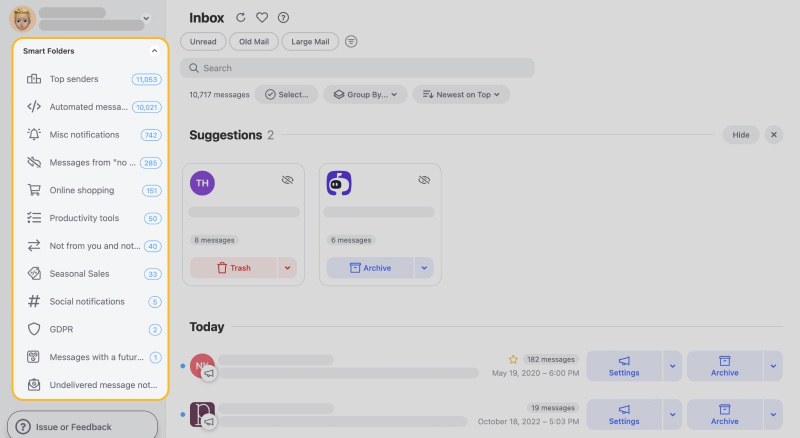
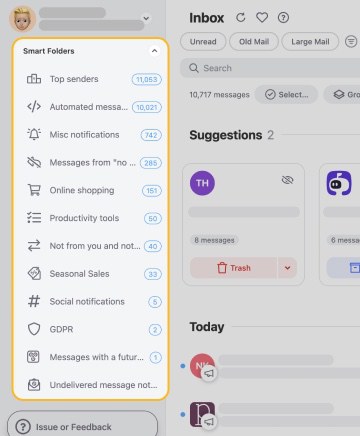
Smart Folders: With more than 30 Smart Folders, your messages are automatically filtered into folders for you. Check out emails related to travel, entertainment, finance, online shopping, and more. Then, manage all messages in a Smart Folder at once. Trash, delete, unsubscribe, or keep the newest ones — Smart Folders make it easy!
By coupling Clean Email with Gmail, you can more easily manage your messages and organize your mailbox right on your desktop. Best of all, you can use Clean Email on your mobile device too. And, because all features work the same way, there’s no learning curve or different instructions to remember for each device.