


How To Set Up Out of Office In Outlook
Here’s how to create an out-of-office reply in Outlook on the web application, mobile, desktop, and Mac.
How to Set Out of Office in Outlook App on the Web
Learn how to set up out-of-office in Outlook on the web here:
- Go to https://outlook.live.com/ and sign into your account.
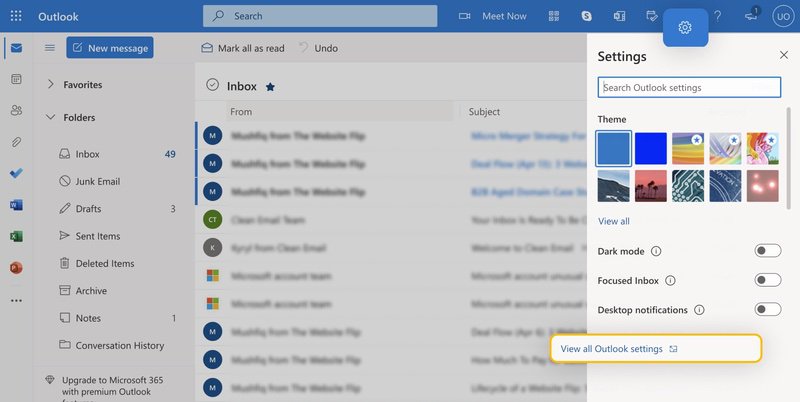
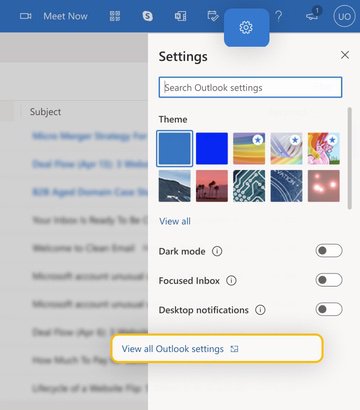
- At the top of your page, you will see Settings with a cog icon. Click this, then click View all Outlook settings.
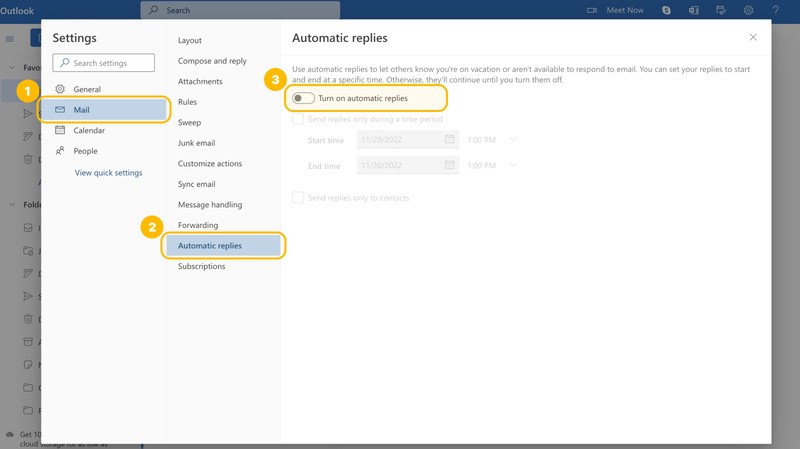
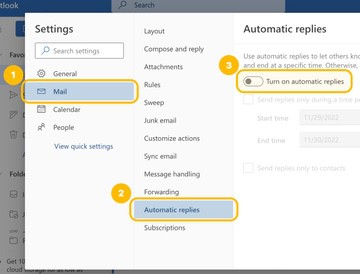
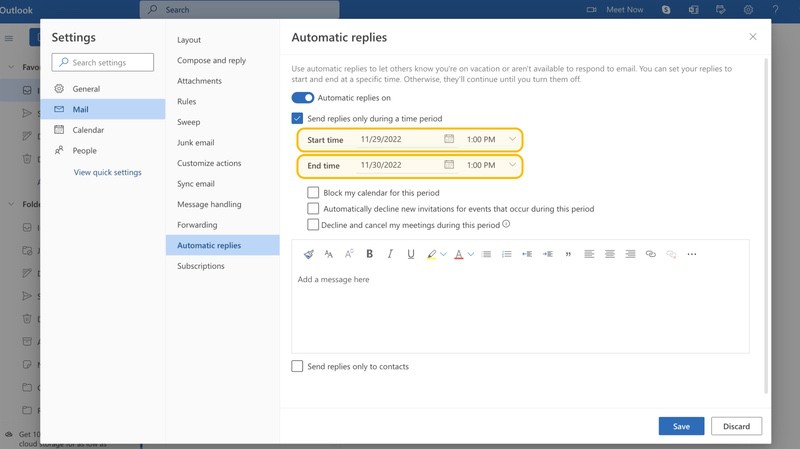
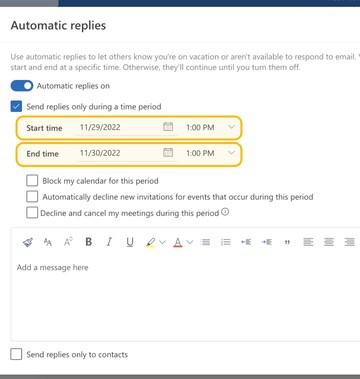
- Go to Mail section. Then choose Automatic replies and click the ‘Turn on automatic replies’ toggle.
- Now select ‘Send replies only during a time period’ box and enter a start and end date. (If you don’t input a date, the OOO reply will stay on until you turn the toggle off.)
- Optionally: click the checkboxes for the following options (you may choose all of them or select the one you need):
- ‘Block my calendar for this period.’
- ‘Automatically decline new invitations for events that occur during this period.’
- ‘Decline and cancel my meetings during this period.’
- Now create your message in the box available.
- Select the box for ‘Send replies only to contacts’ to send your OOO message only to your contact list.
- Finally, click Save and you’re done!
💡 Note: When writing your Outlook out-of-office message, always be polite, friendly, and understanding. Your message doesn’t need to be long, nor do you need to explain in detail your absence. Keep in mind anyone can read this email, so never share any personal information.

Set Up Your Out of Office in Outlook Desktop App for Windows
Learn how to set up out-of-office replies on the Outlook desktop version here:
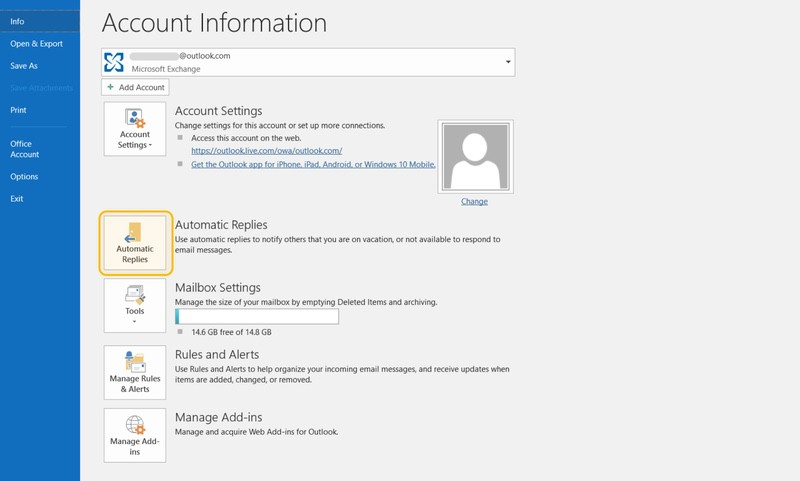
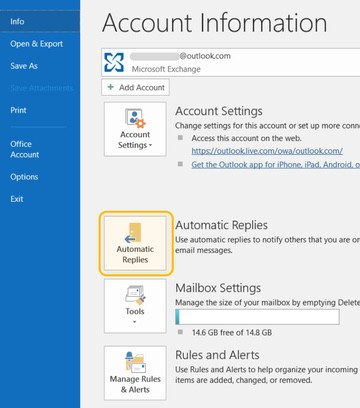
- Open the Outlook desktop app on your Windows laptop and select File.
- Click Automatic Replies (if you don’t see this option, click here.)
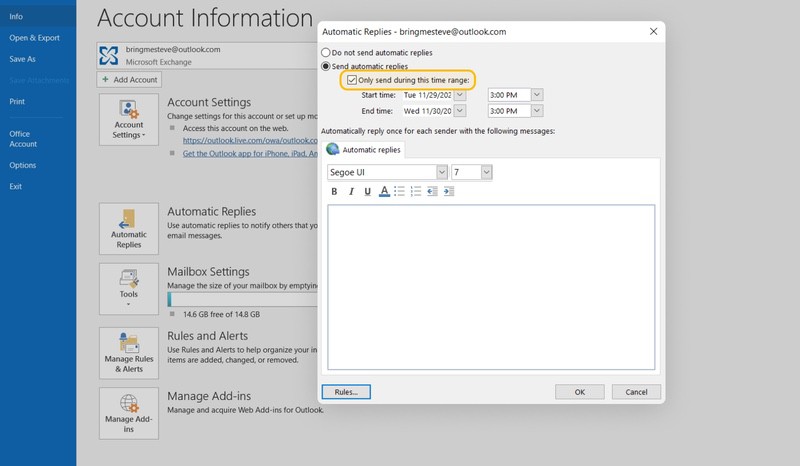
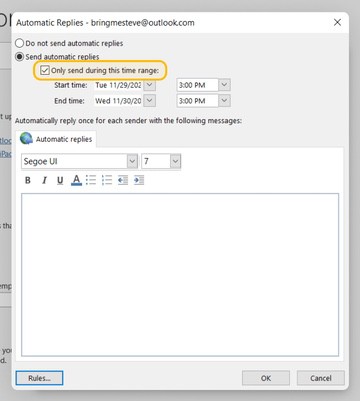
- Select Send automatic replies.
- Then click the checkbox near Only send during this time range. Set a start and end date for your automatic replies.
- Select OK to save.
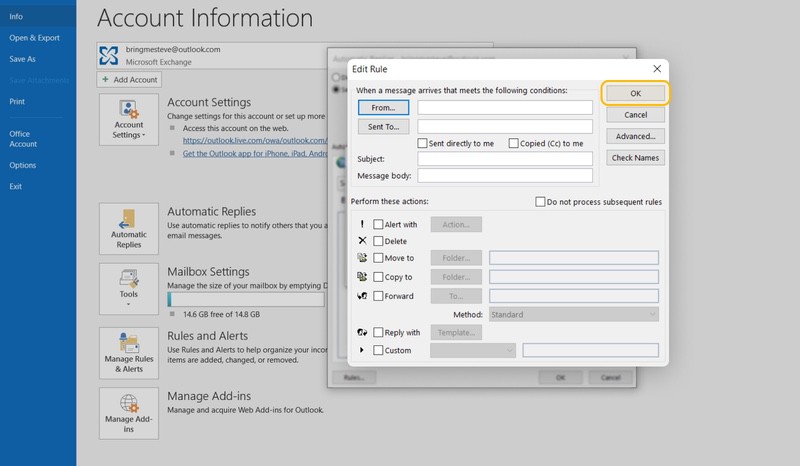
- Optionally: You can add a Rule that will be applied to messages that will come while you are OOO. For this, click Rules… button at the bottom of the window instead of the previous step. Then click Add Rule… In the next window, set the criteria for your rule and choose an action to perform with your emails. Click OK to save the rule.

How to Set Out of Office In Outlook for Mac
Follow these steps to set out of the office message in your Mac Outlook client. This method will work if you have an Outlook.com, Hotmail, Office 365, or Exchange account.
- Select Mail from the bottom left corner of the navigation pane.
- Now click on the Tools tab, then select Automatic Replies.
- Now choose to Send automatic replies for account “your account”.
- Enter your message in the Reply once to senders within my organization box.
- Click the Send replies during this time period checkbox to enter the OOO message's start and end dates.
- Finally, click OK and your OOO message is set!
- Optionally: If you’d like to send your OOO message to senders outside your organization, click the Send replies outside my organization checkbox and add your message text in the relevant text box. Click OK to save your message.
How to Put Out of Office in Outlook Mobile App
Set OOO replies using your Outlook mobile App.
- Open Outlook app on your mobile device.
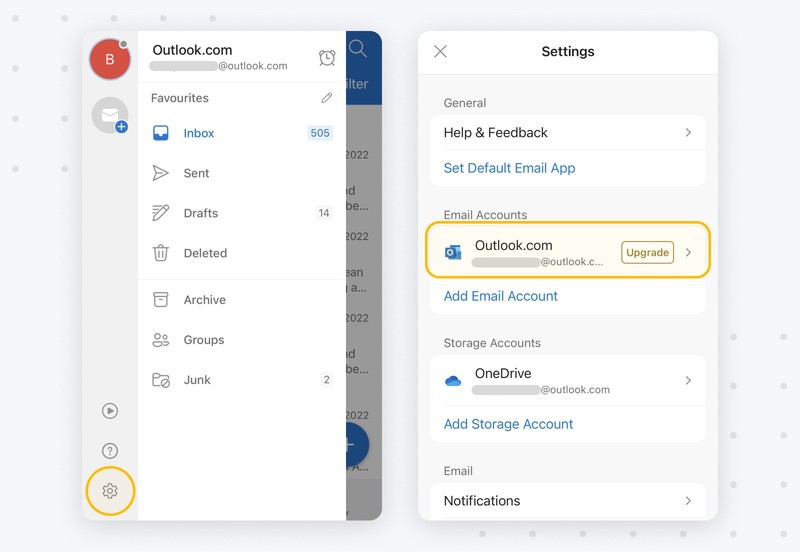
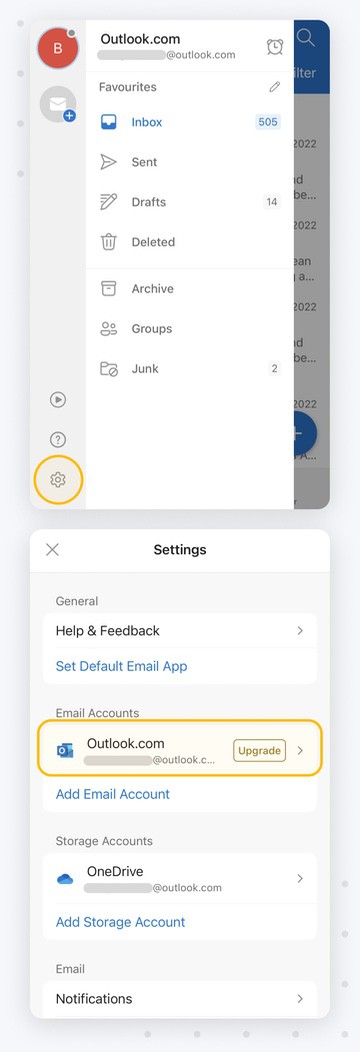
- Tap the Profile icon from the top left and click Settings. Choose your email account.
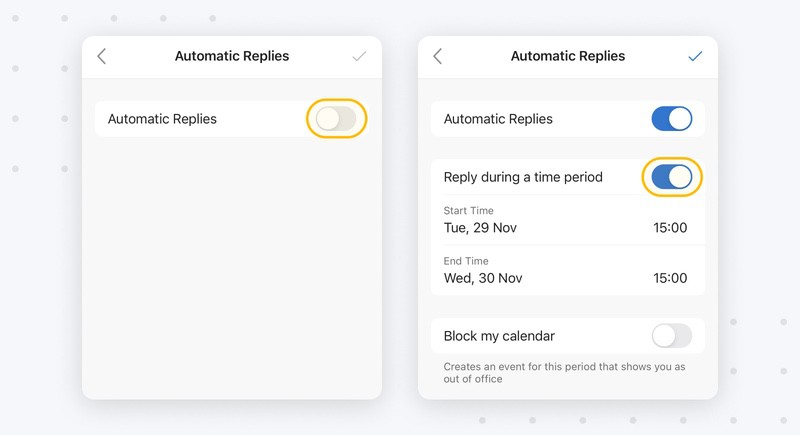
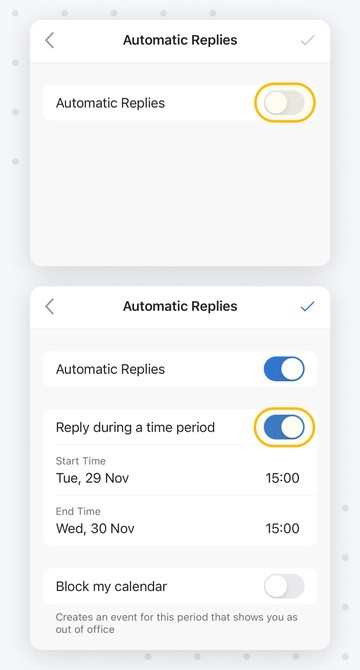
- Tap Automatic Replies. Click the slider to enable automatic replies.
- Choose to Reply during a time period. Set the start and end date for your Outlook OOO message.
- Write the OOO message in the ‘Reply to everyone with’ box.
- Click the check mark at the top right to save.
💡 Note: Your OOO messages will automatically end from the date you have set. If you want to extend your out-of-office period time, head back into the settings and change the date. On the other hand, you can also disable your out-of-office message from here too.
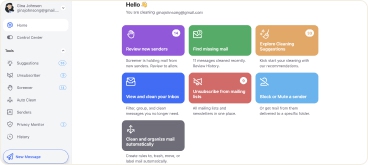
Inbox Cleanup After Your Vacation
Once you're back from vacation, Clean Email can help you quickly sort through the emails that piled up. Sign up and start unsubscribing from newsletters, auto-archiving clutter, and keeping your inbox organized.
Choose from a wide range of features to create an email workspace that works for you on iOS, Android, macOS, or using the web app.

OOO In Outlook - FAQs
How do I show my out-of-office in Outlook?
If you use Outlook on the web, head into your settings, now click View all Outlook settings, then choose Mail → Automatic replies → click ‘Turn on automatic replies’ toggle.
Can I set a daily out-of-office in Outlook?
You can choose any date, hours, and time for your out-of-office message.
What should my out-of-office message be in Outlook?
Your out-of-office message should be short and helpful to the sender. Include when you can respond, and who they should communicate with in your absence.
Does Outlook out-of-office work on mobile?
Yes. The Outlook mobile app does support automatic replies on both iOS and Android. To set up automatic replies, open the app → tap the profile icon → Settings → your account → Automatic Replies. Turn on the toggle, choose your time period, type your message, and save.
Can I set different messages for internal and external senders?
Yes. On Outlook for Windows, when you click Automatic Replies, you'll see two tabs: Inside My Organization and Outside My Organization. You can write separate messages for each tab.
On Mac, after turning on automatic replies, check the box next to "Send replies outside my organization" to add a separate message for people outside your company.


