


What Are Read Receipts and Why Use Them?
A delivery receipt is an email notification that informs you when a recipient opens and reads your message, so you don’t have to wonder if they saw it.
With a read receipt in Outlook, you can confirm that a message has been received and viewed, even if the recipient doesn’t respond right away. This feature can be especially useful for important communications, time-sensitive information, or business contexts where accountability matters.

Adding a Read Receipt for All Outgoing Emails
If you want a delivery receipt in Outlook for every message you send, you can follow the steps below (keep in mind that this feature is only available with Outlook for Windows, meaning Mac and web users can’t program an Outlook email delivery notification this way):
- Open the Outlook desktop app.
- Choose File → Options from the main menu.
- Click Mail from the options on the left side.
- Scroll down to Tracking.
- Look under Tracking for the section labeled “For all messages sent, request.”
- Click the checkbox for “Read receipt confirming the recipient viewed the message.”
- Press OK.
Setting Up Read Receipts for Individual Emails
On Windows:
- Open Outlook desktop application and press Compose.
- Choose Options in the top menu.
- In the Tracking section, check the box for Request a Read Receipt.
- Press Send after you finish your message.
- You will receive an email when the message is opened.
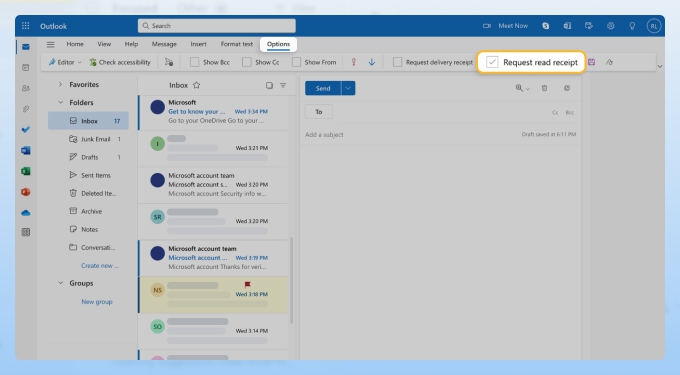
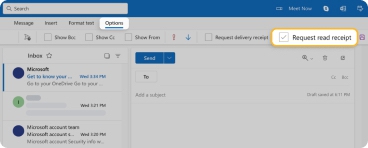
On the Web:
- Open your inbox at https://outlook.live.com/.
- Click New Mail.
- In the top menu, click Options.
- Check the box next to Request read receipt.
- Press Send after you finish your message.
- You will receive a notification when the message is opened.
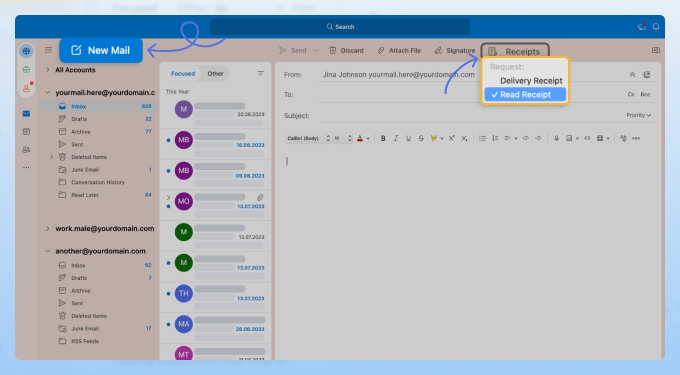
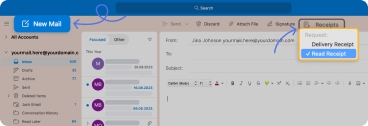
On Mac:
- Open the Outlook app and press New Mail.
- Choose Receipts in the top menu.
- Click the Read Receipt option.
- Click Send after you finish composing your message.
- You will receive an email when the message is opened.
💡 Tip: Enhance your Outlook experience with Clean Email. The app offers bulk email management features to help you organize your Outlook inbox and keep it clean in the long run.
Best Practices for Ethical and Effective Use
Now that you know how to add read receipt in Outlook, it's important to know how to use it effectively. Below are some best practices and commonly asked questions for using this feature without causing issues for others.
When to use and when to avoid
Not every situation calls for adding an opened email indicator. Therefore, our advice is to do the following when you use a read receipt on Outlook.
- Use Them Sparingly: Reserve delivery receipts for situations where it's genuinely necessary to know when your message has been opened. These situations may include critical business communications, important deadlines, or when a confirmation of receipt is crucial.
- Avoid Non-Urgent Messages: Requesting reading confirmation for every email can come across as intrusive and can annoy recipients. Don't use them for routine or non-urgent emails, as this can create unnecessary tension.
- Consider Recipient Preferences: Pay attention to the preferences of your recipients. If you know someone who consistently declines read confirmation requests or values their privacy, respect their choice and refrain from using notifications like this with them.
Is it rude to decline a read receipt on Outlook?
Declining a read confirmation is not inherently rude. People have valid reasons for not sending receipts, such as privacy concerns, the desire to maintain control over when they respond to emails, or the fact that notifications like this can be intrusive in some cases.
However, it's important to handle an Outlook email read receipt with courtesy. If you choose to decline a request, consider sending a brief follow-up email explaining your reasons. Also, try to strike a balance between respecting privacy and meeting expectations. If these notifications are commonly used in your workplace, it's reasonable to comply unless you have specific concerns.
Wrap-up
Delivery notifications can help you ensure time-sensitive messages are seen and provide insights to improve your electronic communication. However, knowing how to add a read receipt in Outlook is just one of many tricks you can use for better inbox management.
Read more:
FAQ
What is a read receipt?
A read receipt is an automated notification that informs the sender when the recipient has opened and presumably read the email.
How to request a read receipt in Outlook?
In both the Outlook desktop and web apps, you can request an email read confirmation by going to the "Options" menu while composing a new email and selecting the "Request a Read Receipt" check box before sending the email.
Can I send an Outlook read receipt without the recipient knowing?
No, in Outlook, the recipient will always receive a prompt asking them to send a read confirmation, so you cannot request a read confirmation without the recipient knowing.


