


What Are Gmail Distribution Lists and What’s Their Purpose?
The concept of distribution lists comes from Microsoft Outlook, the most popular email client in the world. As the name of the feature suggests, distribution lists are used to distribute messages to multiple recipients without having to add each recipient manually.
Here are three examples of how distribution lists can be used to save time:
- You can send the same message to your entire family. Imagine you want to invite 30 different family members to a birthday party. Normally, you would have to enter their addresses one by one. With a distribution list ready, you can simply enter the name of the list.
- You can share important information with your entire work team. If you have multiple colleagues with whom you share information on a regular basis, then you can save a lot of time by including them all in a distribution list. You can even create multiple distribution lists for different departments.
- You can create different distribution lists for your email marketing campaigns. If you have a monthly newsletter, order confirmations, and more, you can create specific group emails in Gmail to share with different distribution lists.
📌 Gmail doesn’t have a feature called a distribution list, but it does let you create a contact group that can be used just like a distribution list in Outlook.

Follow These Steps to Create a Distribution List in Gmail
To create a distribution list in Gmail, you need to:
- Log in to your Gmail account.
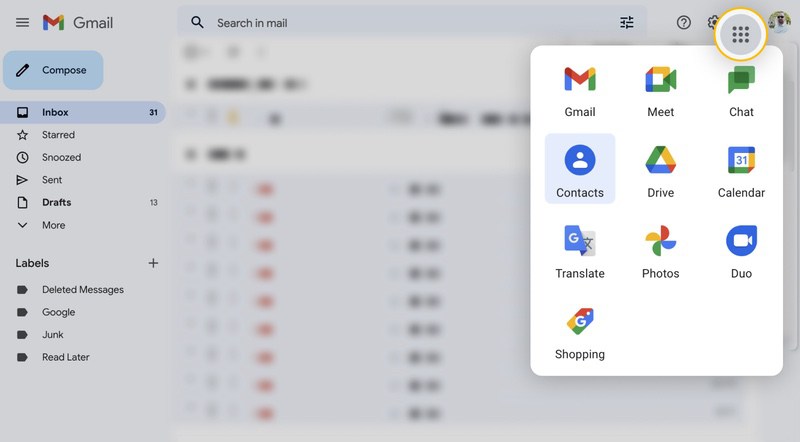
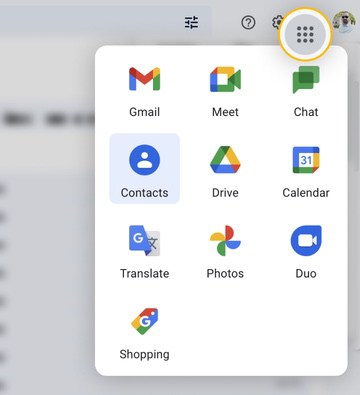
- Open the app menu and select Contacts.
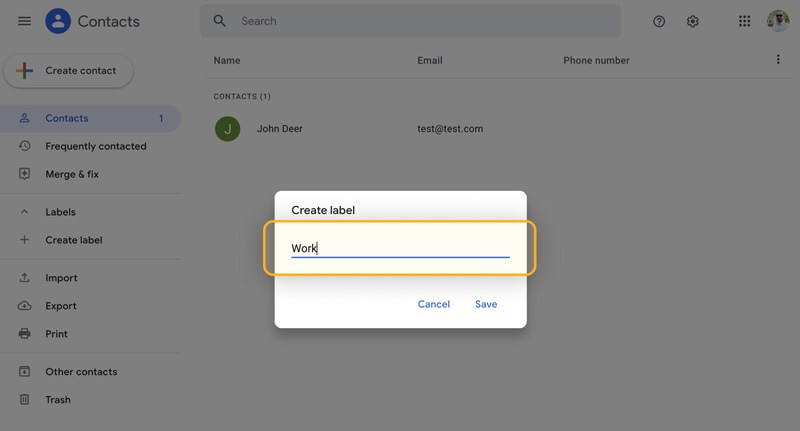
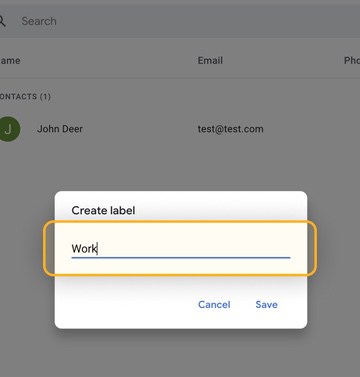
- Click the + (Create label) option.
- Name the new Gmail label and save changes.
- Go to Contacts.
- Select the contacts you want to add to the distribution list.
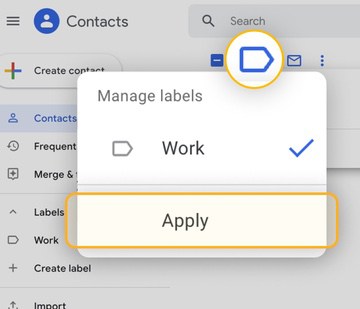
- Click the Manage labels icon.
- Select the newly created label.
- Click Apply.

If you have many contacts, then you can narrow them down using the search bar at the top of the Contacts page. For example, if all your work colleagues use email addresses with the company domain name in them, then you can use it to filter them out in no time.
💡 Before creating a distribution list, you might need to learn how to add contacts to Gmail, so follow our guide to see all the possible methods.
Using Distribution Lists in Gmail
Once you have created a distribution list in Gmail, you’re just a step away from putting it to good use. This is what you need to do:
- Log in to your Gmail account.
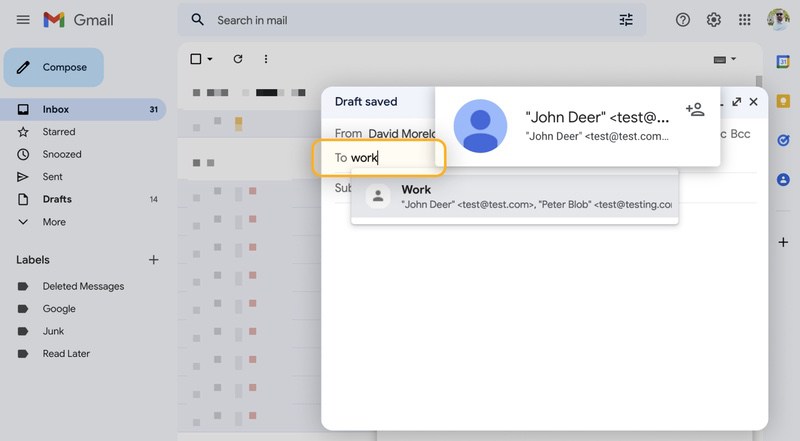
- Click Compose to create a new message.
- Enter the name of the contact group you want to send the message to in the To field.
- Compose the message as you would normally.
- Click Send.
The message will be sent to all people included in the contact group, and they won’t see who else has received it.
💡 Learn more: See how to forward multiple emails in Gmail and save your time!
Editing Distribution Lists in Gmail
Now that you know how to create your first Gmail contact group and use it to send the same message to multiple recipients, you should also learn how to edit it so that you can remove or add recipients as needed.
To remove a contact:
- Log in to your account.
- Open the Gmail menu and select Contacts.
- Select the label you want to edit.
- Select the contact you want to remove.
- Click Manage labels.
- Remove the contact from the label assigned to it.
- Click Apply.
To add a contact to an existing label:
- Go to your Gmail account.
- Open the menu and select Contacts.
- Go to Contacts.
- Select the contacts you want to add.
- Click Manage labels.
- Select the desired label.
- Click Apply.
We recommend you check your contact groups from time to time to see if they contain only the recipients you want them to contain otherwise you might end up sending messages to unintended recipients.
Automatically Organize Your Messages
Managing replies and follow-ups from Gmail distribution lists can become overwhelming, especially if you’re handling multiple conversations across personal, professional, or marketing contexts.
Clean Email is a great choice for all Gmail users because it fully respects and supports its strict privacy and security requirements. The app offers advanced tools to stay in control of your inbox without having to manually click and sort every message, even if you have multiple Gmail accounts.
Try Clean Email for free and see how much easier managing your inbox can be.
Create a Distribution List in Gmail – FAQs
How do you make a distribution list in Gmail?
To create a Gmail distribution list, open Google Contacts, click "Create label", and name your label. Then select the contacts you want to include, click "Manage labels", choose your new label, and click "Apply". This labeled group can now be used as a distribution list when composing emails in Gmail.
What is the difference between a Shared Mailbox and a Distribution List?
A Shared Mailbox is an inbox that can be accessed by multiple users at the same time. A distribution list, on the other hand, is a collection of email addresses that can be used to send the same message to multiple people.
How to add contacts to a group in Gmail?
To add contacts to an existing group in Gmail:
- Go to your mail account.
- Open the app menu and select Contacts.
- Go to Contacts.
- Select the contacts you want to add.
- Click Manage labels.
- Select the desired label.
- Click Apply.
How to edit a distribution list in Gmail?
To edit a Gmail distribution list, go to Google Contacts, select the label you want to update. If you want to remove someone, select the contact, click "Manage labels", uncheck the label, and click "Apply". To add new members, select the desired contacts, click "Manage labels", check the label, and click "Apply".


