


What Are Outlook Distribution Lists?
A distribution list—also known as a contact group in newer versions of Outlook—is a reusable collection of email addresses. It lets you send a message to multiple people without entering each address manually. This is especially useful for teams, clubs, or any group you email regularly.
Instead of using the To, Cc, or Bcc fields individually, which can be tedious and may expose recipients' addresses, you can simply send one message to the group. Outlook has supported this feature since Office 2007, and the following sections will show you how to use it effectively.

How to Create a Distribution List in Outlook Desktop App
Let’s take a closer look at how to make a distribution list in Outlook on Mac, Windows, and the web. For the most part, the process is very similar across all platforms, but there are some minor yet important differences you need to know about.
💡 Note: Our instructions are meant only for newer versions of Outlook (2013 or later).
Creating a Distribution List in Outlook on Mac
The creation of a distribution list in the Mac version of Microsoft’s mail client is complicated by the fact that Microsoft released the so-called New Outlook client a few years ago.
The redesigned version of Outlook is easier to use and comes with multiple useful improvements, but it’s still missing some features that were included in the legacy version of Outlook, with distribution groups being among them.
Fortunately, it’s not difficult to learn how to revert back to the legacy version of Outlook, so make sure to do that before you follow the steps below:
- Launch Outlook.
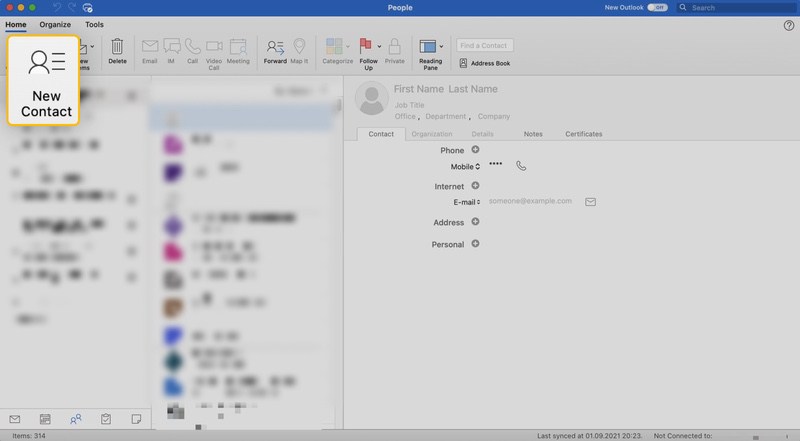
- Click the People icon at the bottom of the left pane.
- Click the New Contact List button in the top toolbar.
- Name the new contact list and double-click the empty list below to add as many recipients as you want.
- Click the Save icon.


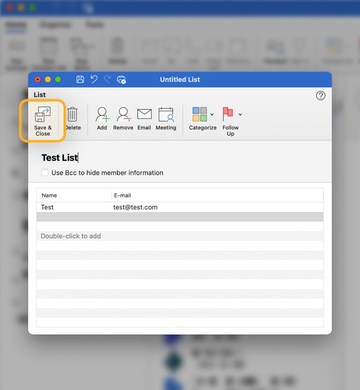
Make sure to click the “Use Bcc to hide member information” checkbox if you don’t want your recipients to know about one another.
How to Create a Distribution List in Outlook 365
The web version of Outlook also supports distribution lists, and here’s how you can create one:
- Open Outlook 365 in your web browser and log in.
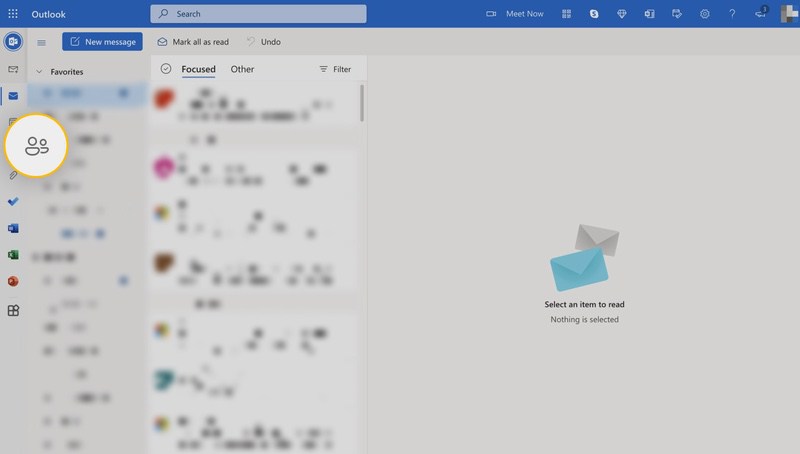
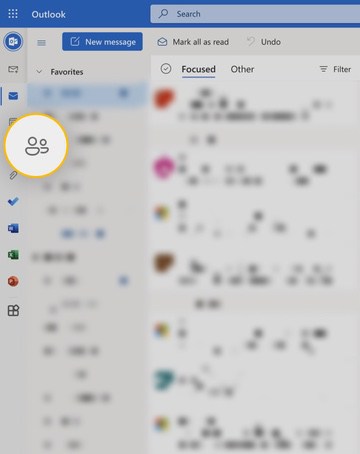
- Choose the People icon in the left pane.
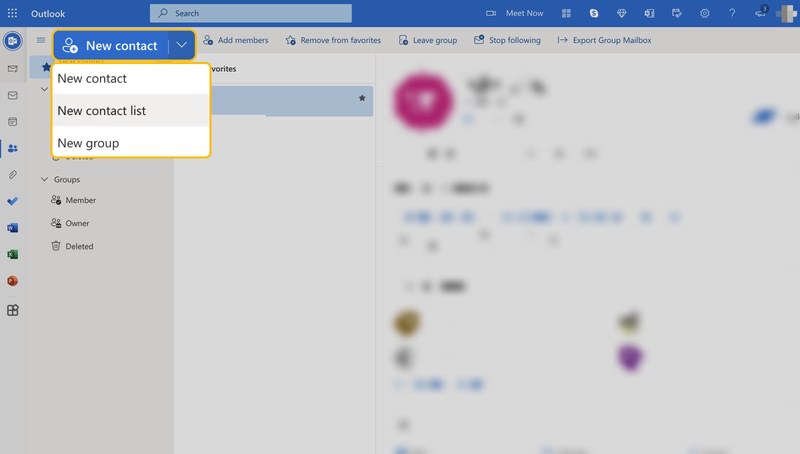
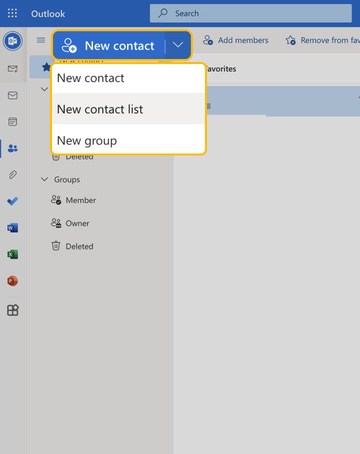
- Click the arrow next to New contact and select the New contact list.
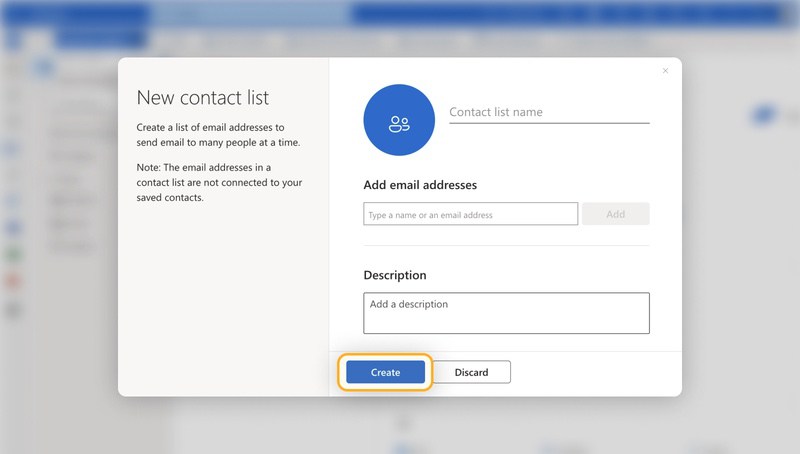
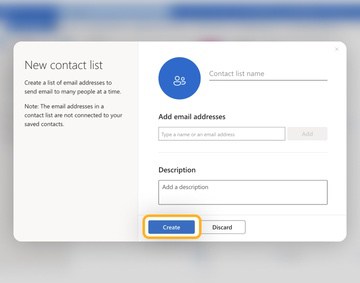
- Name the new contact list and add email addresses.
- Click Create when done.
As you can see, creating a distribution list in Outlook on the web isn’t too different from creating one on Windows or Mac.
How to Test a Distribution List
Once you’ve created a distribution list on the platform of your choice, you should test it to see if it works as intended. To do that:
- Launch Outlook.
- Create a new message.
- Enter the name of the mailing list you want to test in the “to” field.
- Send the message.
You can use this same exact process to test a mailing list on any platform.
Manage Your Outlook Messages Better
Outlook makes it easy to send emails to a group, but managing the replies can quickly become overwhelming. The Clean Email app works alongside Outlook to help you stay organized.
You can automatically sort or archive messages from specific distribution list members using Auto Clean.The rules are triggered automatically whenever a new message matching specified conditions arrives in your inbox, making it possible for you to essentially run it on autopilot.
This and many other useful features are available with full support across macOS, web, and mobile platforms. Try Clean Email for free and see the difference it makes.
Create Distribution List in Outlook - FAQ
Why is the New Contact List button grayed out on Mac?
If the New Contact List button is grayed out on your Mac, then you need to go to Preferences → General and Uncheck the “Hide On My Computer folders” check box. Then, restart Outlook and try again.
What is the difference between contact group vs distribution group/list in Outlook?
There’s no difference at all. It’s just that Microsoft calls the feature a distribution list in some versions of its email client and a contact group in other versions.
How to edit a distribution list in Outlook?
To make changes in your email distribution list in Outlook, open the People section, find the list, double-click to open it, make changes to the members or the name, and save.


