


Quick Answer
To create a group in Outlook, open People, choose New contact list or New Contact Group, enter a group name, add members, and save the list.
- In New Outlook and Outlook on the web, Microsoft usually calls this a Contact list.
- In classic Outlook for Windows, it is usually called a Contact Group.
Contact Group vs Contact List vs Microsoft 365 Group
| Term | Where you’ll see it | What it means | Best use case |
|---|---|---|---|
| Contact list | New Outlook (desktop) and Outlook on the web | A saved list of email addresses used to send messages to multiple recipients at once | Sending emails to the same group of people (e.g., team, clients) |
| Contact group | Classic Outlook for Windows (2016–2019) | The legacy version of a contact list with the same function | Sending emails in older Outlook desktop versions |
| Distribution list | Older/general term (still used in guides and search queries) | A generic name for contact lists or contact groups | Same as above; mostly terminology overlap |
| Microsoft 365 Group | Microsoft 365 work or school accounts | A shared workspace with a group email address, inbox, calendar, and files | Team collaboration, shared resources, ongoing communication |
💡 Read more: How to Create a Distribution List in Outlook.

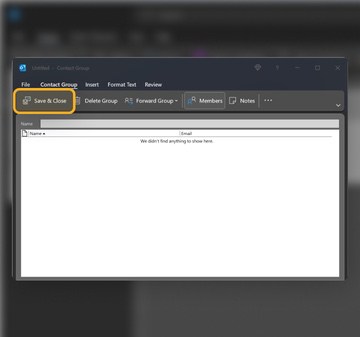
How to Create a Contact Group in Classic Outlook for Windows
- Open Outlook.
- Select People or Contacts.
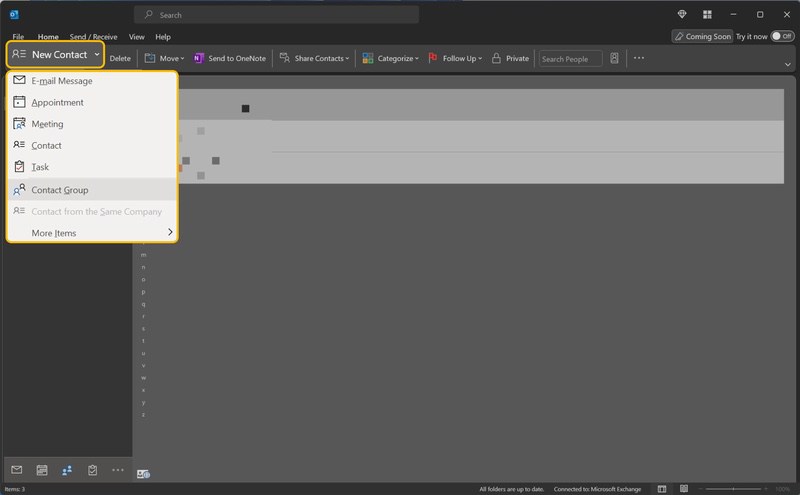
- On the Home tab, select New Contact Group.
- Enter a name for the group.
- Select Add Members.
- Choose members from Outlook Contacts, Address Book, or New Email Contact.
- Click OK.
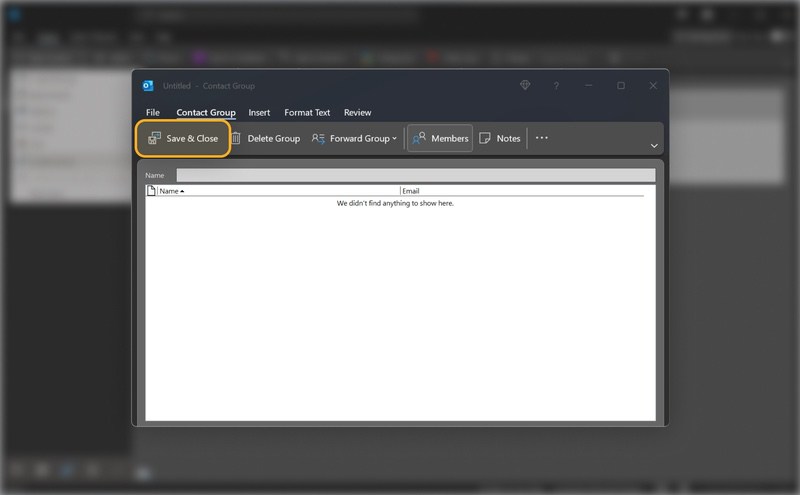
- Select Save & Close.

How to Create a Group in Outlook 2013 and 2016
Outlook 2013 and 2016 are the older versions, but the process is similar to classic Outlook.
- Launch the software.
- Navigate to People in Home.
- Next, select Create new group.
- On the next window, enter the group name.
- Next, select Add members.
- You can add contacts from the Outlook contacts, address book, and by manually entering a new email contact.
- Search for contacts through the search tab, and highlight to add.
- Repeat the procedure to add as many contacts as you want to a group, and click Save and Close.
How do I create a contact group in Office 365?
To create a distribution list in Office 365, follow these steps.
- Login to the admin center at https://admin.microsoft.com with your work email (only if you have a work account created with Office 365.)
- Select the app launcher icon and choose Admin.
- Select Groups in the left navigation pane → select Add a group.
- On the Choose a group type field, select Distribution and then click Next.
- Enter a name, description, and an email alias for your new group. Specify whether you want people outside your organization to send emails to the group.
- Click Add to create a list → on the member’s tab, select View all and manage members.
- On the next page, select Add members → select members from Contact or add manually.
- Save and close.
How to Create a Group in Outlook Web App
Follow this instruction to create a group contact in Outlook:
- Log in to your Outlook account at https://outlook.live.com/.
- Select contact from the left bottom corner panel.
- Select the arrow beside New.
- Click group.
- In the next window, add the list name.
- Search contacts, add, save, and close.
How to Send an Email to an Outlook Group
After successfully creating a distribution list, the next step is sending an Outlook group email to the created list. Follow the instructions below to send a bulk Outlook email:
- Open Outlook.
- Click New Email.
- In the To field, start typing the name of your contact list or contact group.
- Select the group from the suggestions.
- Write your message.
- Click Send.
📌 Tip: If recipients should not see each other’s email addresses, add the group to the Bcc field instead of the To field.
Troubleshooting Outlook Groups
Why is my Outlook group not appearing in the To field?
Start typing the exact group name. In classic Outlook, click To and search for the group in the Address Book or Contacts folder.
Why can’t I create a Microsoft 365 Group?
Microsoft 365 Groups are usually available for work or school accounts. Your organization may also restrict who can create them.
Why are some recipients not receiving the email?
Check whether the email address is current, whether the contact was added correctly, and whether your organization has sending limits or group restrictions.
💡 Tip: The Clean Email app can be useful if you regularly receive messages from Outlook groups or contact lists. Instead of organizing those emails manually, you can set rules to automatically sort, label, or archive messages from specific groups. Result? No more inbox clutter, so you can easier focus on important conversations!
Conclusion
Creating a group in Outlook is useful when you regularly email the same team, clients, family members, or project contacts. For simple email sending, use a contact list or contact group. For shared collaboration, such as a shared inbox, calendar, and files, use a Microsoft 365 Group instead.
After setting up groups, you can also improve your Outlook workflow by organizing incoming messages, cleaning old emails, and cleaning Outlook inbox clutter.
Learn more:
How to Create a Group in Outlook - FAQs
How to create a distribution list in Outlook?
In New Outlook or Outlook on the web, create a contact list from the People section. In classic Outlook, create a New Contact Group from Contacts or People. A distribution list is the older/common name for this type of saved recipient group.
What is the difference between a contact group and a contact list in Outlook?
They serve the same basic purpose: sending one email to multiple people. New Outlook and Outlook on the web usually use “contact list,” while classic Outlook for Windows uses “contact group.”
How do I hide recipients when sending to an Outlook group?
Put the group in the Bcc field instead of the To field. This prevents recipients from seeing everyone else’s email address.
How do I delete a group in Outlook?
Open People or Contacts, select the contact group, and choose Delete. In classic Outlook, you can also select the group and press Delete.


