


How to Nest Labels in Gmail
In Gmail, you can move a label under another label when you create it, which is called “nesting.” But if you decide later to better organize your labels by nesting them, this is another option and creates an organized mailbox structure.
As examples, you may have a parent label for Projects with sublabels for Project A, Project B, and so on. Or, you might have a parent label for Departments with sublabels for Finance, IT, and Customer Support.
To nest a current label:
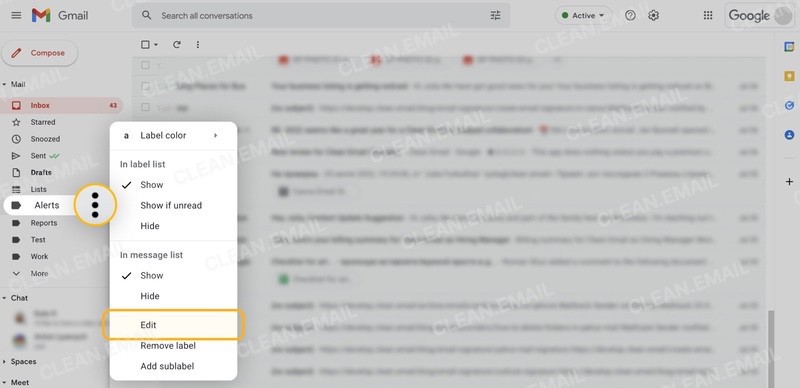
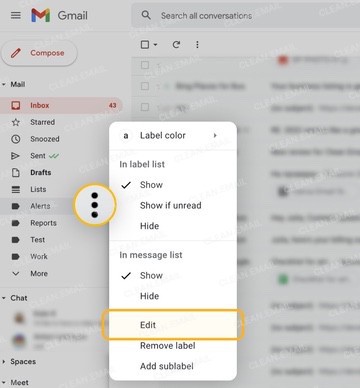
- Either click the three dots next to the label in the lower sidebar and pick Edit or select More → Manage labels in the upper sidebar and click Edit to the right.
- Check the box for Nest label under.
- Choose the parent label in the drop-down box.
- Click Save.
To nest a new label:
- Either click the three dots next to the label and pick Add sublabel.
- Enter the sublabel name.
- Click Create.
Check out our guides about how to create folders in Gmail and about deleting Gmail folders.
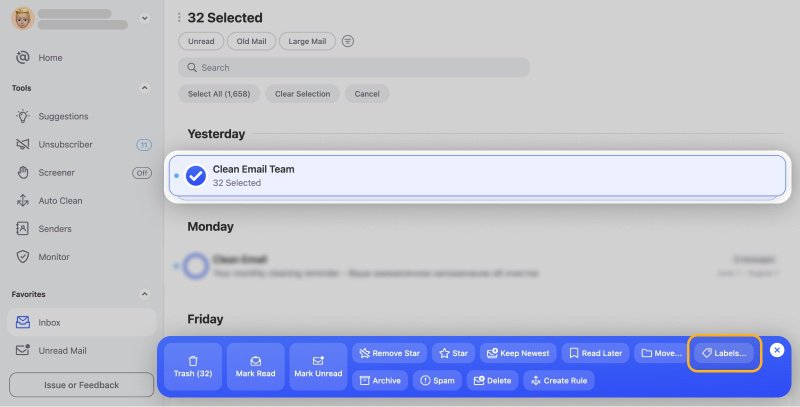
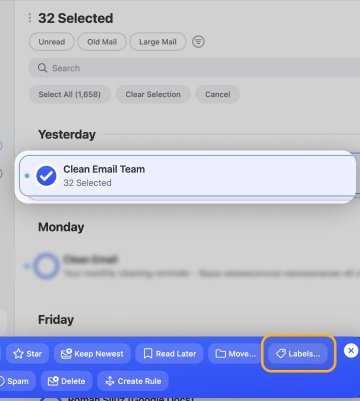
💡 Tip: When it’s time to move emails in Gmail to a nested label, you can speed up the process with Clean Email’s bulk actions. This lets you move or label hundreds or thousands of messages at once and in just a few steps on desktop and mobile.

How to Customize Labels in Gmail
Want to make certain labels easier to spot or apply more meaningful names? You can take advantage of a couple customization features for labels in Gmail.
Apply or Remove Colors for Labels
To add a color to a label, click the three dots next to the label in the sidebar, move to Label color, and choose the color in the pop-out menu.
If you’d like to use a custom color or select colors for both the label and the label text:
- Click the three dots and choose Label color → Custom color.
- Pick the Background color and Text color for the label.
- Click Apply when you finish.
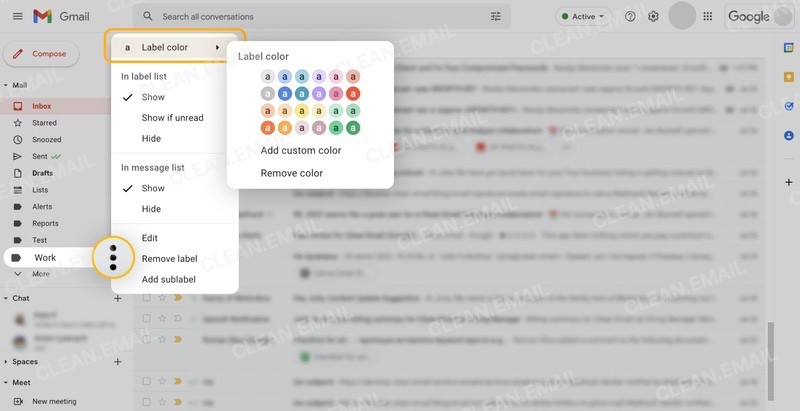
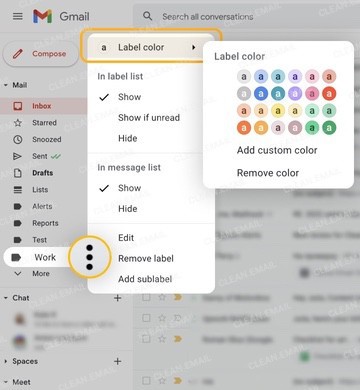
You can also remove a color you add to a label and return it to the default. Click the three dots and choose Label color → Remove color.
Rename a Label
- Either click the three dots next to the label in the lower sidebar and pick Edit or select More → Manage labels in the upper sidebar and click Edit to the right.
- Replace the Label name with the new one.
- Click Save.
How to Show or Hide Labels in Gmail
You may not need to see all labels all the time, right? You can show or hide labels in the sidebar or in your message list to reduce the clutter in Gmail. And you can do either or both depending on your preference.
Either click the three dots next to the label in the lower sidebar or select More → Manage labels in the upper sidebar. Then, do one or more of the following:
- Select Show or Hide below (Show) in label list. This determines whether or not the label appears in the sidebar.
- Select Show if unread below (Show) in label list. This only shows the label in the sidebar if it has unread messages.
- Select Show or Hide below (Show) in message list. This determines whether or not the label appears next to emails in your message list. Any emails that apply to the label still appear if you choose Hide; they merely don’t display the label next to them.
How to Rearrange Labels in Gmail
Have you been trying to figure out how to reorder labels in Gmail? When it comes to the arrangement of your labels in the sidebar, Gmail places them in alphabetical order automatically.
You cannot manually move labels up or down in the list which is unfortunate. However, there are things you can do to slightly change the default order if you like.
Put a Label at the Top of the List
To place a label at the top of your list, precede the name with a special character such as a hyphen, period, underscore, at symbol, or exclamation point.
If you do this for multiple labels, they then appear in alphabetical order based on the first letter after the special character.
Put a Label at the Bottom of the List
To place a label at the bottom of your list, precede the name with a foreign letter, such as one from the Lydian alphabet.
📌 While you can try other letters, one Reddit user suggests this, and it works quite well. Visit the Wikipedia page for the Lydian alphabet, copy one of the characters, and paste it in front of the label name.
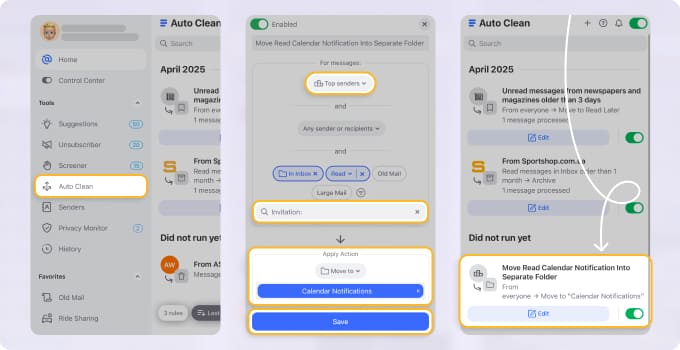
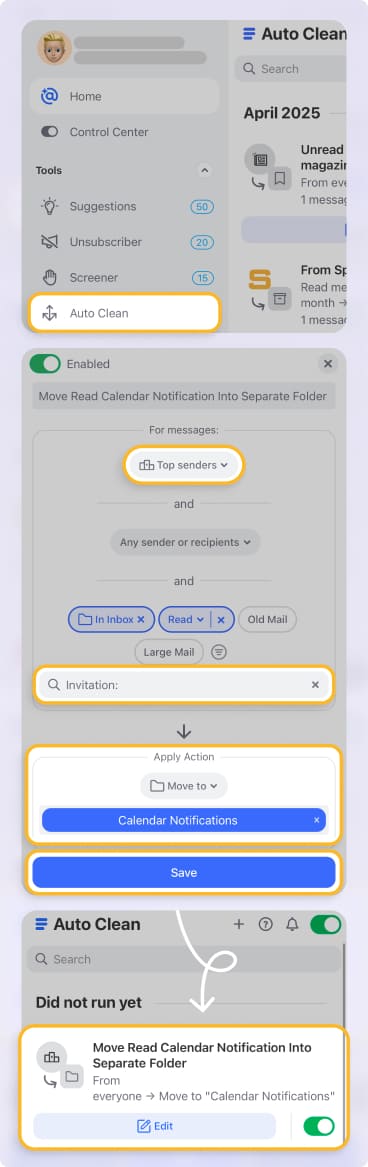
💡 Tip: To address Gmail’s lack of flexibility with ordering labels, consider Clean Email’s Auto Clean feature. With it, you can automatically label emails as they arrive for effortless sorting and organization.
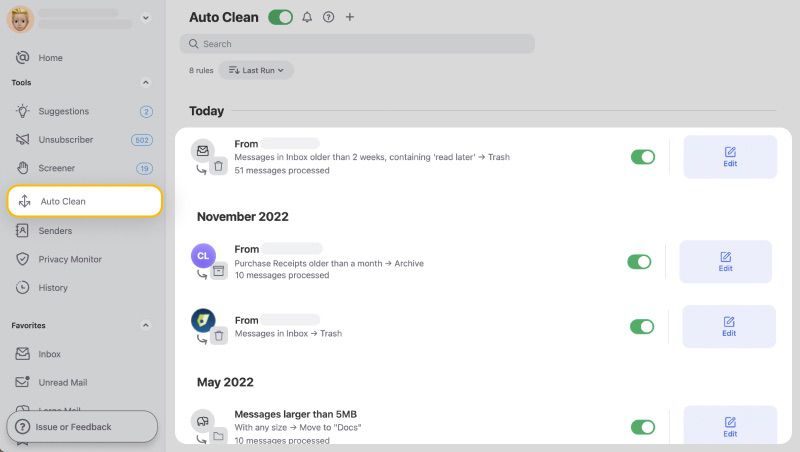
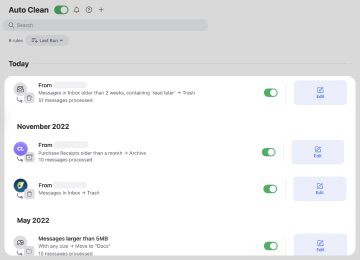
And unlike Gmail’s filter feature, you can set up Auto Clean rules on your mobile device as well as your desktop!
And don’t worry — Clean Email is safe to use, works with all IMAP service providers, and is available on the web, Mac desktop, and mobile devices.


