


Why Change Back to Old Outlook?
Microsoft Outlook was first released in the 1990s with Microsoft Office and is now a go-to for enterprise email and calendaring, though many use it for personal tasks as well.
To meet the complex needs of business users, Outlook includes many features, which can be overwhelming for new users. In response, Microsoft introduced the New Outlook client, offering a simplified experience similar to the web-based Outlook.com.
People who install the redesigned version typically notice two things: Outlook looks different and some features are missing, such as the ability to create a new contact list.
Unsurprisingly, many Outlook users want to know how to change back to Old Outlook, and we provide step-by-step instructions for Mac and Windows in the next section of this article.
⚠️ However, in some cases, users may be unable to switch back to the classic Outlook view due to account restrictions, administrative policies in organizational settings, or the absence of a toggle option provided by Microsoft.
In many organizations, especially those using Microsoft 365 work accounts, administrators may disable the Classic View entirely. This is becoming more common as Microsoft pushes companies to standardize on the new version for better security and support. If you’re on a managed account, you may need to ask your IT administrator to enable the option.
Before You Start
Before diving into the steps, keep in mind that the availability of the “Revert to Legacy Outlook” option or toggle depends on which Outlook build you’re using. Microsoft is gradually rolling out the New Outlook interface, and some versions may no longer include the switch. If you can’t find it, check for the latest updates, restart the app, or confirm whether your account type (for example, work, school, or personal) supports the Classic View at all.

How to Switch Back to Old Outlook on Mac
If you value functionality over design, then you can follow the instructions below to learn how to revert to Old Outlook on Mac:
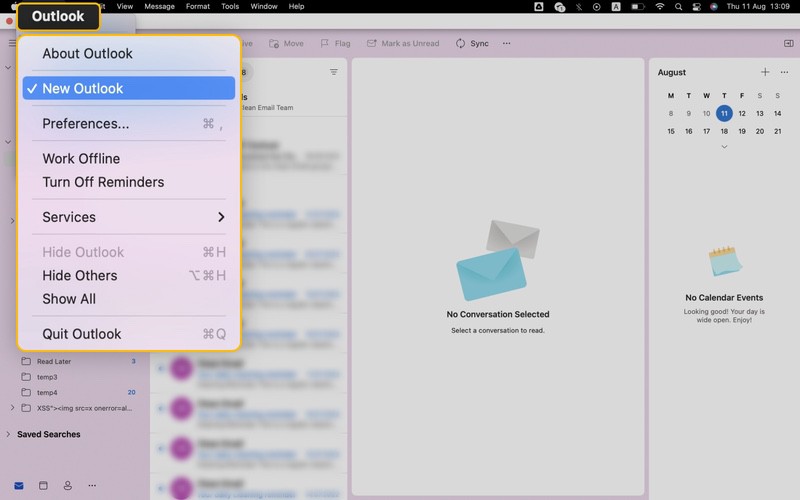
- Open Outlook.
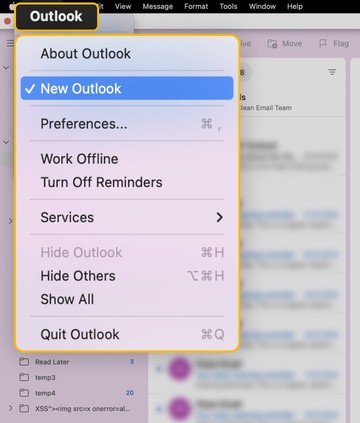
- Click the Outlook menu.
- Uncheck the New Outlook option.
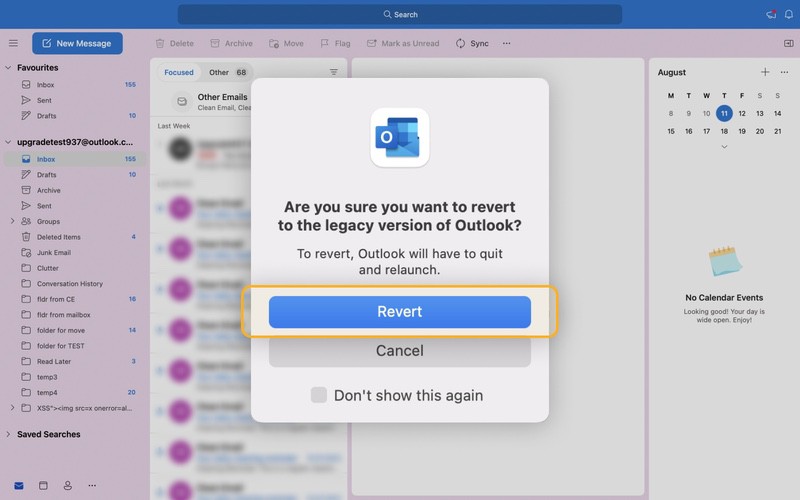
- Click the Revert button.
- Wait for the application to revert to Outlook Classic view.
Alternatively, you can follow these instructions instead:
- Open Outlook.
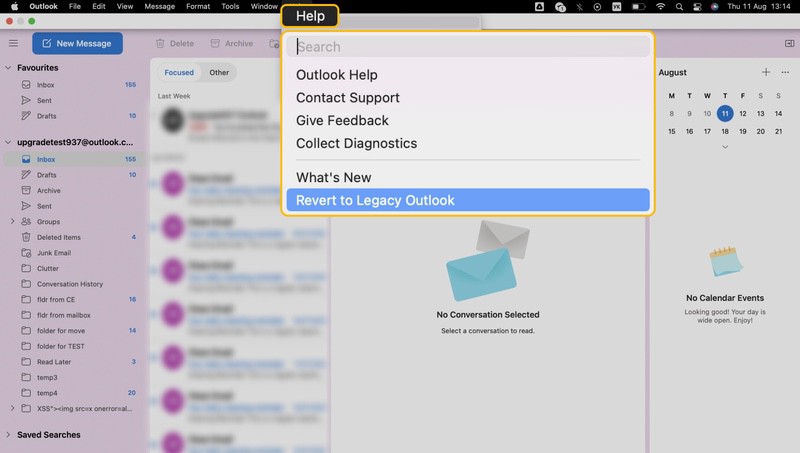
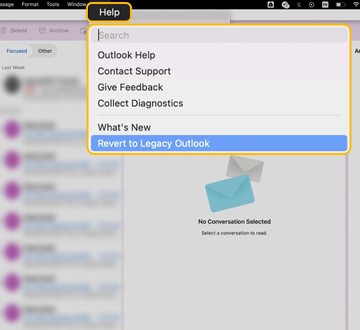
- Click the Help menu.
- Click the Revert to Legacy Outlook option.
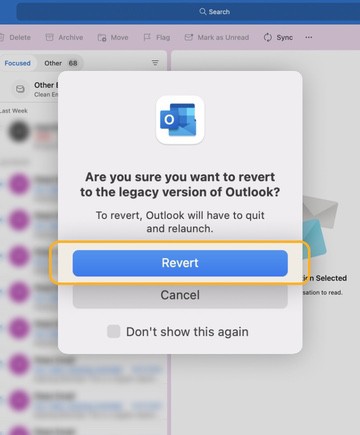
- Confirm your decision to revert to Legacy Outlook Mac.
- Wait for the application to restart.
That’s how you can revert to Old Outlook Mac.
How to Enable Outlook Classic View on Windows
The Windows version of Outlook is different than the Mac version, so you need to follow the instructions below instead to go back after Outlook view changed:
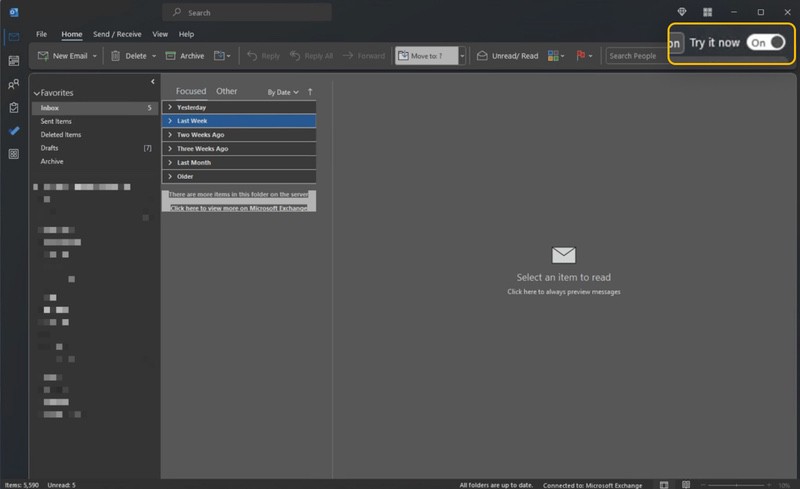
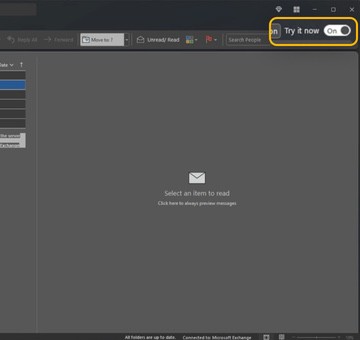
- Open Outlook.
- Switch the toggle next to Try it now to the Off position.
If Outlook still doesn’t look the way you would like it to look, you can try the following:
- Open Outlook.
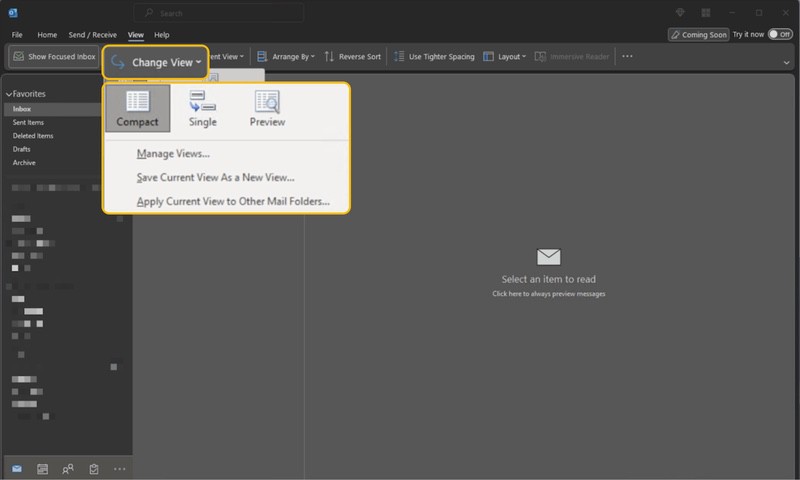
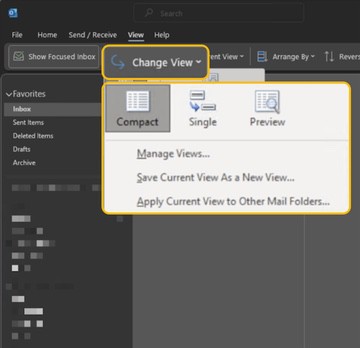
- Go to the View tab.
- Click Change View.
- Make sure the Compact option is selected.
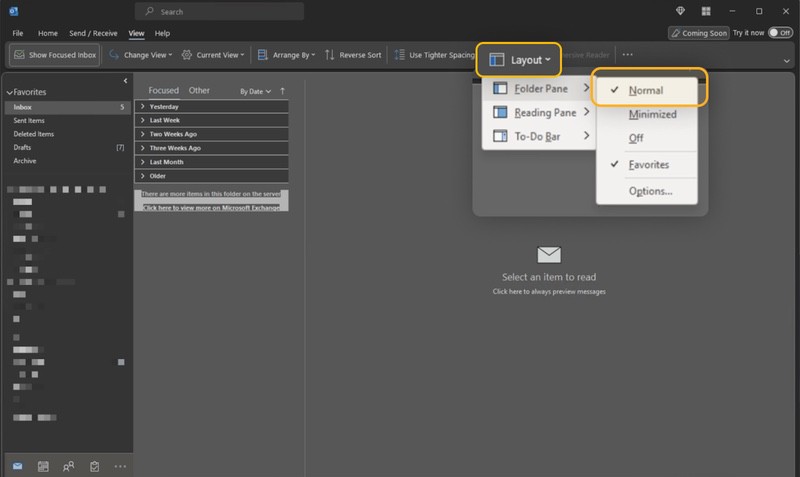
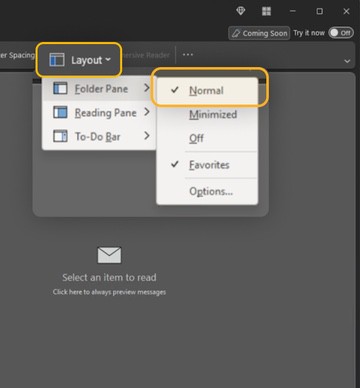
- Instead of the Change View dropdown menu, open the Layout dropdown menu.
- Click Folder Pane and select Normal.
- Click Reading Pane and select Right.
You can also play with other View settings to make the application look and feel exactly how you want.
Organize Outlook Messages Effectively
Regardless of if you’ve decided to go back to Old Outlook on Mac or Windows, you should learn how to organize your inbox using Clean Email to prevent it from becoming cluttered and unusable.
The Clean Email app can organize all cloud-hosted Outlook, Hotmail, and Office 365 inboxes, and it does so transparently, securely, and with respect to your privacy. Instead of sorting emails one by one, you can quickly review and clean large groups of messages at once within the app.
You can also create automatic rules to archive, label, move, or delete recurring emails in the future. For unwanted subscriptions, the app’s Unsubscriber feature lets you remove yourself from mailing lists and reduce inbox distractions without manually searching for unsubscribe links in every email.
Clean Email is available on the web, macOS, and mobile, making it easy to manage your Outlook inbox across devices.
Outlook’s New AI and Automation Features
In 2025, Microsoft has added more AI-powered tools to both Classic and New Outlook. Features like Smart Compose and Focused Inbox now use machine learning to predict what you’re about to type or automatically move important messages to the top. You’ll also find built-in cleanup tools and automation rules that can archive or flag emails on your behalf.
These updates are designed to make email management faster and more intuitive, though some features—like AI-generated responses—are only available in the new version. Whether you prefer the Classic layout or stick with the new one, learning to use these built-in automations can save you time every day.
What Changes When You Switch Between Classic and New Outlook
While the New Outlook looks cleaner and performs faster, some familiar options from Classic View are missing or work differently. For example, COM add-ins and some offline features aren’t supported yet, and local data file management (PST/OST) has changed. However, the new version integrates more deeply with Microsoft Teams, OneNote, and Loop, offering better collaboration tools for business users.
If you rely on older integrations or work frequently offline, you might prefer to stay with Classic View for now. But if speed and cloud syncing matter more to you, the New Outlook could be worth adapting to.
Considering Alternatives to Outlook
If you find yourself stuck with the New Outlook experience or can’t switch back because of administrative restrictions, there are great alternatives worth exploring. Email clients like Mailbird, eM Client, or Thunderbird support Outlook accounts and offer highly customizable layouts, unified inboxes, and advanced filtering tools.
These apps can often replicate the simplicity of Classic Outlook while adding new ways to manage multiple accounts in one place.
FAQ
Can I switch back to the new version of Outlook after?
Yes, it’s possible to go back to Old Outlook on both Mac (open the Help menu and click the Revert to Legacy Outlook option) and Windows (switch the toggle next to “Try it now” to the Off position).
Can I customize the Outlook items view?
Yes, all Outlook views can be customized in a number of different ways, and all available customization options can be ac cessed from the View menu. For example, this is how you can change the font or font size in the message list on Windows:
- Open the View menu and click View Settings.
- In the Advanced View Settings box, select Other Settings.
- Customize the Column Font and Row Font options.


