
Gmail SMTP Settings
Using the Gmail SMTP settings below, you can configure a third-party email client to send messages via Gmail servers across the public internet. Because Gmail servers are trusted by all other email providers, your messages are unlikely to end up in the spam folder.
| Option | Description |
|---|---|
| SMTP Host: | smtp.gmail.com |
| SMTP Port for SSL: | 465 |
| SMTP Port for TLS/STARTTLS: | 587 |
| SMTP Username: | Your full email address (name@domain.com) |
| SMTP Password: | Your email account password |

Gmail Email Receiving Settings
If you want to retrieve email messages sent to your Gmail inbox using a third-party email client, then you need to configure either Gmail POP settings or Gmail IMAP settings.
Gmail POP settings
| Option | Description |
|---|---|
| POP3 Host: | pop.gmail.com |
| POP3 Port: | 995 |
| Requires SSL: | Yes |
| POP3 Username: | Your full email address (name@domain.com) |
| POP3 Password: | Your email account password |
Gmail IMAP settings
| Option | Description |
|---|---|
| IMAP Host: | imap.gmail.com |
| IMAP Port: | 993 |
| Requires SSL: | Yes |
| IMAP Username: | Your full email address (name@domain.com) |
| IMAP Password: | Your email account password |
Looking for AOL settings or Outlook email settings? Our Blog's Email Settings category contains specs for all major mail service providers.
Keep Your Business Email Professional with Clean Email
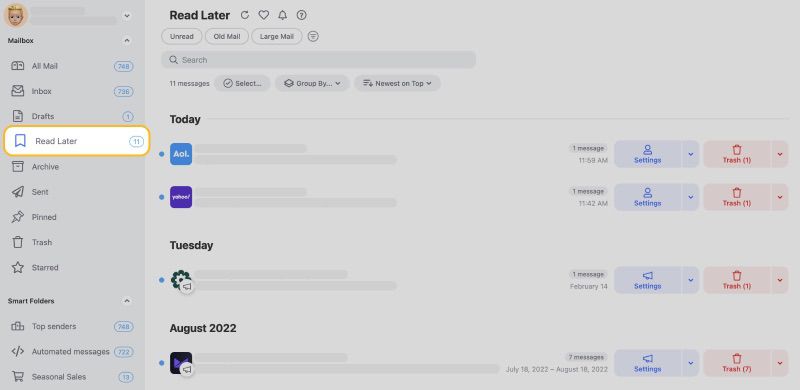
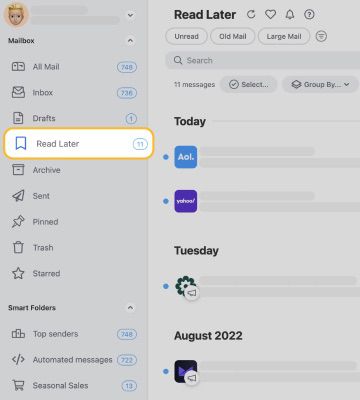
Using a custom Gmail email for your business means you want to look organized and professional. Clean Email helps you keep it that way with Read Later, which lets you hide non-urgent messages until you’re ready to look.
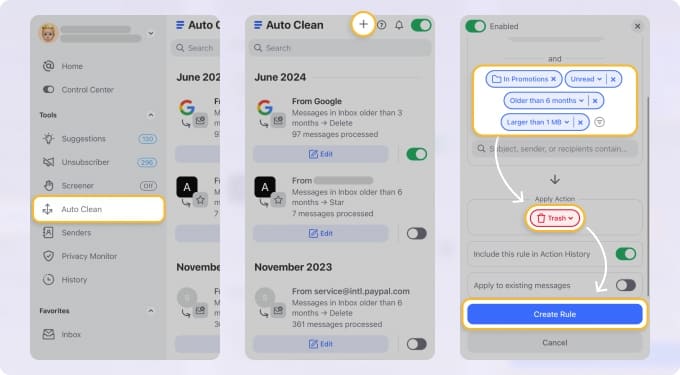
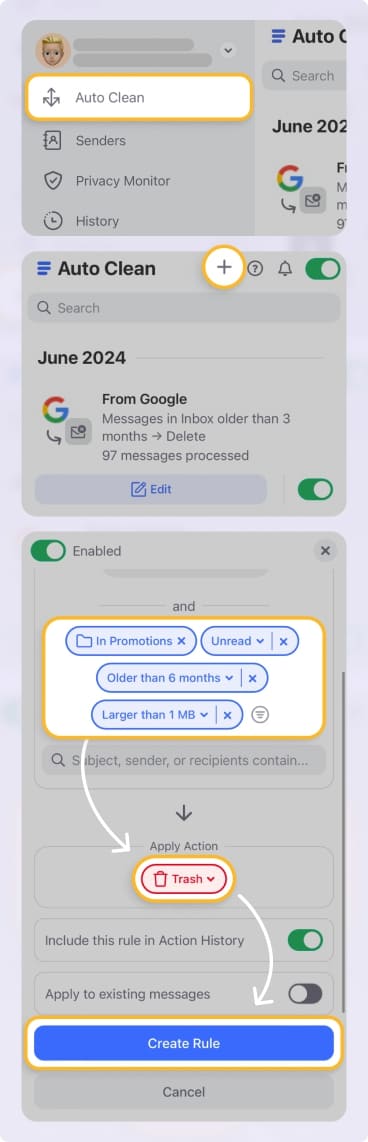
You can also use Auto Clean to archive or delete messages after a certain number of days—great for automatically clearing out things like receipts or automated updates that don’t need to stick around.
And with Cleaning Suggestions, you’ll get smart tips based on your habits. It’s like having a personal assistant that tells you what to clean up—and it only gets smarter the more you use it.

Clean Email is privacy-focused and designed to never share, sell, or analyze your email content. If you use Gmail for business or client communication, this level of trust and control is essential. You can enjoy a clean inbox without compromising your data.
Good to Know
Gmail lets users download up to 2,500 MB of email data per day using the IMAP protocol or up to 1250 MB of email data per day using the POP protocol. IMAP uploads are limited to 500 MB of email data per day.
💡 Tip: When setting up IMAP or POP access to your Gmail inbox on multiple devices, it’s a good idea to configure one device to use IMAP and the other one to use POP.
Here’s how you can check if IMAP or POP is turned on:
- Log in to your Gmail account on a computer.
- Click the Settings gear icon in the top right and then choose the See all settings option.
- Go to the Forwarding and POP/IMAP tab.
- Select the Enable IMAP option in the IMAP access section to turn on IMAP, or select the Enable POP for all mail or Enable POP for mail that arrives from now on option in the POP download section to turn on POP.
- Click Save Changes at the bottom to save the new email settings for Gmail.
POP3 vs IMAP: What’s The Difference
The difference between POP and IMAP is that the former downloads emails to local storage, while the latter leaves them on Gmail servers and merely updates their status (read, unread, and so on).
So, which one should you use? Well, that depends entirely on your use case:
- POP makes sense in situations where you want to access your email messages only from one device. If you configure your client to delete messages from Gmail after downloading them, you can save storage space for other Google products, such as Google Photos.
- IMAP makes sense in all other situations. It provides the ability to access messages from multiple devices by synchronizing changes made to messages stored on Gmail’s servers between local clients running on desktop computers, mobile phones, and other devices.
Please let us know, and we’ll fix them immediately.


