


What Is an Email Signature?
An email signature is sort of like a business card that’s placed at the bottom of your messages. This digital business card can contain all kinds of information about you, your company, or your products/services.
Here’s an example of a simple text-only email signature:
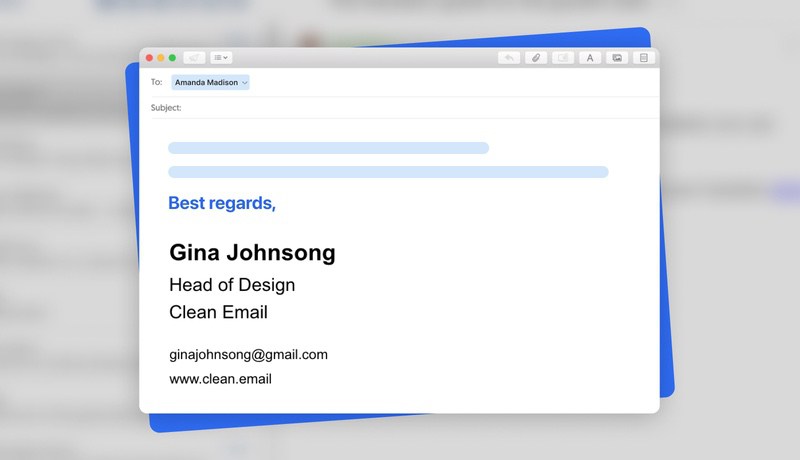
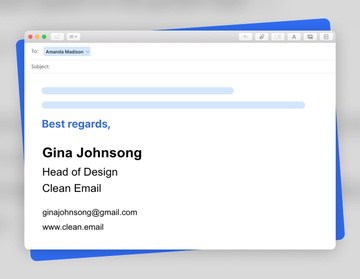
As you can see, the sig contains a closing, the sender’s name and role, and his contact information. HTML Email Signature can also include images (such as a headshot or company logo), social media icons, clickable links, and other elements that make your email signature more professional.

How to Create an Email Signature
Now that you know what to include in an email signature, it’s time to explain how to create one. There are three main methods you can choose from:
- You can code the sig manually using the HyperText Markup Language.
- You can use a free email signature generator to create it with a few clicks.
- You can create the signature based on a Google Docs or Microsoft Word template.
Let’s explore each of the three methods in more detail:
Manual Creation
The HyperText Markup Language has been around since 1993, and just about every website you see relies on it to display content in a web browser. The markup language is also supported by many mail clients and services, making it possible for their users to manually create custom sigs using HTML tags like <b> </b> or <hr>.
To manually create a mail sig, you need only basic knowledge of the HTML. The tutorial provided for free by W3Schools is a great place to start. That said, we don’t think learning the markup language just to create a single sig is a good use of your time. If you don’t know the language already, use the other two methods instead.
Online Generators
Online generators like WiseStamp or SignWell make it easy for people with limited technical skills to create beautiful mail sigs with photos and logos. Most generators provide multiple pre-made templates for users to choose from and customize.
Some generators are completely free, but most lock certain features behind a paywall to nudge users toward purchasing a paid subscription plan. Regardless of if you choose a free or paid online generator, you will be provided with an option to export to copy your finished sig, and you can then simply paste it into your email client.
Templates
Mail sig templates for Google Docs or Microsoft Word are great because they can be downloaded for free from the internet and customized using the familiar word-processing applications. You can keep things simple and create a text-only sig like the one we showed earlier in this article as an example, but you can also add social media icons and other graphical elements.
Canva comes with many mail sig templates that you can easily customize to create everything from a handwritten email signature to a CTA email signature. You can then export the result as an image and divide it into its individual elements using a free graphics editor like Photopea. From there, you just need to import the elements into your word-processing application and use a tool like Word to HTML to get HTML code.
How to Add a Signature to Email
Adding an HTML signature to your email messages is usually very simple, but the exact steps you need to follow depend on which email service you use. Click the links below for detailed step-by-step instructions for major email service providers:
Generally, the process of adding a signature to emails boils down to copying the signature from an online generator, customized template, or some other place and pasting it into the mail sig text field in settings.
Organize Your Messages With Clean Email
If you’re on a journey to become a better mail user, then you shouldn’t stop at mail sigs. Instead, you should learn how to keep your inbox organized using a tool like Clean Email.


With Clean Email’s help, you can automatically group hundreds or even thousands of messages into a small number of bundles of similar messages, such as social media notifications, messages that are older than one year, and so on.
It then takes just a few clicks to apply the same action to all messages in a single bundle, and you can even automate the action by clicking a single checkbox to create an Auto Clean filter.
Clean Email can also help you get rid of unwanted subscription messages regardless of if they contain an unsubscribe link. Messages from annoying senders can be blocked as well, or you can configure the inbox organizer to automatically archive them—it’s up to you!
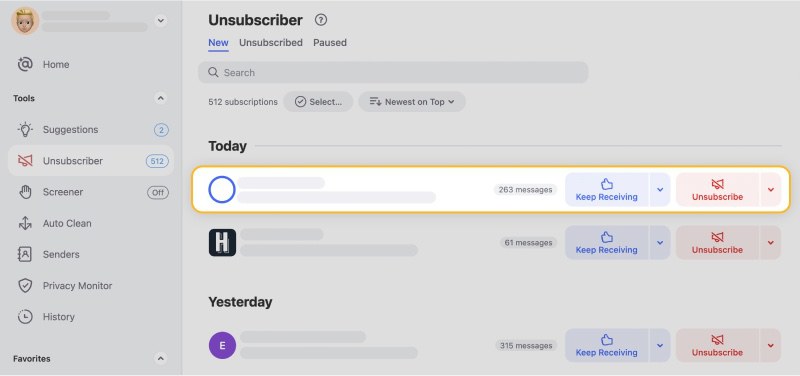
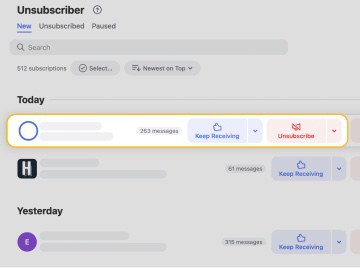
You can get started with Clean Email for free, and the application is compatible with all major email services.
FAQ
Will my mail sig show up even when sending messages from my mobile device?
When you configure a mail sig for one mail client, all other mail clients will still send your messages without your sig. For your sig to show up even when sending messages from a mobile device, you need to configure your mobile mail client to include it as well. Unfortunately, not all mobile mail clients support HTML sigs, so you may have to use a plain-text sig instead.
Should I add an image to my email signature?
That depends largely on your objectives and target audience. A well-chosen image can certainly make your mail sig stand out more, but it can also significantly increase the size of your messages. What’s more, you may run into issues with the image not displaying correctly on all devices.
Should I create a plain text or HTML sig?
Plain text sigs are guaranteed to display correctly everywhere, but they can look a bit boring and can’t include images. HTML Language sigs, on the other hand, are highly flexible, but they need to be optimized to display as intended on desktop computers and small mobile screens alike.


