


How to Share a Google Calendar With Others
You can easily share a Google Calendar so that others can see your events. This might be a friend, family member, or a Gmail distribution list you’ve set up for coworkers or a project team.
By directly sharing with specific people, you can allow them to see if you're free or busy, view event details, make changes to events, or manage the sharing options. The permissions you choose are completely up to you.

Share a Google Calendar With a Specific Person or Group
Whether you want to share with a friend, spouse, or a group, you’ll walk through the same process.
When to use: Best for sharing a personal calendar with loved ones, project agenda with team members, office schedule with coworkers, or birthday calendar with family. Pairing calendar access with a family password manager can also ensure everyone has secure access to shared tools and login credentials.
Visit Google Calendar on the web, sign in, and follow these steps:
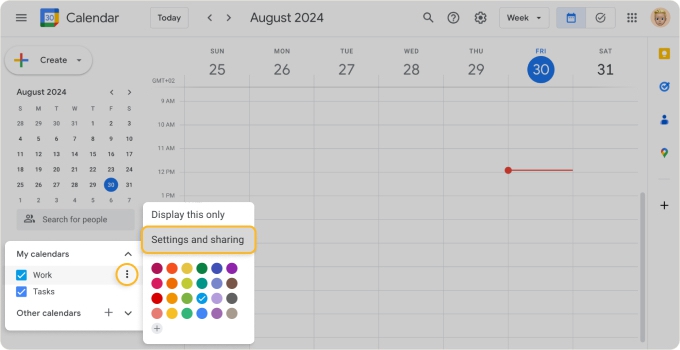
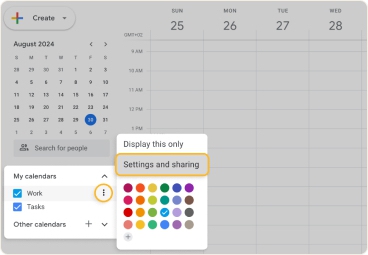
- Expand My calendars and click the three dots to the right of the calendar.
- Select Settings and sharing.
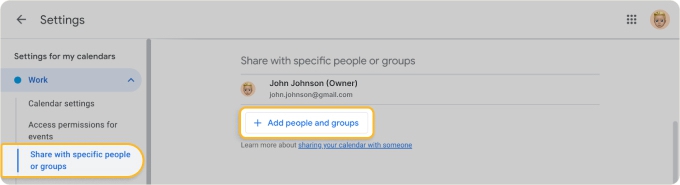
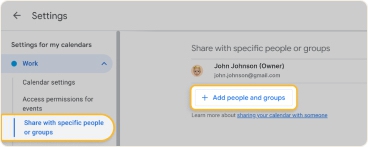
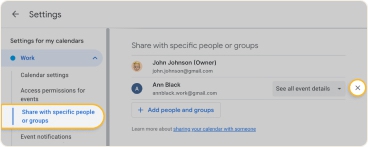
- On the left of the Settings, choose Share with specific people or groups.
- Click Add people and groups.
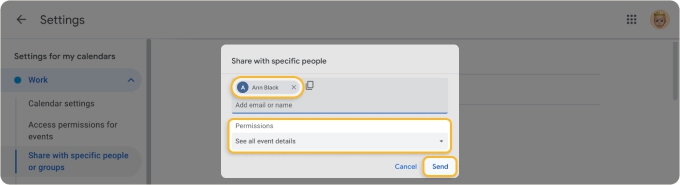
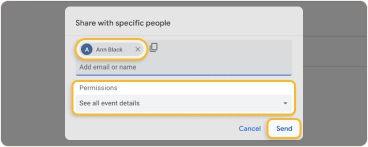
- Enter one or more names or email addresses or pick from the suggestions.
- Select the Permissions for sharing and hit Send.
When you invite someone to share a Google Calendar via email, the message contains a link to your calendar that they use to view it.
📌 Tip: If you want to boost productivity by sharing multiple calendars, just follow the same process for each calendar.
Adjust the Permissions for a Person or Group
When you first send the calendar invitations to those you want to share with, you choose the permissions you want to allow. But this is something that you can change anytime and adjust per person.
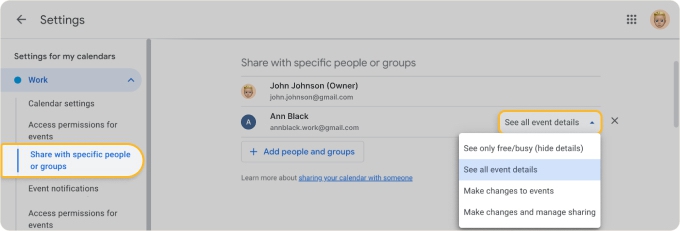
Follow Steps 1 through 3 above. Then, use the drop-down menu to the right of the person or group to pick a different option:
- See only free/busy: This option hides the event details and only shows a Free or Busy indicator.
- See all event details: This option shows all event details including title, location, and description.
- Make changes to events: This allows those you share with to change calendar events.
- Make changes and manage sharing: This allows those you share with to change events and manage sharing options.

Once you edit the permissions, the change is immediate. It also triggers an email to the person or group you share with that states the updated permissions you allow.
Stop Sharing With a Person or Group
If you decide that you no longer want to share your Google Calendar with someone, this is a quick change.
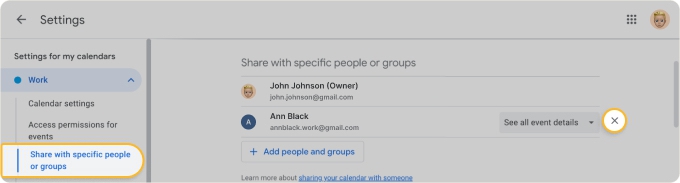
Follow Steps 1 through 3 above and click the X to the right of the person or group to unshare the calendar.
How to Share a Google Calendar Publicly
Along with directly sharing a calendar with a person or group, you can make it public. This means that anyone with a link can view the calendar which is a handy way to go in many situations.
You have a couple of different options here, so let’s take a look.
Make a Calendar Public and Require Sign-In
This first option lets you share a Google Calendar with multiple users who have a link to it and you can adjust what they can see.
When to use: Ideal for sharing training agendas, practice schedules, or activity calendars with other Gmail/Google users.
Visit Google Calendar on the web, sign in, and follow these steps:
- Expand My calendars and click the three dots.
- Select Settings and sharing.
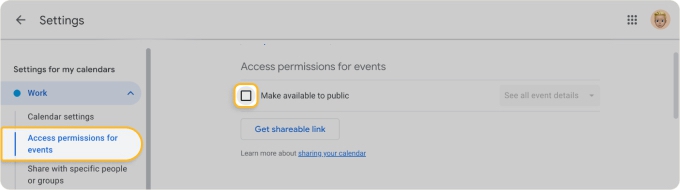
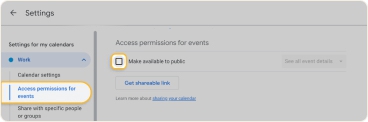
- On the left of the Settings, choose Access permissions for events.
- Check the box for Make available to public.
- Read the brief warning and click OK.
- By default, permissions are set to See all event details. To hide event details, pick See only free/busy instead.
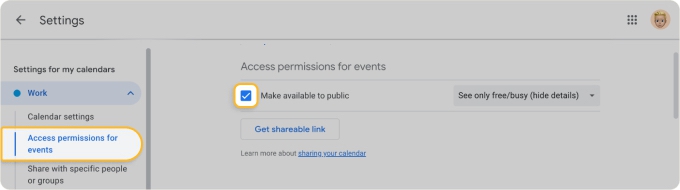
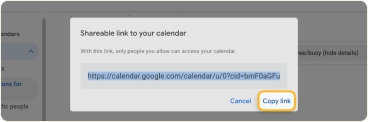
When you’re ready to share, click Get shareable link in the same section of the Settings. Choose Copy link in the pop-up window to place the link on your clipboard and then paste it where you please to share it with others.
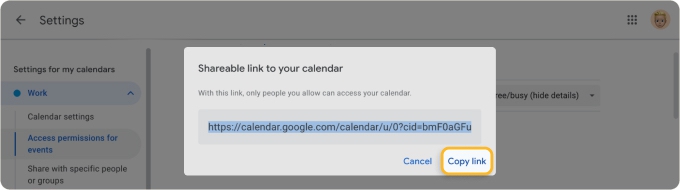
When someone clicks the link you provide, they’ll be prompted to sign into their Google account and subscribe to your calendar.
💡 Note: While making your calendar public normally takes just a few minutes, keep in mind that it can take up to four hours.
Stop Sharing Publicly
If you decide later that you don’t want to share your public calendar anymore, this is also a quick change.
Follow Steps 1 through 3 above and uncheck the box for Make available to public.
Make a Calendar Public and Don’t Require Sign-In
If you prefer to share your calendar without requiring others to sign into their Google account as well as completely limit what they see, this is another option.
When to use: Perfect for sharing an agenda, schedule, or calendar with non-Gmail/Google users, those outside your organization, or where you don’t have their email address.
- Expand My calendars and click the three dots.
- Select Settings and sharing.
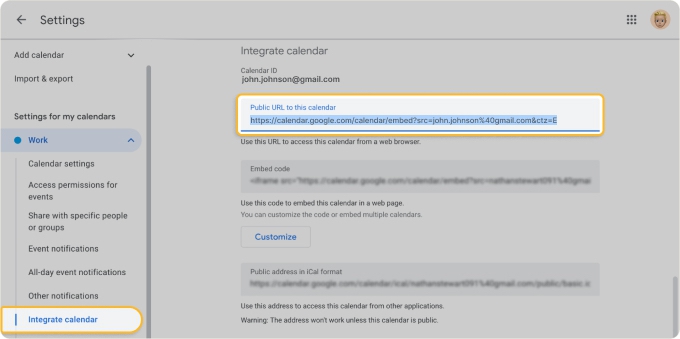
- On the left of the Settings, choose Integrate calendar.
- Copy the code below Public URL to this calendar and then paste it where needed.
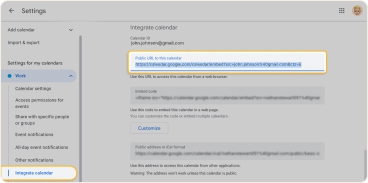
Those who click the link to your calendar see a read-only view of your Google Calendar.
💡 Note: To share with someone using iOS, use the code below Public address in iCal format instead.
Better Email Management with Clean Email for Gmail
There’s more to managing calendars and schedules than using Google Calendar. Many times, it comes down to the emails you receive about meetings, appointments, and events. Make sure you don’t miss an important message by using Clean Email to organize your Gmail inbox.
With Clean Email, you can enjoy many features of mailbox management that go further than Gmail’s offerings. These features can help you with email productivity by more minutely automating message tasks, screening new senders, and removing subscriptions in bulk.
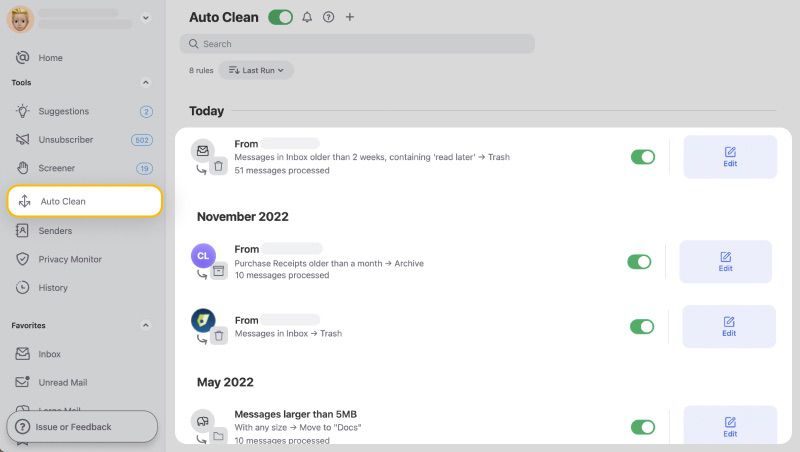
Auto Clean
Automatically manage incoming emails effortlessly with Auto Clean. Flag those from your boss, move messages for a project, or send articles from vendors to Read Later.
Once you create an Auto Clean rule, you don’t have to lift another finger or manually organize your messages. And the feature provides more detailed conditions than Gmail inbox filters.
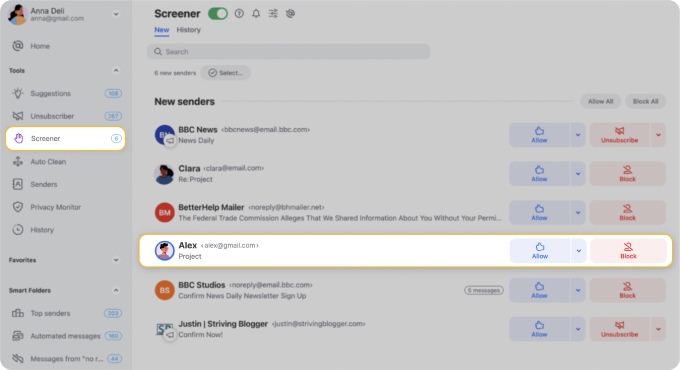
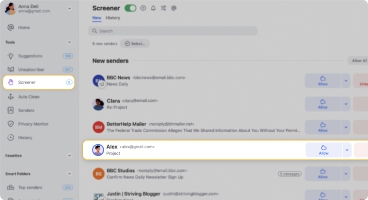
Screener
Whether an email about a job interview, from a new physician’s office, or for an unscheduled business conference, don’t let it get lost in the shuffle.
Using Screener, you can see messages from unknown senders all in one spot. Then, allow those you want and block those you don’t. You won’t find a comparable feature in Gmail!
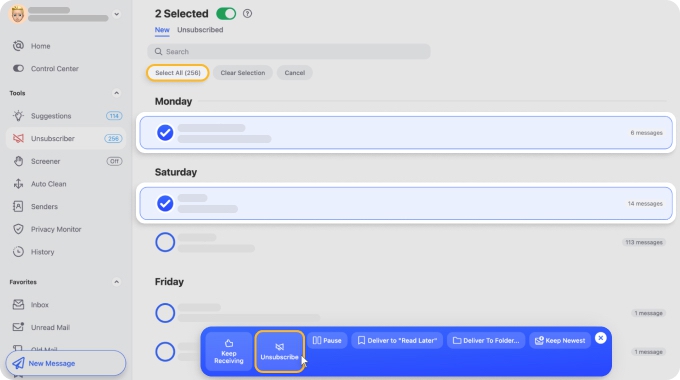
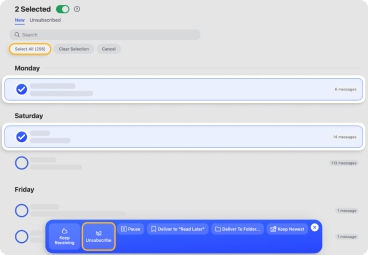
Unsubscriber
When your inbox is full of subscription messages, it can be easy to miss important emails.
With Unsubscriber, not only can you remove yourself from mailing lists quickly and easily but save a ton of time by doing so in bulk. This means that you can unsubscribe from dozens of emails at once rather than by clicking one Unsubscribe button at a time.
All Clean Email features are available on the web, desktop (on Mac), and mobile apps for Android and iOS. So, you can maintain a neat and tidy mailbox from anywhere, anytime.


