


Key Takeaways
- Outlook rules run automatically based on conditions you set, like sender or subject.
- You can create, edit, and delete rules in both the desktop and web app.
- Outlook's mobile app does not support rule creation – use Clean Email for that.
- Rules have three parts: conditions, actions, and exceptions.
- Each Outlook account has a 256KB rule storage limit for all rules combined.

What Are Outlook Rules?
Outlook rules are automatic commands that watch your incoming emails and take action when a message matches your criteria.
For example, you can use rules to move emails into folders, flag messages as important, or sort emails in Outlook – all without touching your inbox manually.
Outlook Inbox rules vs. Sweep rules: Inbox Rules run as matching emails arrive. Sweep actions are processed once per day and are available in Outlook on the web and the new Outlook.
What Outlook rules can and can't do
| Outlook can | Outlook can't |
|---|---|
| Move emails | Apply rules from mobile |
| Forward emails | Run on a schedule |
| Categorize emails | Use AI conditions |
| Flag emails | Analyze email content beyond simple conditions |
| Delete emails | Create nested logic like IF/ELSE |
How to Create Rules in Outlook
On Desktop from an existing message:
- Right-click a message and select Rules → Create Rule.
- Choose a condition (for example, Subject includes) and enter your keywords.
- Select an action, such as Move to, and pick or create a destination folder.
- Click Save.
On the Web from an existing message:
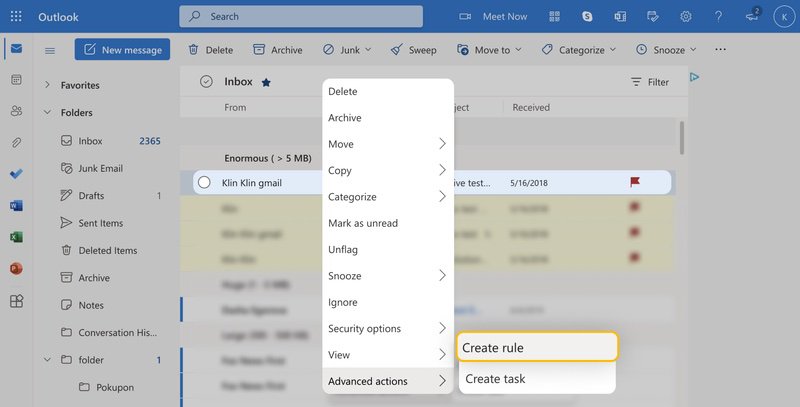
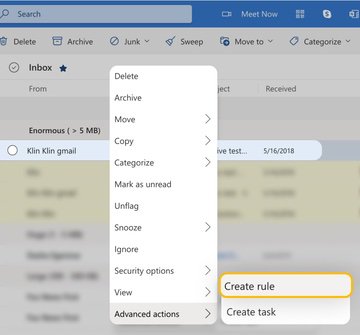
- Right-click a message from a certain sender, select Advanced Actions, then choose Create Rule.
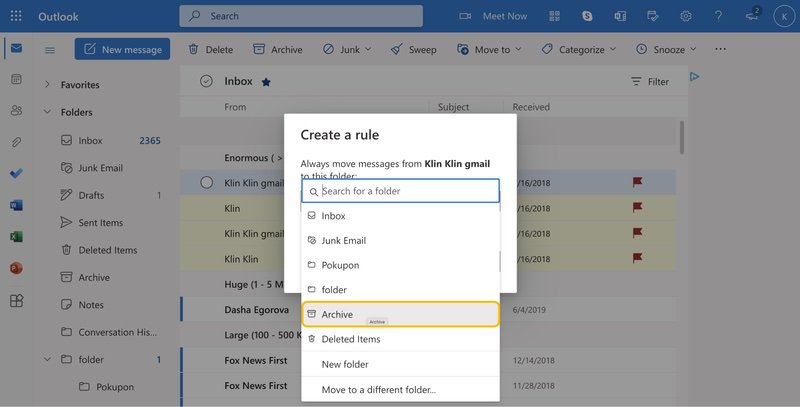
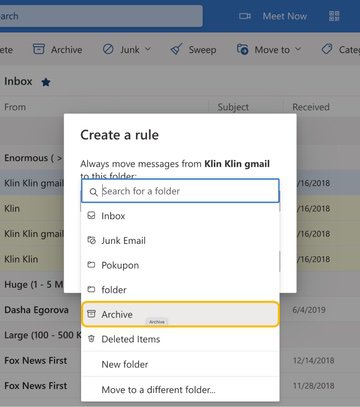
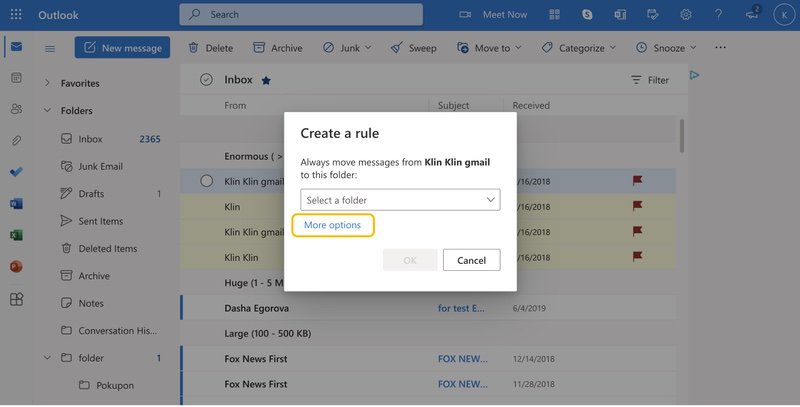
- Choose the folder you want messages to move to automatically, then click OK.
- Click OK again and check Run this rule now in Inbox to apply it to existing messages.
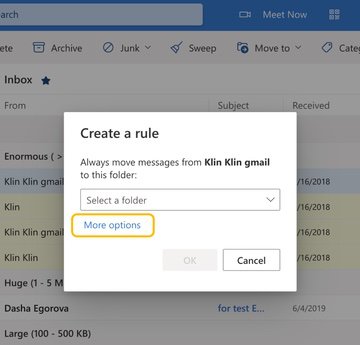
- To add more actions beyond moving messages, click More Options under “Select a Folder”.
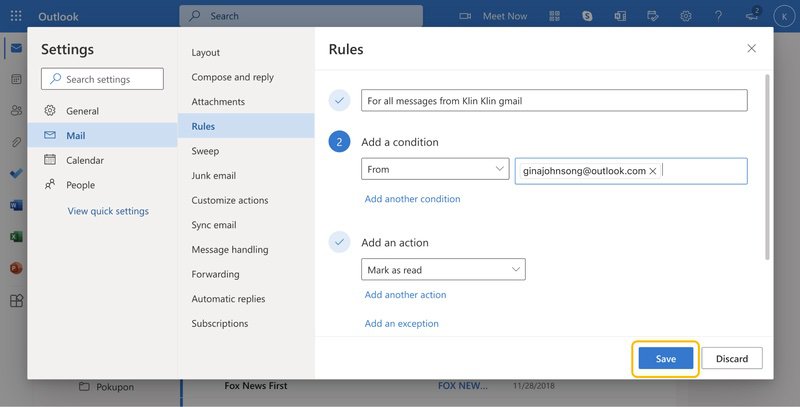
- A rule settings menu will appear. Give your rule a name, then set your conditions and actions. You can add multiple conditions, actions, and exceptions. Toggle Stop processing more rules if you don't want other rules to run at the same time.
- Click Save to confirm, or Discard to cancel.

How Outlook processes multiple rules
Outlook checks your rules in order, starting from the top of the list. If an email matches the first rule, Outlook applies its action and then continues to the next matching rule unless you tell it to stop.
If you don't want other rules to affect the same message, enable Stop processing more rules when creating or editing the rule. This is useful when one rule should take priority over all others, such as moving confidential emails to a dedicated folder before any general filing rules run.
In Classic Outlook, you can change the rule order by going to File → Manage Rules & Alerts and using the Move Up or Move Down buttons. In Outlook on the web and the new Outlook, drag rules into the order you want.
How to Delete Rules in Outlook
Desktop – Classic Outlook:
- Click File → Manage Rules and Alerts.
- Select the rule you want to remove and click Delete.
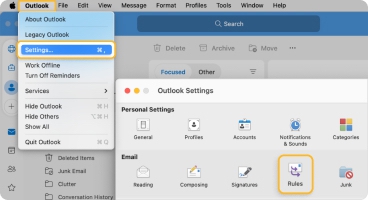
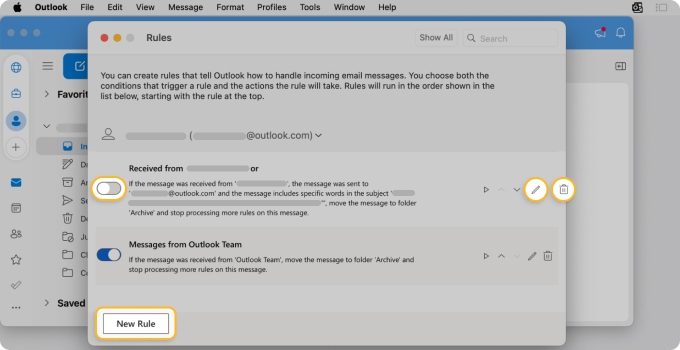
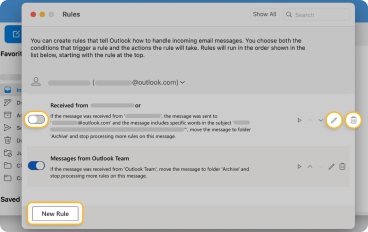
Desktop – Outlook for Mac:
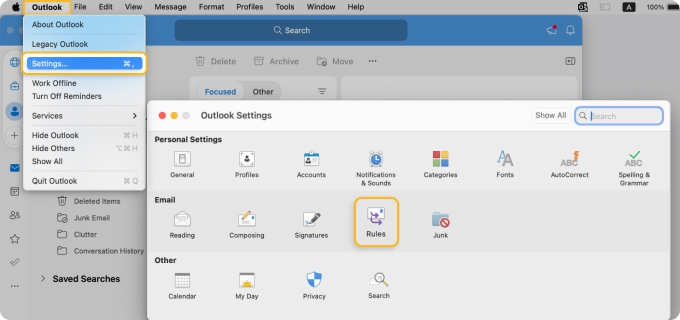
- Open the Outlook menu and select Settings.
- Under the Email section, choose Rules.
- Edit, delete, pause, or add rules from this panel.
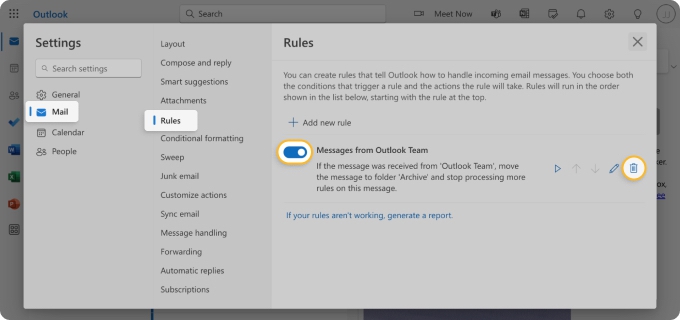
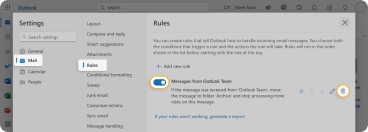
Web – Outlook.com or New Outlook for Windows:
- Click the gear icon (top right) to open Settings.
- Select Mail, then click Rules.
- Find the rule you want to remove and click the Delete (trash can) icon. To pause a rule temporarily without deleting it, click the toggle next to it instead.
How to Edit Rules in Outlook
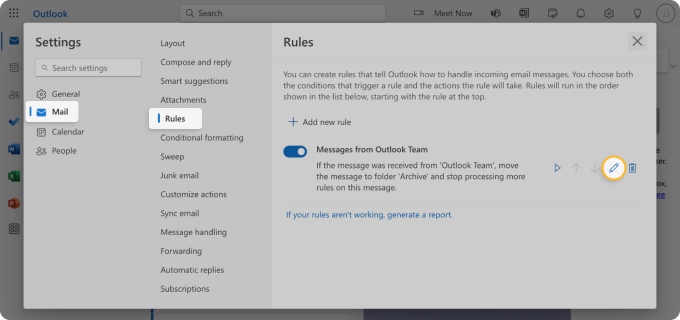
In Outlook.com or New Outlook for Windows:
- Go to Settings.
- Click Mail, then select Rules.
- Find the rule you want to change and click the Edit (pencil) icon.
- Make your changes, then click Save.
How to Manage Outlook Rules on Mobile
The Outlook mobile app (iOS and Android) does not support creating or managing rules.
For rule management on mobile, use Clean Email – it lets you create, edit, pause, and delete rules from any device.
Need quick inbox filtering instead of automation? See how to filter emails in Outlook.
Use Clean Email for Rule-Like Automation Across Devices
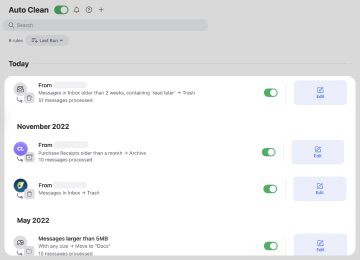
Clean Email's Auto Clean lets you set up rule-like automations that work on desktop and mobile with more flexibility than native Outlook rules.
With Auto Clean you can:
- Create rules based on sender, recipient, subject, folder, message age, size, and more.
- Pause or edit rules without deleting them.
- Apply rules to existing messages, not just new ones.
- Manage rules on mobile, where Outlook falls short.
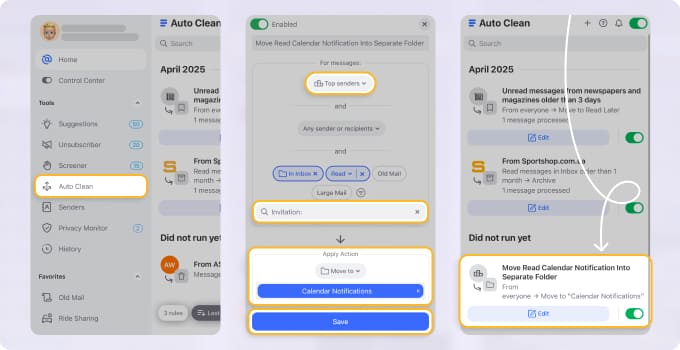
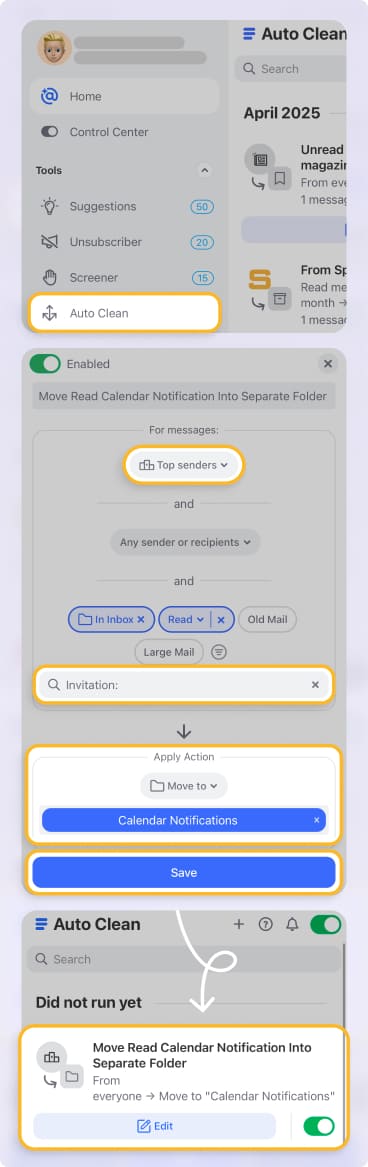
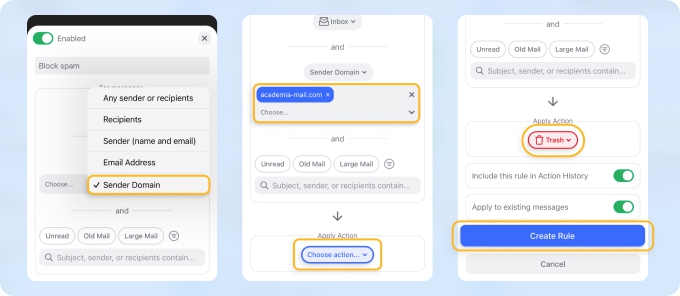
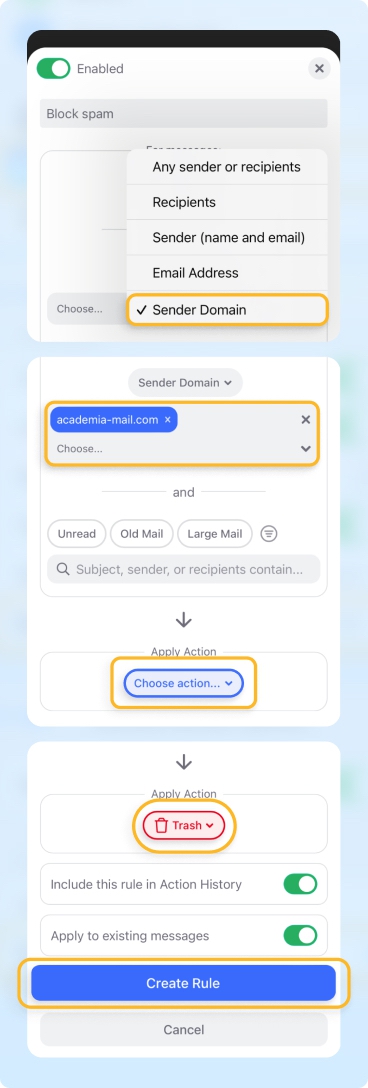
To create an Auto Clean rule:
- Open Clean Email and choose the Auto Clean tool.
- Click Create Rule or the + icon.
- Set your conditions (sender, folder, age, size, or status), then choose an action.
- Click Create Rule to save.
All your rules are visible and editable from the Auto Clean tab.
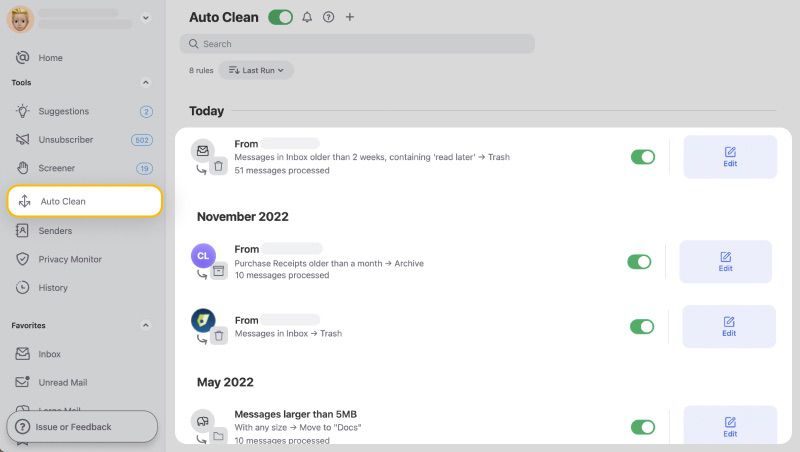
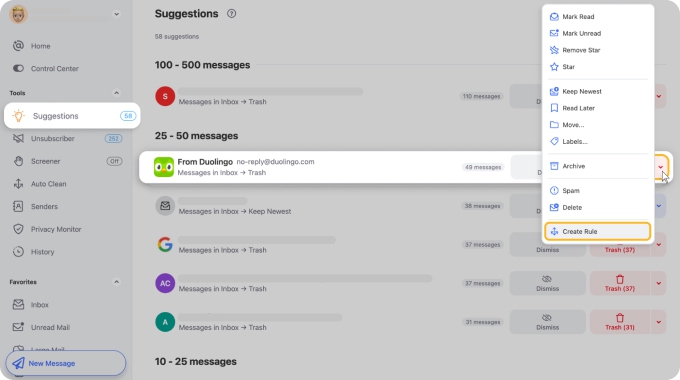
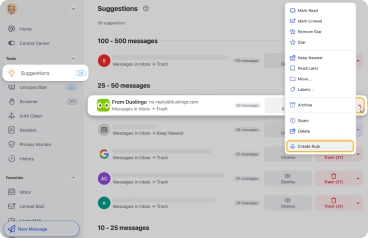
You can also go to Cleaning Suggestions to explore the predefined cleaning options. This is a great alternative to manually creating rules and actions in Outlook.
Clean Email makes suggestions based on similar messages that you or other app users have previously cleaned. From this tool, you can create a rule to perform the cleaning regularly and automatically.
What You Need to Know About Outlook Rules
Every rule has three parts:
- Conditions: define which emails the rule applies to (e.g. sender, subject, recipient).
- Actions: what Outlook does when the condition is met (e.g. move, flag, delete).
- Exceptions: narrow the rule further (e.g. apply to all emails from a sender, except group messages).
Common rules you can set up in Outlook include marking emails as spam, archiving, moving to folders, flagging, auto-replying when out of office, and creating custom alert messages.
Conclusion
Outlook rules are one of the most effective ways to keep your inbox under control. For anything native Outlook can't handle, especially on mobile, Clean Email's Auto Clean covers the gap with flexible, device-agnostic automation.
FAQs
What are the two types of Outlook rules?
It recognizes two types of rules:
- Server-based rules: When you create a server-based rule, the rule will be applied directly by the email server.
- Client-only rules: On the other hand, client-only rules are applied locally on your computer.
Why isn't my Outlook rule working?
Your Outlook rule may be disabled, overridden by a higher-priority rule, or its conditions may not match the email. Most rules only apply to new messages, so you'll need to run the rule manually for existing emails.
How do I run Outlook rules on existing messages on the web?
Open Settings → Mail → Rules, then click Run rule now (▶) next to the rule if that option is available. If you don't see this option, your Outlook version doesn't support running rules on existing messages, so the rule will only process new emails going forward.
What is the rule limit in Outlook?
There's no cap on the number of rules, but Outlook gives you 256KB of total rule storage. Once you hit that limit, you'll need to delete existing rules before adding new ones.


