Auto Clean Overview
Clean Email provides a variety of tools to help you keep your email inbox clean automatically.
Often, the Screener and Sender and Mailing List Settings are enough to keep your mailbox clean and organized. However, if you need a customized approach to identifying which messages should be cleaned, Auto Clean makes it possible. Using Auto Clean, you can create rules to automatically apply almost any action to messages that meet almost any specific criteria.
For example, suppose you want to automatically delete social notification messages when they become older than one day. You could create an Auto Clean rule that automatically monitors the Social Notifications Smart Folder and trashes any messages older than one day. You would not have to see or clean these messages at all, because Auto Clean would handle it for you automatically.
As another example, suppose you subscribe to several newsletters but you do not always have time to read the messages. Perhaps you usually end up deleting newsletter messages older than a week without reading them. You could create two Auto Clean rules to handle this for you automatically:
- The first rule would automatically move all messages from the newsletter’s sender to the Read Later folder, so the messages would not clutter up your inbox. (Alternatively, you could set this part up via Sender Settings.)
- Another Auto Clean rule would scan the Read Later folder and automatically trash or delete messages from this specific sender that are older than one week.
Using Auto Clean rules, Clean Email automatically cleans your email account so you do not have to see or manually clean unwanted messages.
This article provides an overview of the Auto Clean feature. Please see these related articles for more details:
For an overview of the automatic cleaning process and the available tools, please see How Clean Email Processes Incoming Mail.
⚠️ Important: Auto Clean is a very powerful tool that gives you control over processes that Clean Email will automatically apply in the future. It is easy to set up custom, flexible rules, but since Clean Email processes the Auto Clean actions automatically without prompting you, it is important to use care when configuring the rules.
If you set up Auto Clean rules incorrectly, Clean Email may take actions that you did not expect, potentially resulting in lost or deleted messages.
Please click one of the following links to jump to the corresponding section of this article:
- Accessing Auto Clean
- Enabling and Disabling Auto Clean
Accessing Auto Clean
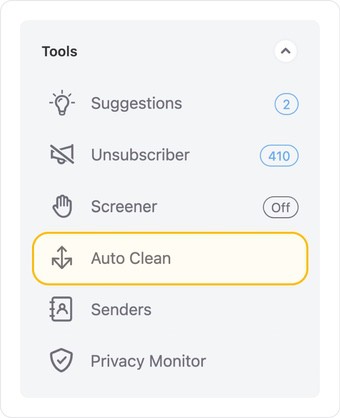
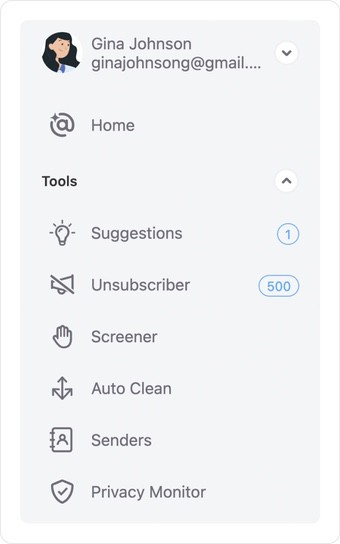
To access the Auto Clean feature, click Auto Clean in the left-hand navigation pane.
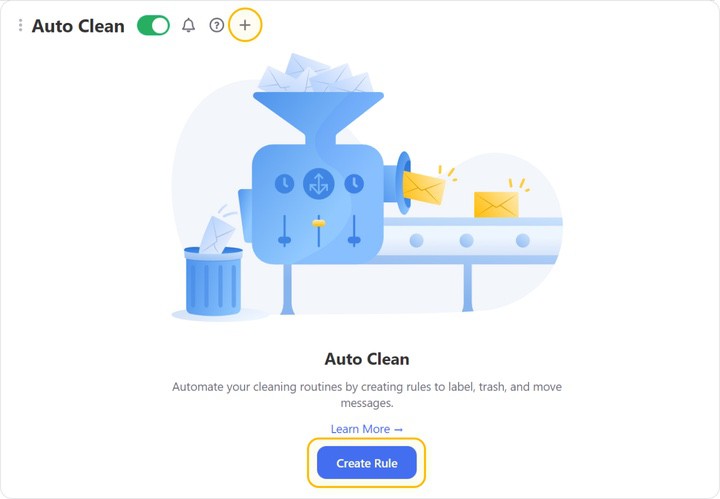
The first time you access the Auto Clean page, the page will be blank until you have created one or more Auto Clean rules. You can click Create Rule or click the + symbol at the top to begin a new rule.
Using the Auto Clean page is not the only way to create Auto Clean rules. When you select a message group in any Smart Folder, the action bar at the bottom of the preview pane includes the Create Rule action button.
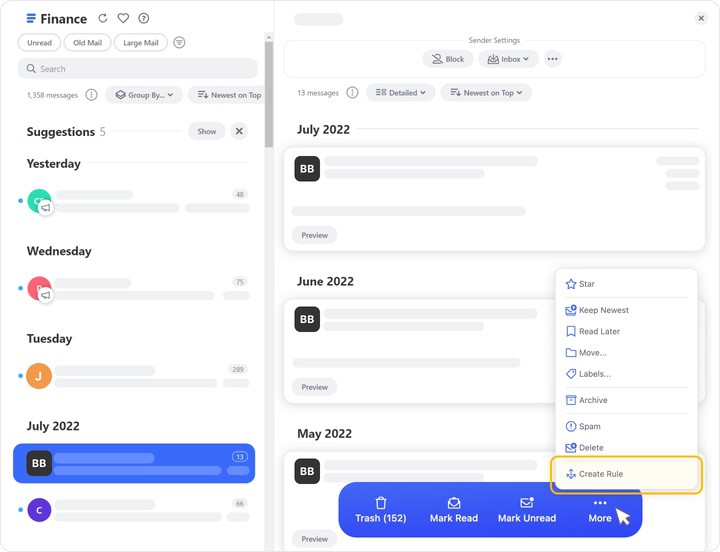
Clicking Create Rule opens a dialog with the rule’s scope automatically suggested based on the messages you have selected.
For details on creating and editing Auto Clean rules, please see our article here.
Enabling and Disabling Auto Clean
Before taking advantage of Auto Clean, it is important to understand how it works. Auto Clean actions are applied to all incoming messages except pinned messages, but only after sender and mailing list settings have been applied. There may be a short delay between message arrival and the Auto Clean rule being applied.
For more information on the sequence of the automated cleaning process that Clean Email follows each time a message is received, please see How Clean Email Processes Incoming Mail.
Auto Clean automatically performs its assigned tasks exactly as you have configured the rules, but sometimes users may make a mistake configuring the Auto Clean rules. This can lead to unexpected results; for more information, please see I Am Missing Important Messages. Why?.
If you find that you are missing email messages that you expected to see in your account, you might want to temporarily disable Auto Clean and observe whether or not you continue to experience additional missing messages after that.
- If disabling Auto Clean results in no new missing messages, it is likely that you need to review and adjust your Auto Clean rules to be more specific about which messages are to be cleaned.
- If you continue to experience additional missing messages after disabling Auto Clean, the issue may be something to do with your ISP or another cause, and you can re-enable Auto Clean since it is not the cause of the issue.
The left-hand navigation pane includes a status indicator to the right of the Auto Clean button, which shows when Auto Clean is disabled.
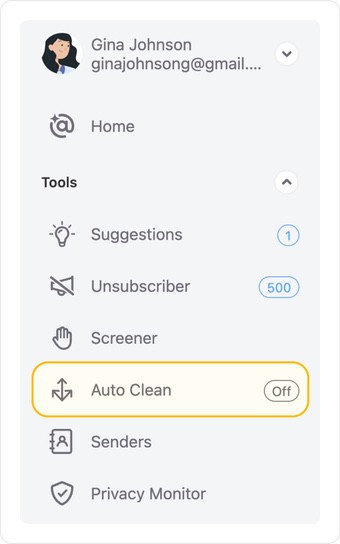
When Auto Clean is enabled, no indicator appears.
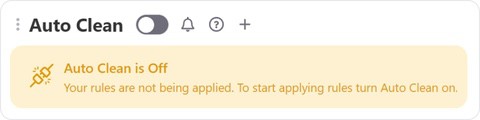
If you need to turn Auto Clean on or off, click the Auto Clean button in the left-hand navigation pane. Then, at the top of the Auto Clean page, click the toggle to the right of the page title.
When Auto Clean is turned on, the button appears on the right-hand side of the toggle, and the toggle is green:

When Auto Clean is turned off, the button appears on the left-hand side of the toggle, and the toggle is gray. In addition, a message appears indicating that Auto Clean is disabled.
Please contact us and we will be happy to help.
