Previewing Messages
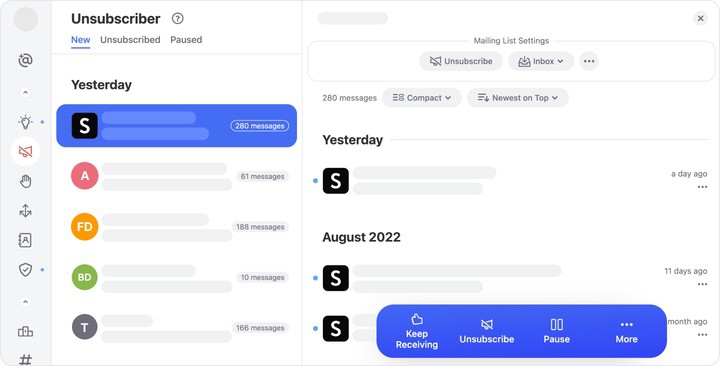
In Clean Email, when you click any item in a list, the preview pane opens on the right-hand side of the pane. The contents of the preview pane depend on what type of items are displayed in the list.
For example:
- In Smart Folders, click a message group to see previews of the messages in that group.
- In Auto Clean, click a rule to see previews of messages that were affected by that rule.
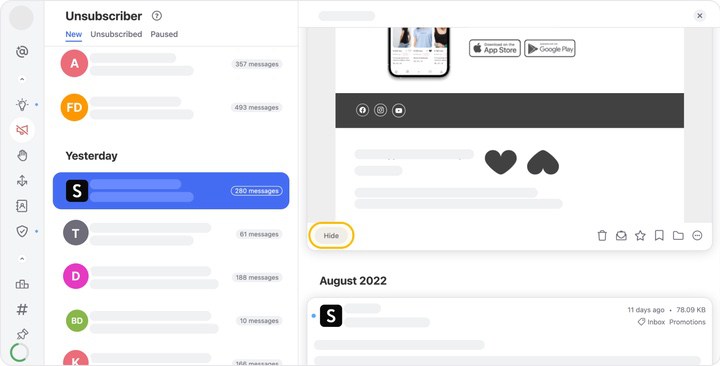
- In the Unsubscriber (pictured in the illustration below), click a sender to see previews of messages from that sender.
Using the Preview Pane Controls
You can use the controls in the preview pane to organize, display and manage your messages.
Here are the controls available in the preview pane; for each item in this list, there is a separate section of this article below.
- Selecting Detailed or Compact View
- Controlling the Sort Sequence
- Previewing Message Contents
- Message-Specific Actions
- Forwarding and Replying to Messages
- Accessing Sender Settings
- Toggling the Multiple Message Selector
- Closing the Preview Pane
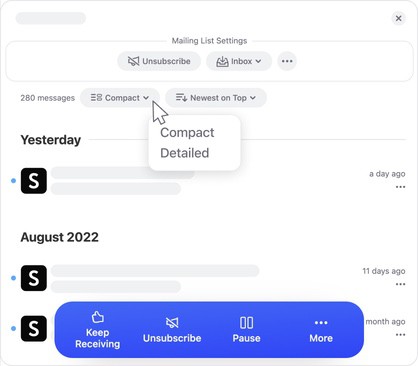
Selecting Detailed or Compact View
To choose between the detailed view and a more compact view that does not include the Preview button, click the Detailed drop-down.
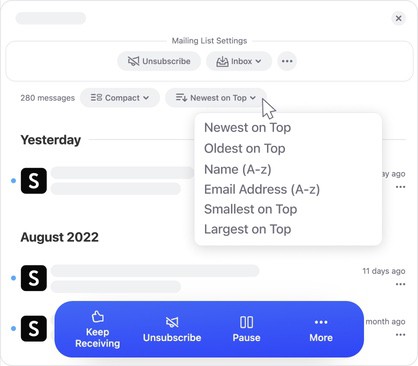
Controlling the Sort Sequence
You can control the sequence in which the message groups are sorted by clicking the default sort sequence Newest on Top and selecting the desired sequence from the drop-down list.
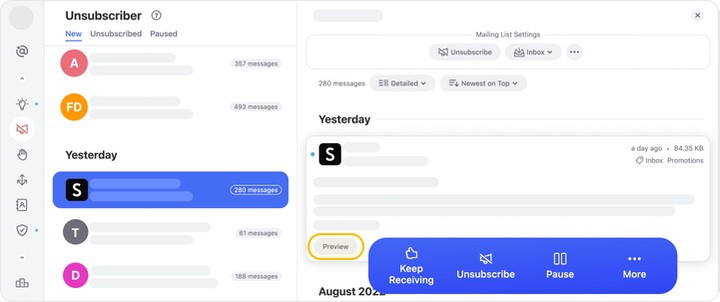
Previewing Message Contents
Clean Email protects your privacy. By default, Clean Email does not download your email message contents. We use information from the message headers (such as the subject, sender name, and sender email address) to display email groups and previews of individual messages.
However, you can choose to view the full contents of any message by selecting a message group and then clicking the Preview button for the desired message in the preview pane. The message content is loaded and cached temporarily, so that we can show you the preview. In accordance with our strict privacy policy, the content of your messages is kept private.
- The contents are never viewed by any Clean Email personnel at all.
- The contents are never analyzed programmatically by Clean Email.
- The contents are never retained for any other purpose such as displaying ads.
To close the message content preview, click Hide at the bottom left-hand corner of the preview.
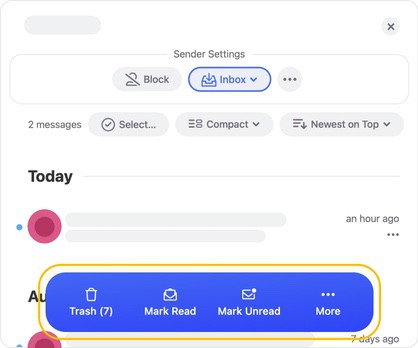
Message-Specific Actions
When you select a message in the preview pane, the bottom of the message’s card displays icons for several actions you can take on that message.
The same cleaning actions available for a group of messages can be applied to only the current message using these icons. For details on the available actions, please see Actions Clean Email Supports.
Forwarding and Replying to Messages
When you select a message in the preview pane, the message card displays reply and forward icons next to the Preview button at the lower left-hand corner.
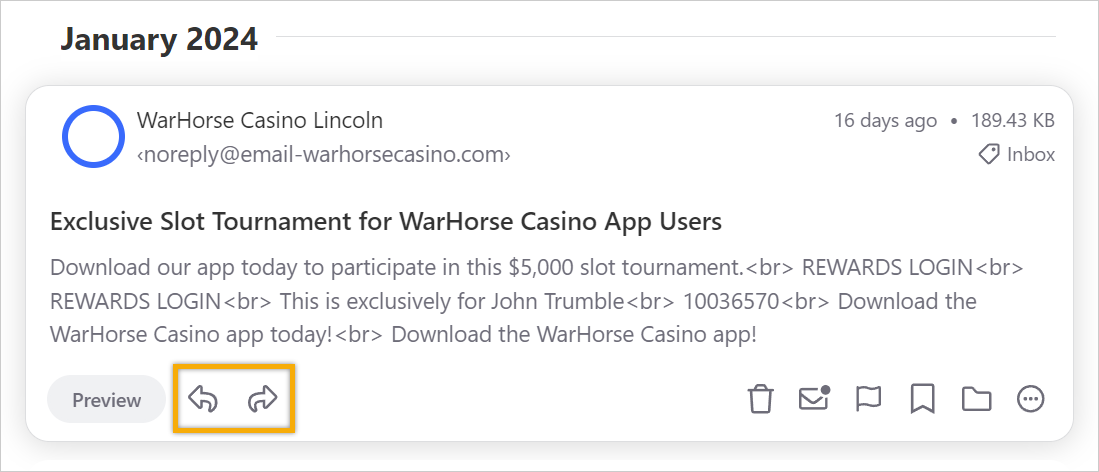
To reply to the sender (and optionally others), click the reply icon  . The New Message dialog appears.
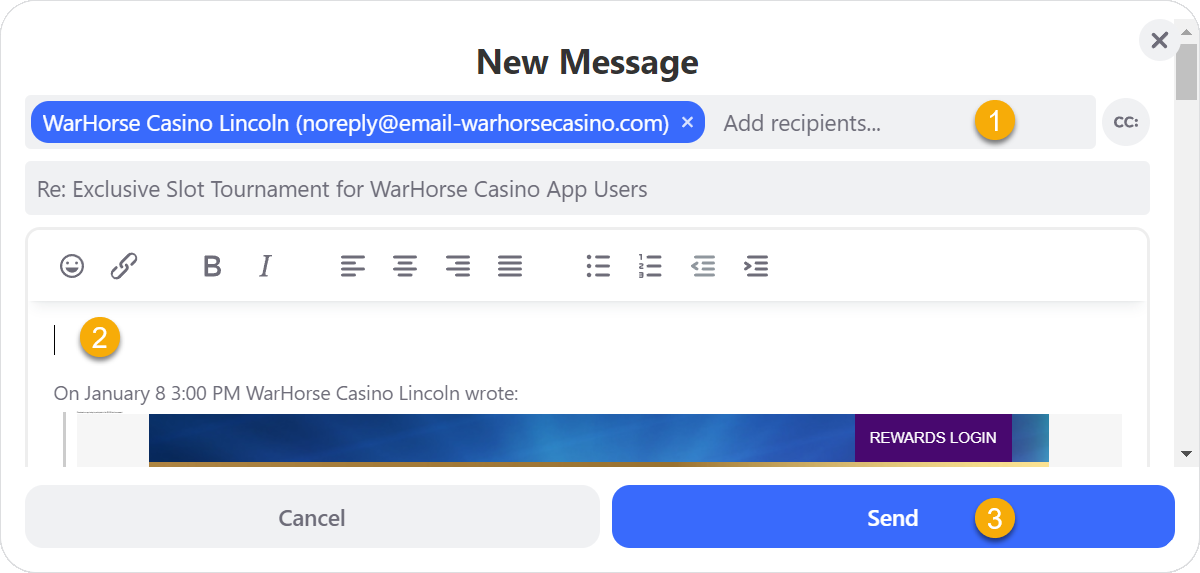
- If you want to add additional recipients to your reply, click Add recipients… and enter their addresses. You can also click CC: to add CC or BCC recipients.
- Click the message body above the thread of the previous message and enter your reply.
- Click Send to send the reply.
📌 Note: Clean Email does not currently support attachments or the Reply all function. There is no option to reply to all parties on email thread, if the original message included attachments, they are not sent with your reply.
To forward the message to another address or addresses, click the forward icon  . The New Message dialog appears.
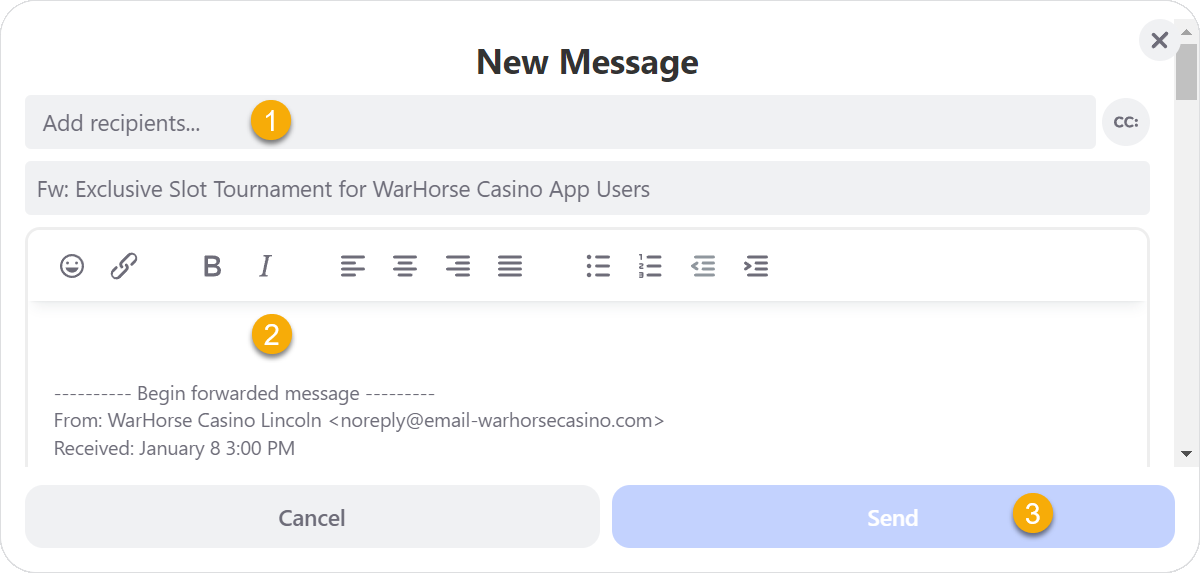
- In the Add recipients… field, enter the email address(es) to which you want to forward the message.
- In the message body, above the thread of the message you are forwarding, you can optionally enter any additional message for the recipients.
- Click Send to forward the message.
📌 Note: Currently, Clean Email does not support sending attachments. If the message you are forwarding included attachments, they are not sent with the forwarded message.
Accessing Sender Settings
Context-specific actions for the sender appear in the Sender Settings section of the preview pane. If the message group consists of messages sent as part of a mailing list, the Mailing List Settings section appears instead.
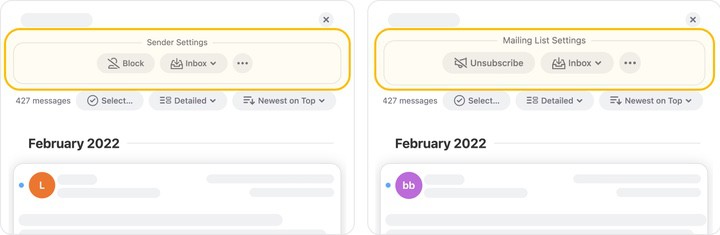
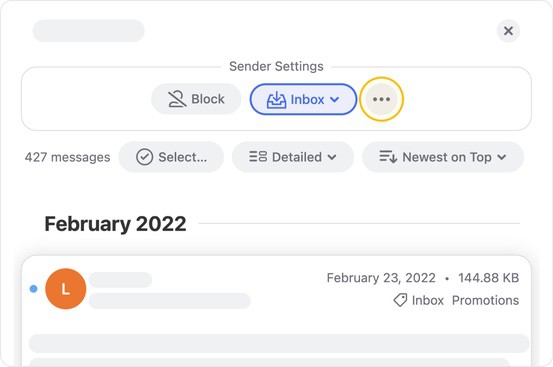
You can also access the Sender Settings or Mailing List Settings dialog for more advanced options by clicking the Settings button to right of the group name, or the triple dot icon inside Sender Settings.
For more information about Sender Settings, please see our article Sender Settings.
Toggling the Multiple Message Selector
You can select multiple messages in the preview to quickly take an action on all selected messages at the same time.
One way to select the messages is to click Select... near the top of the preview pane, to the right of the number of messages.
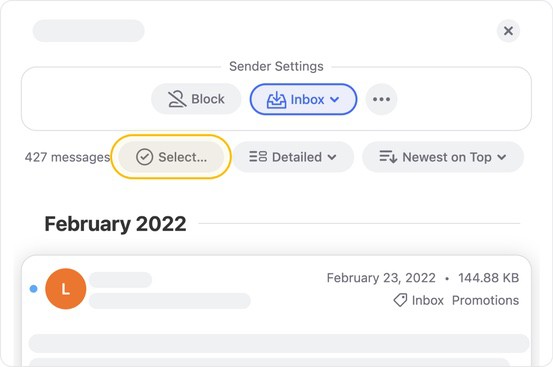
Clicking the button replaces all sender icons with blue selection buttons.
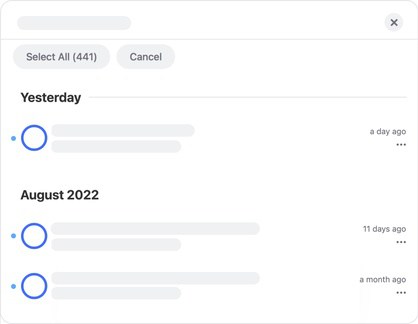
Alternatively, clicking any sender icon also selects the message group and toggles all other sender icons to blue selection buttons
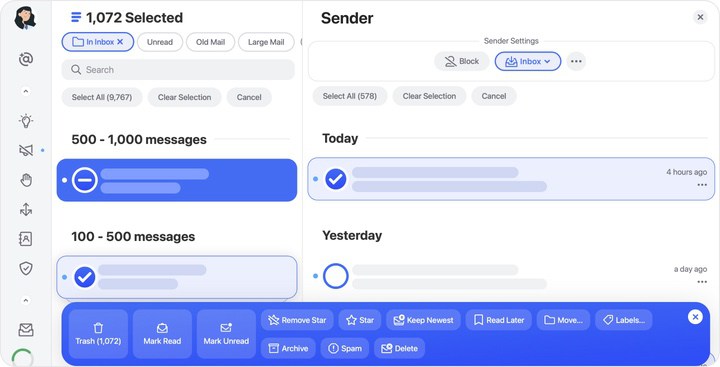
You can click each blue circle to select one or more message groups. If you click Clear Selection next to the Select All button, the selection buttons are once again replaced by sender icons.
At the bottom of the preview pane, the action bar provides shortcuts to various actions you can take on all selected messages in the currently previewed group (such as moving all selected messages to the trash). If you do not select individual message groups, the buttons in the action bar apply to all messages displayed in the preview pane.
For more information, please see Smart Folders.
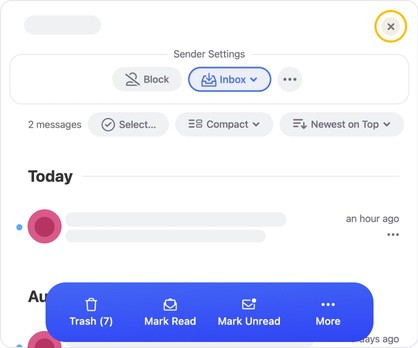
Closing the Preview Pane
To close the preview pane, click the X at the upper right-hand corner of the pane.
Please contact us and we will be happy to help.
