How to Create an Email Triage Workflow with Clean Email
You can build an email triage workflow in Clean Email by combining automatic rules with quick manual actions. Clean Email works as an email triage tool for Gmail, Outlook, Yahoo Mail, and other IMAP providers, on the web, Mac, Android, and iOS.
Here's how to set it up in five steps:
1. Prioritize: Create Automated Inbox Rules
Start with automations that mark, move, or pin specific messages based on conditions.
Use Auto Clean to create inbox rules:
- Open Auto Clean and create a new rule.
- Select conditions such as sender, size, or keyword. You can combine multiple criteria.
- Pick the action: Star, Flag, Archive, Move to folder, Delete, or Read Later.
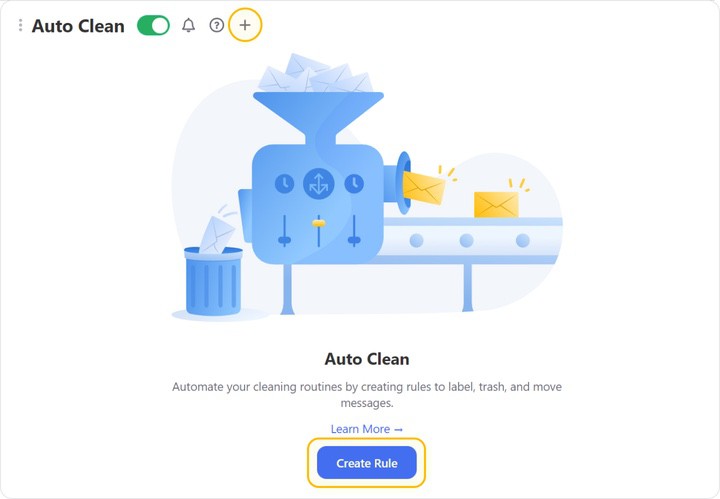
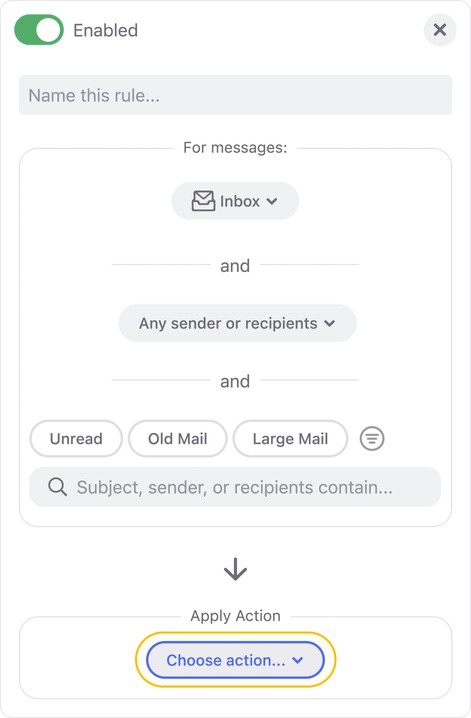
When a matching message arrives, the action kicks in automatically. For example, you can star emails from your boss or move messages to a project folder.
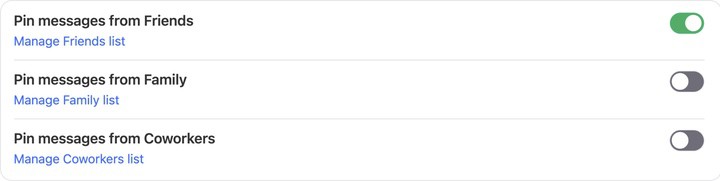
Use Pinned Messages to protect important emails. Pin messages to or from specific people, with a certain label, or recent emails, so no rule is ever applied to them. You can also create groups to pin emails from coworkers, friends, or family. Find them in the Pinned folder to quickly spot urgent emails.
2. Defer: Mark and Postpone Incoming Messages
For emails that don't come from frequent senders, use manual actions. Whichever email service you connect, you can Mark as read/unread, Star, or Label messages.
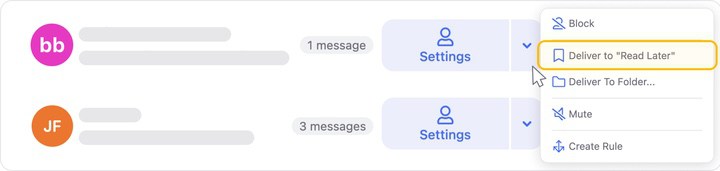
Read Later is the best option for messages you want to defer, such as newsletters you'll review when you have time:
- Choose Read Later in the email's menu, or choose Deliver to "Read Later" in settings to send future messages from specific senders or domains there automatically.
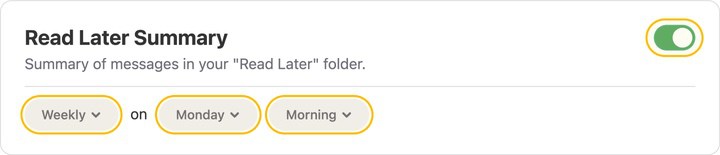
- Go to Notifications and choose how often you receive the Read Later Summary, or turn it off and check the Read Later folder when needed.
3. Review: Use Smart Folders
Smart Folders are created automatically based on pre-defined filters, so related messages always appear in one spot. Use them for emails you want to read but don't need to act on:
- You Are CC-ed
- Not From You and Not to You
- Automated Messages
- Social Notifications, Seasonal Sales, Online Shopping, Food Delivery, and more
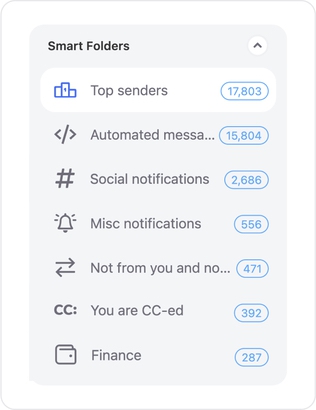
Select multiple or all messages in a folder and apply bulk actions. Smart Folders don't move messages; they only filter them.
4. Delete: Remove Unwanted Emails
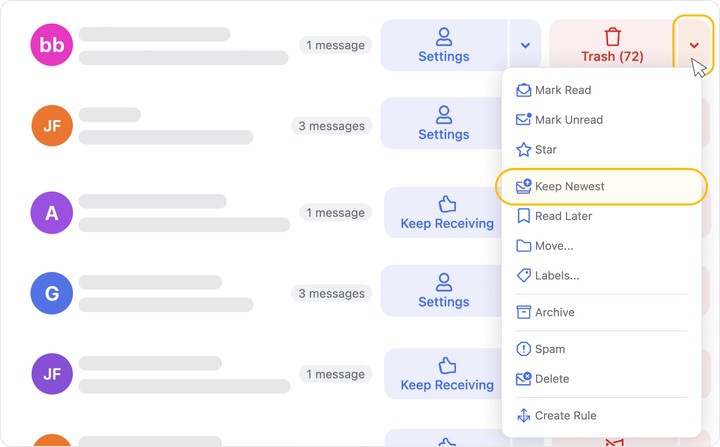
Keep Newest keeps the most recent message in a group and sends the rest to the Trash. It's ideal for daily digests or summaries that become outdated once you've checked them.
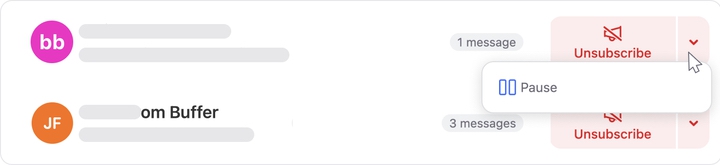
Unsubscriber stops newsletters, marketing messages, and promotional emails. Unsubscribe from multiple mailing lists at once, pause subscriptions for a short time, or resubscribe later if you change your mind.
5. Maintain: Keep Your Inbox Clean
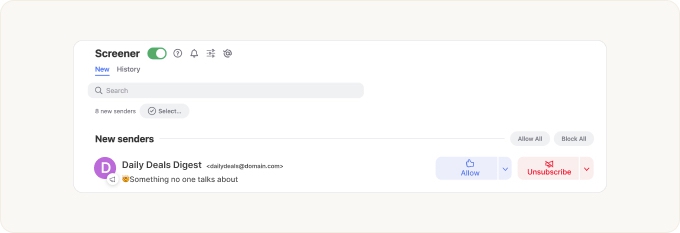
Screener collects emails from unknown senders in one spot so you can review them before they reach your inbox. Allow or Block each sender, or all of them at once. For mailing lists, you may also see an Unsubscribe option.
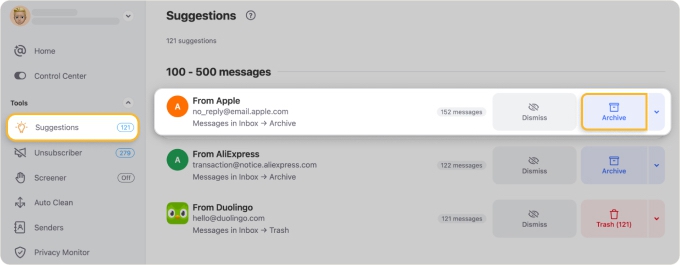
Cleaning Suggestions groups messages automatically and recommends actions. For example, if you usually archive emails from a particular sender, you'll see them grouped with a suggested Archive action. Recommendations are based on your previous actions and common actions from other users.
Please contact us and we will be happy to help.