How to Apply an Action
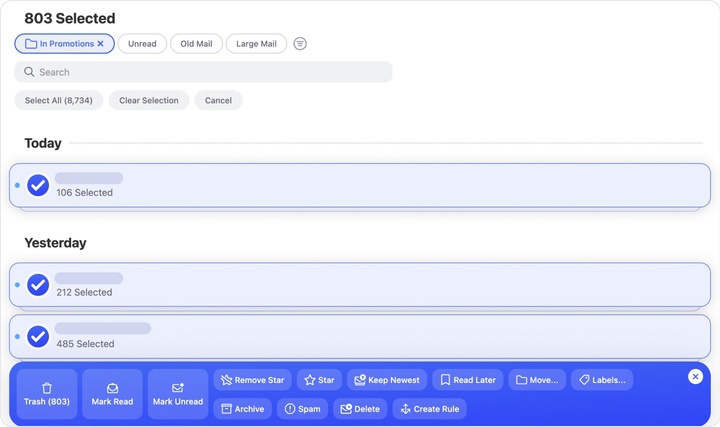
To apply an action, select one or more message groups to which you want to apply the action, and then click the desired button in the action bar at the bottom of the page.

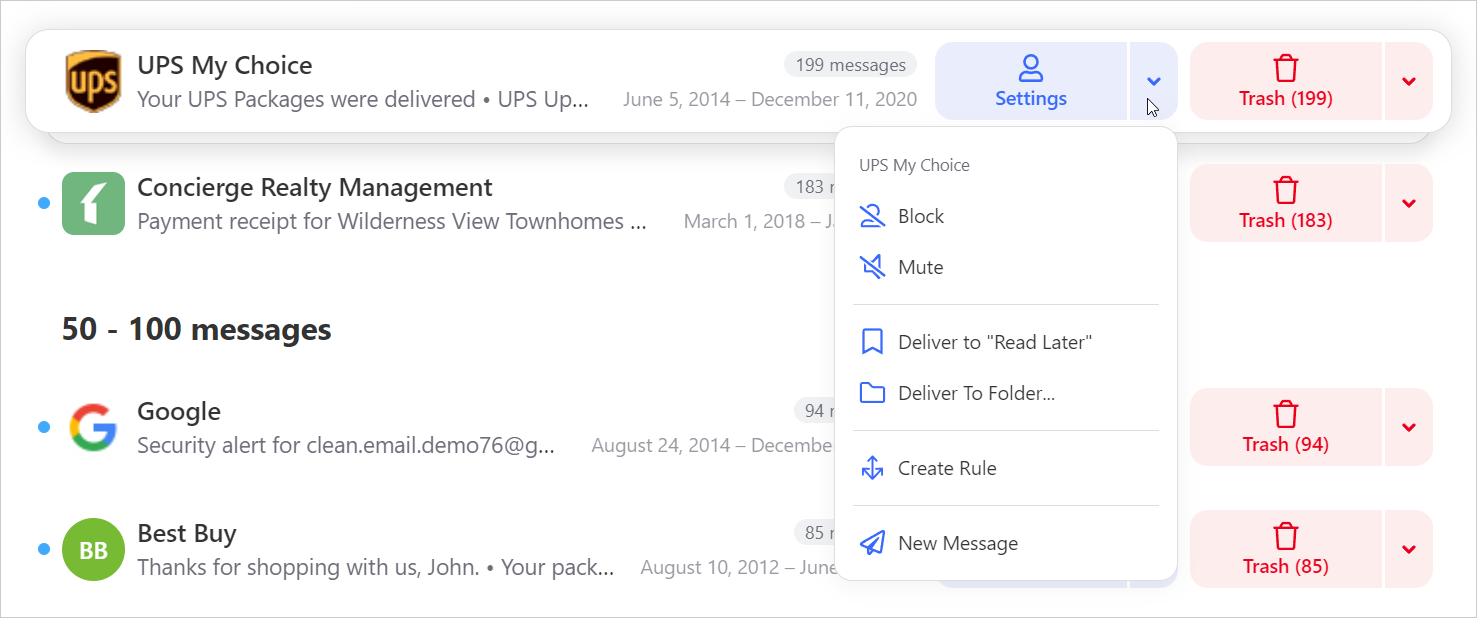
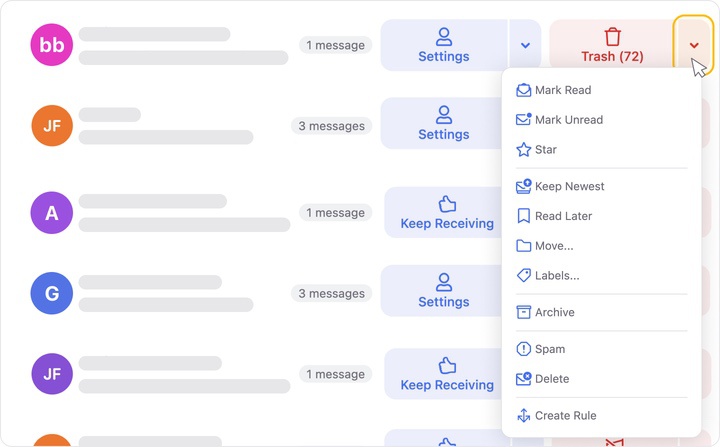
To apply an action to a single message group, click one of the action buttons to the right of the group. You may need to click the drop-down to see additional available actions.
To clean your mailbox faster, you can apply actions to multiple groups within a Smart Folder at the same time. Here's how:
- Navigate to any Smart Folder.
- Optionally, search, filter, or group the contents of the Smart Folder to organize the list. (For more information, please see Searching and Filtering.)
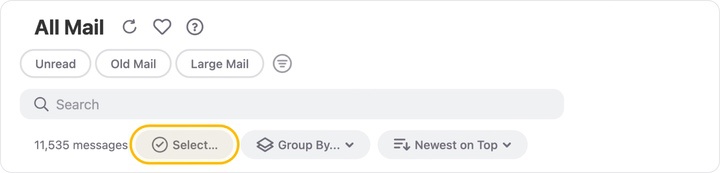
- Select the desired groups. You can initiate multi-selection mode by clicking the Select… button that appears next to the total number of messages in the Smart Folder.
Alternatively, select the sender icon for one of the groups.
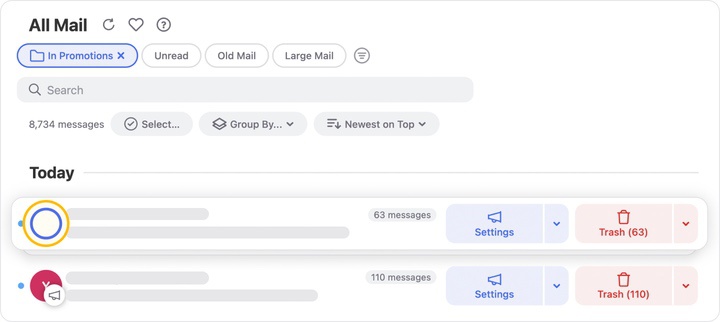
All senders’ icons are replaced with blue selection circles, and you can select multiple groups as desired.
After selecting the first message group or clicking Select…, you can optionally click the Select All button to select everything in the Smart Folder.
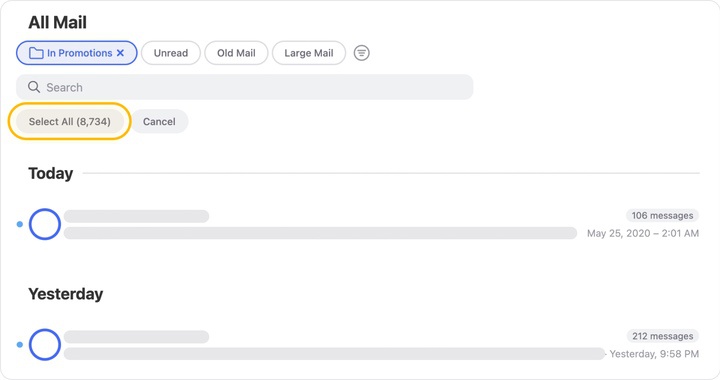
If you click Select All, all groups in the Smart Folder are selected–even groups that are not currently visible on the page. Your action will be applied to all selected groups.
⚠️ Caution: If you use the Select All button, we advise against selecting the Create Rule action. Creating an Auto Clean rule will cause other future similar messages to be processed if they match the selected criteria, even if they are from senders whose messages were not included in the Smart Folder when you created the rule.
For example, suppose you are in the Notifications Smart Folder and none of the currently existing messages are important, so you click Select All and trash them. If you create an Auto Clean rule to do this, and later you receive a message from, say, noreply@yourbank.com with a notification you might want to see, that message will also be removed automatically–and you will never even see it. This is because it is still a notification matching the configuration of your Auto Clean rule even though there was no message from that sender at the time you created the rule.
Use caution when creating Auto Clean rules, and only select the Create Rule action if you are certain that you want to create a rule based on the selected message group(s).
For more information, please see Creating Auto Clean Rules.
After selecting the desired groups, choose an action from the action bar at the bottom of the page. Your action begins immediately. However, the amount of time required for actions to be completed varies. Please read this article to learn more about how emails are processed.
In case you start a cleaning action by mistake, the Quick Cancel feature can give you a chance to cancel the action before it begins.
For more information, please see Canceling an Accidental Action with Quick Clean.
The actions available may vary depending on the selected Smart Folder or message groups. Here is a list of all available actions supported by Clean Email:
- Trash
- Create Rule
- Archive
- Mark Read
- Mark Unread
- Remove Star
- Star
- Keep Newest
- Read Later
- Move...
- Labels...
- Delete
For details about each action, please see Actions Clean Email Supports.
Please contact us and we will be happy to help.
