Get Rid of Social Notifications
To apply any action to messages from social networks:
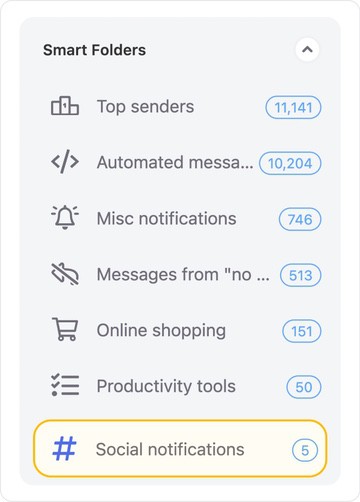
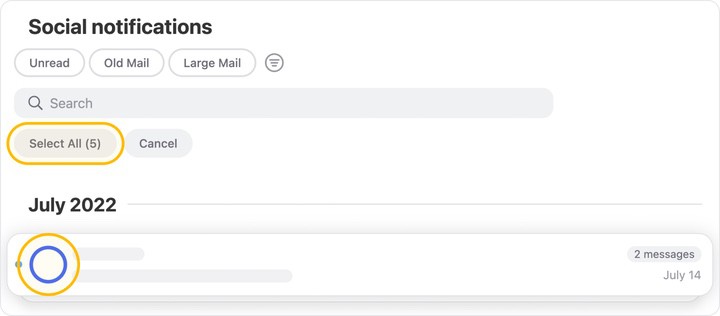
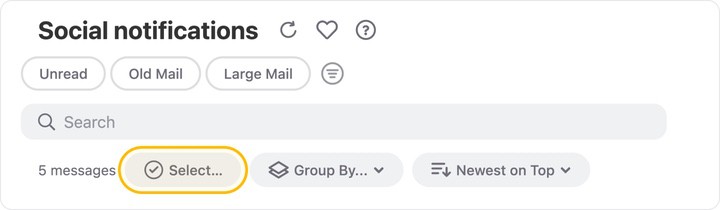
- In the left-hand navigation menu, select the Social Notifications Smart Folder.
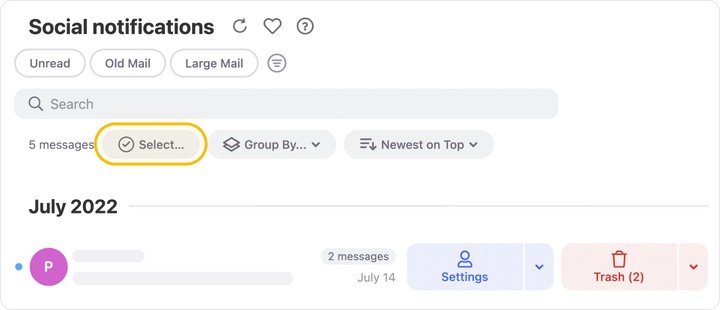
- Select the senders whose messages you want to remove. To do this, click the multi-select icon just below the name of the Smart Folder.
- Then, click Select All or click the blue circle next to each individual sender whose messages you want to remove.
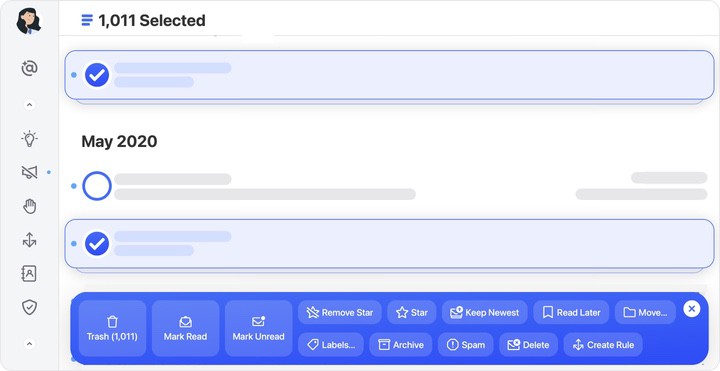
- When you select one or more senders, a blue action bar appears at the bottom of the pane.
- Use the buttons on the action bar to perform an action on all selected messages in the Social Notifications Smart Folder.
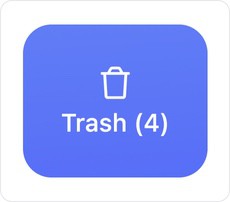
- To move the selected messages to the trash, click Trash.
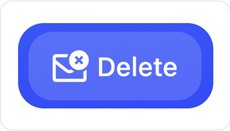
- To immediately and permanently delete all selected messages, click Delete.
- To move to the trash all selected messages except for the very newest message, click Keep Newest.

- When you click an action on the action bar, a confirmation dialog appears.
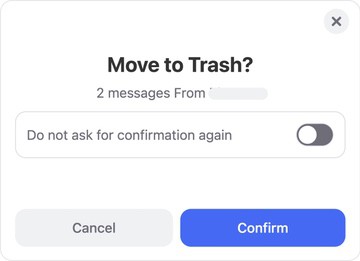
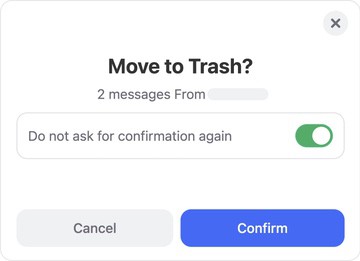
If you do not want to see the confirmation dialog in the future when performing this action on multiple messages at once, click the Do not ask for confirmation again switch to toggle it on. The switch moves from left to right and turns green to indicate that it is enabled.
Click Confirm to complete the action.
If you change your mind, click the X at the top right-hand corner of the action bar to close the action bar and unselect all messages.

To Stop Social Notification Messages from Cluttering Your Inbox
In addition to cleaning up existing social notification messages, Clean Email can help you stop seeing them in your inbox altogether.
To do this for a specific sender, click the drop-down button to the right of the Settings button for the sender’s message group.
- For messages that are not associated with a mailing list, the first option in the menu is Block.
- For messages sent as part of a mailing list, the first menu option is Unsubscribe.
- When you block a sender, Clean Email automatically moves all future messages from the sender to the trash, so they never appear in your inbox.
- When you unsubscribe from a sender, we automatically move the sender’s messages to the trash and also follow the “unsubscribe” link in the message headers and attempt to unsubscribe you from the mailing list. Alternatively, you can click Pause to move the sender’s future messages to the trash without unsubscribing from the mailing list.
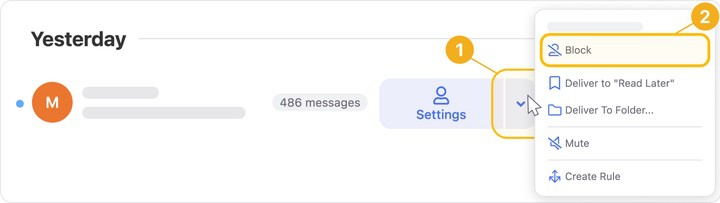
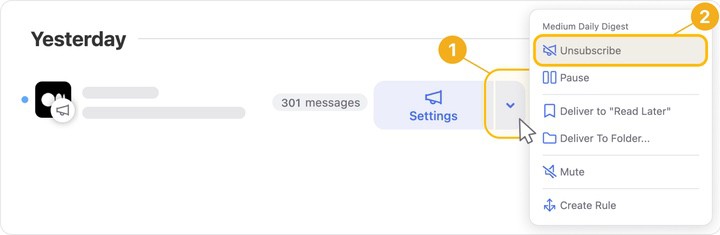
Click Block or Unsubscribe to stop receiving messages from the sender in your inbox.
For more information, please see Does Blocking an Email Address Stop the Sender from Emailing Me?
For more information, please see Unsubscriber.
To Automatically Move All Social Notification Messages to the Trash
Advanced users who want to automatically move all social notification messages to the trash can create a customized Auto Clean rule to handle this.
⚠️ Caution: Please use caution when creating custom Auto Clean rules, since they will automatically be applied to all future messages that meet the specified criteria.
- Click the Select button located just below the search bar.
- Next, click Select All.
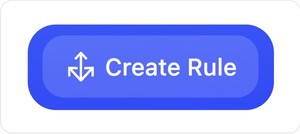
- Click Create Rule in the action bar at the bottom of the preview pane.
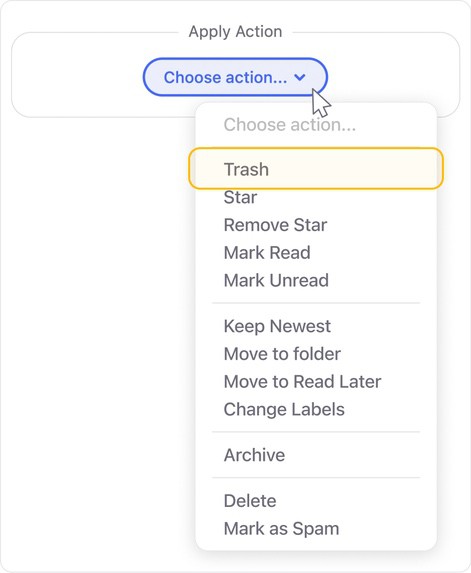
- In the Auto Clean rule creation dialog, click Choose action and select Trash from the drop-down menu.
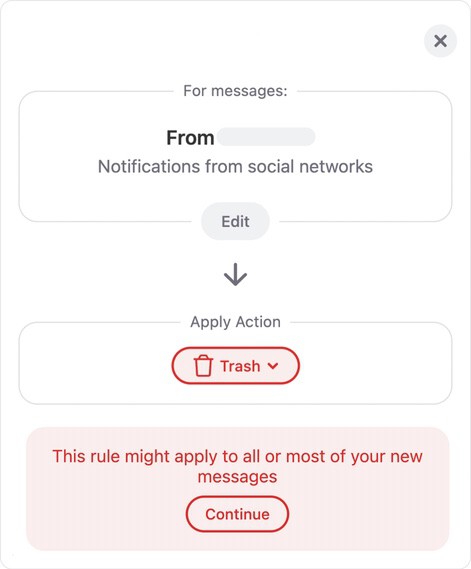
- Ensure that the rule creation dialog looks as shown below, and then click Continue to proceed.
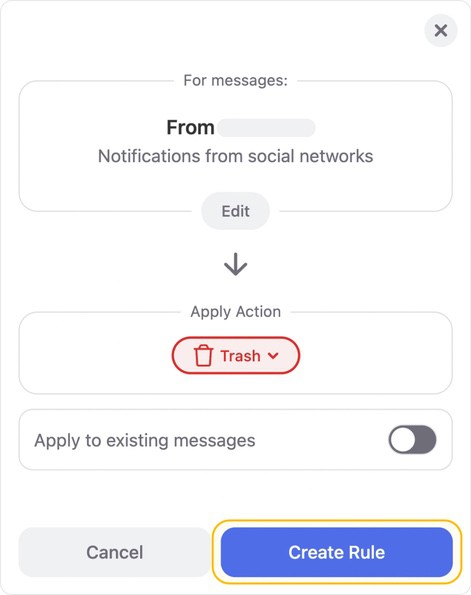
- To confirm that you want to automatically trash all future social notification messages, click Create Rule.

For more information, please see Creating Auto Clean Rules.
Please contact us and we will be happy to help.
