Control Center
Clean Email’s Control Center dashboard lets you quickly and easily enable or disable all incoming mail processing features. It also provides an overview of each feature’s current status and shortcuts to review and reset the current configurations for each.
To access the Control Center, click Control Center in the left-hand navigation pane, just below the Home menu item.
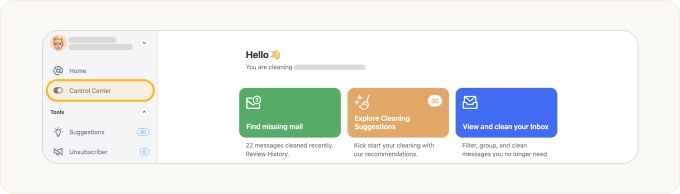
Table of Contents
- Controlling All Incoming Mail Processing
- Managing Auto Clean
- Managing Screener
- Managing Unsubscriber
- Managing Sender Settings
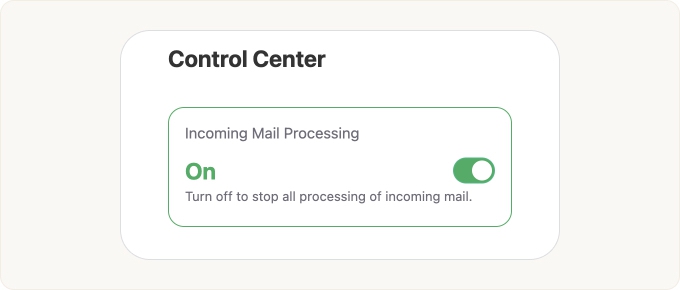
Controlling All Incoming Mail Processing
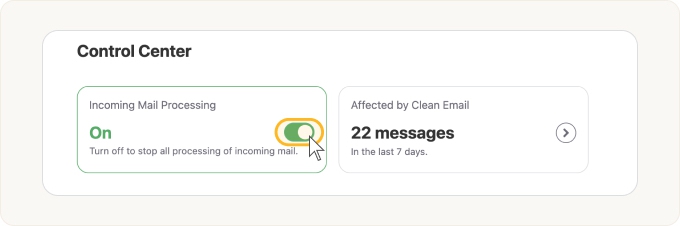
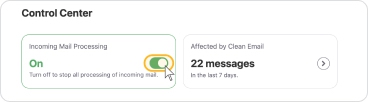
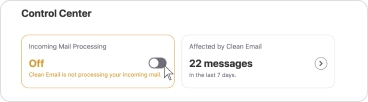
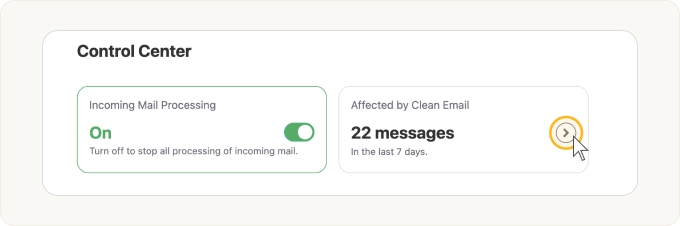
At the top of the Control Center, the toggle switch labeled Incoming Mail Processing lets you control all automated processing features with a single click.
📌 Tip: You can still perform direct cleaning actions when the Incoming Mail Processing toggle switch is turned off. This only prevents Clean Email from performing automatic cleaning on your behalf.
If this toggle switch is on, you can click it to disable all incoming mail processing, including Auto Clean, Screener, Unsubscriber, and all Sender Settings.
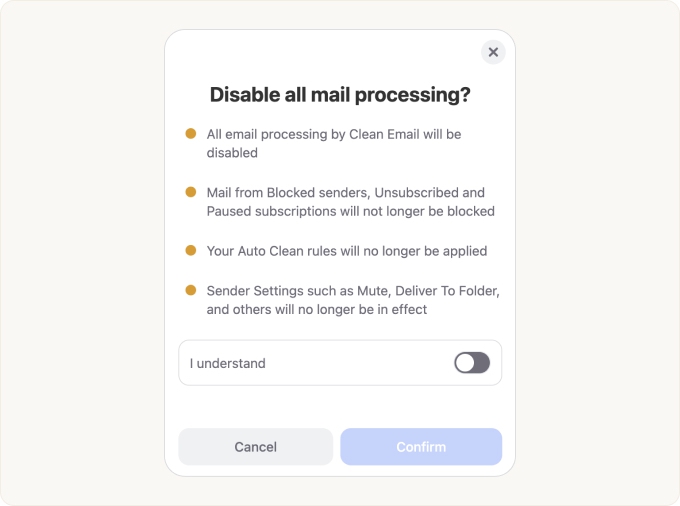
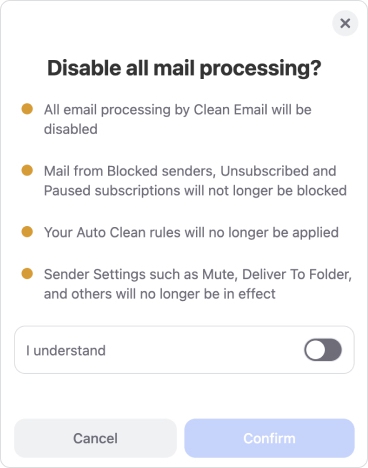
The Disable All Mail Processing? dialog appears. Review the effects of disabling mail processing listed in the dialog, and then if you want to proceed, click the I understand toggle and click Confirm.
If the Incoming Mail Processing toggle switch is off, none of the automated cleaning features will function. You can click the toggle switch to allow each feature to be enabled or disabled individually.

For example, suppose you have previously turned on Auto Clean but you have not enabled Screener. When you click to enable the Incoming Mail Processing toggle switch, Auto Clean will once again be enabled with any existing Auto Clean rules. Screener will not be turned on since you have not previously enabled it.
The Affected by Clean Email card shows an overview of the number of messages Clean Email has processed in the last seven days. To quickly view an overview of all messages affected by Clean Email’s automated processing, click anywhere in the card.

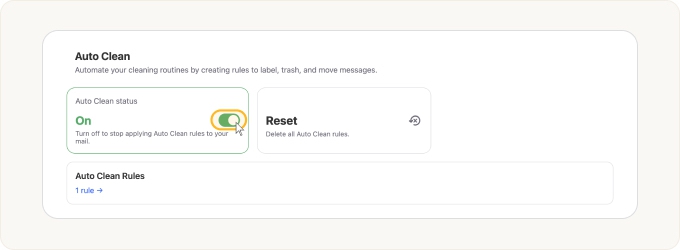
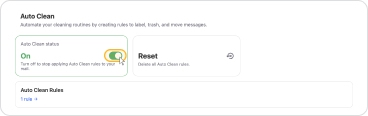
Managing Auto Clean
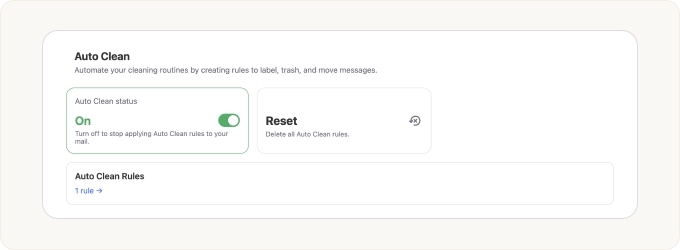
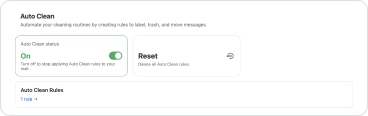
The Auto Clean section makes it easy to review and manage the Auto Clean feature.
- Turning Auto Clean Off
- Turning Auto Clean On
- Resetting Auto Clean
- Reviewing Auto Clean Rules
Turning Auto Clean Off
When the toggle switch is On, Clean Email will apply any existing Auto Clean rules to your mail. If you want to stop all Auto Clean rules from being applied to your mail without deleting them, click the card to toggle the status off.
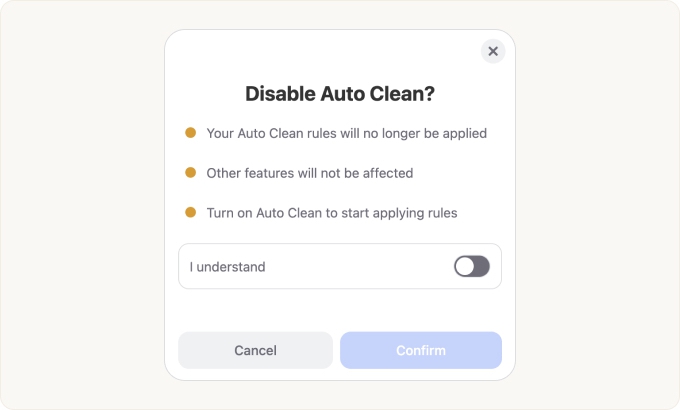
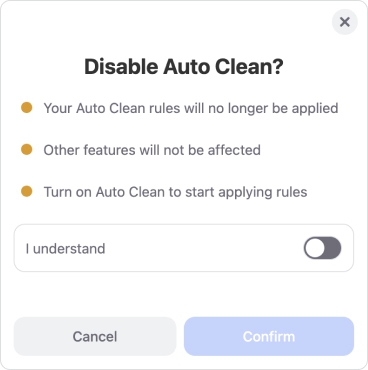
The Disable Auto Clean? confirmation dialog appears. If you are sure you want to disable Auto Clean, click the I understand toggle switch, and then click Confirm.
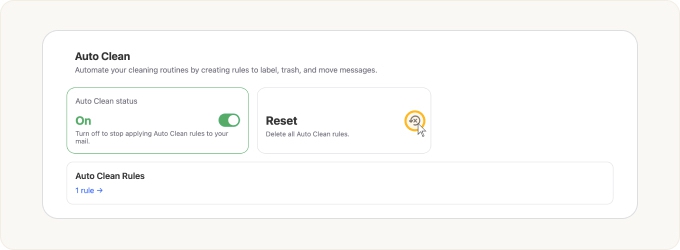
Turning Auto Clean On
When the Auto Clean status toggle switch is Off, Clean Email will not apply any existing Auto Clean rules to your mail, regardless of the individual rule settings or configuration. If you want to resume using the Auto Clean rules you have created, click the card to toggle the switch on.
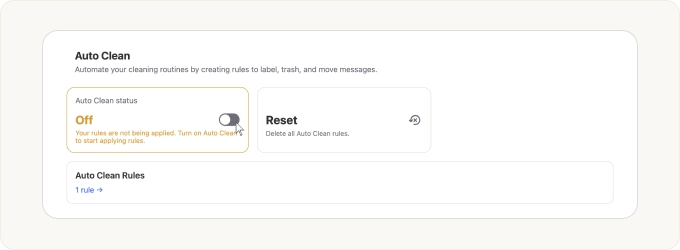
Resetting Auto Clean
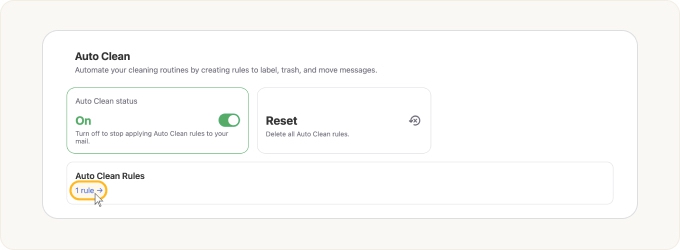
If there is currently at least one Auto Clean rule, the Reset card appears to the right of the Auto Clean Status card. If there are no Auto Clean rules, the Reset card does not appear.
If you want to delete all Auto Clean rules, click the Reset card.
⚠️ Warning: Resetting Auto Clean immediately and permanently deletes all Auto Clean rules. This cannot be undone. Please caution when resetting Auto Clean.
If you want to review your Auto Clean rules and delete individual rules instead, click the Auto Clean Rules card instead.
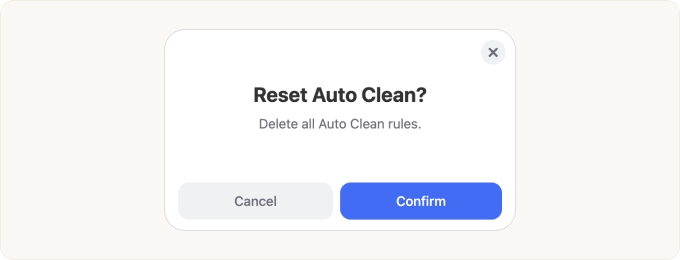
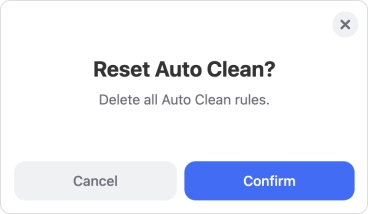
The Reset Auto Clean? dialog appears. If you are sure you want to delete all Auto Clean rules, click Confirm.
Reviewing Auto Clean Rules
The Auto Clean Rules card shows you, at-a-glance, how many Auto Clean rules there are. You can click the link on the number of rules to jump to the Auto Clean tool and review the existing rules.

Managing Screener
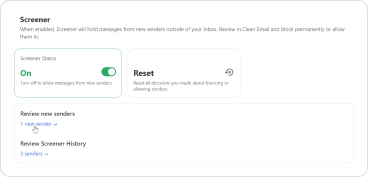
In the Screener section of the Control Center, you can review and manage the status of the Screener tool.
- Turning Screener Off
- Turning Screener On
- Resetting Screener
- Reviewing new Screened Senders
- Reviewing Screener History
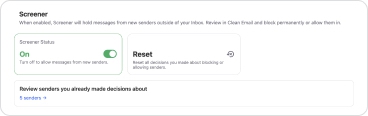
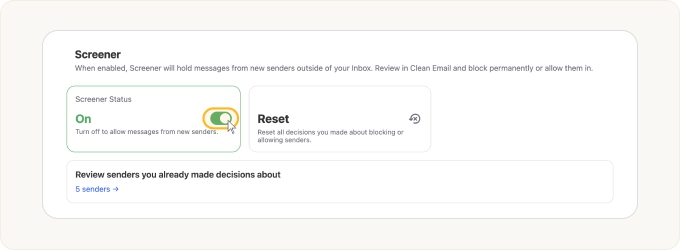
Turning Screener Off
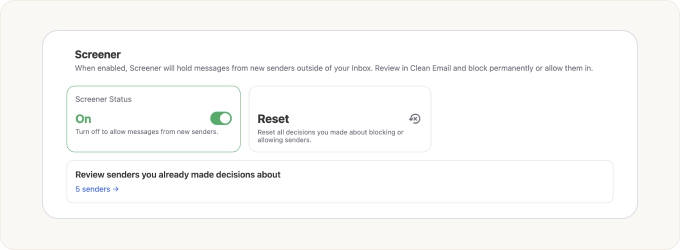
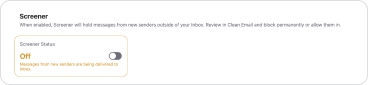
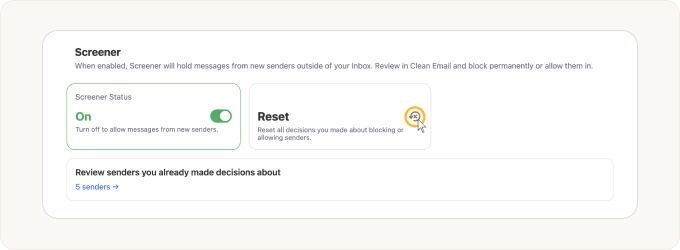
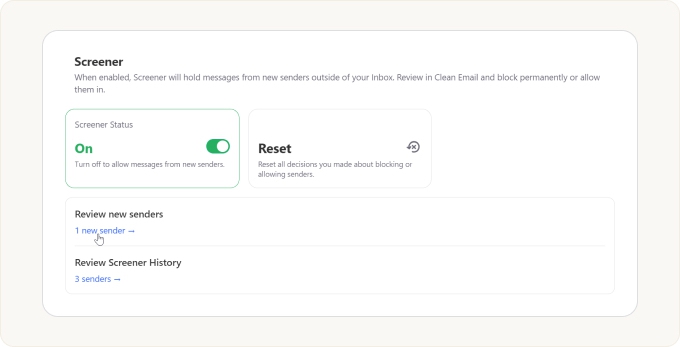
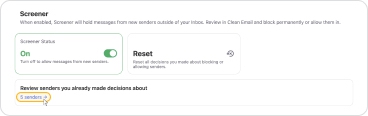
When the Screener Status toggle switch is On, Screener will hold messages from new senders outside of your inbox, pending your review. If you want to turn Screener off and allow messages from new senders to reach your inbox, click the card to toggle the switch off.
📌 Note: If you turn Screener off while there are new senders awaiting your review, Clean Email will deliver all of the new senders’ messages to your inbox and those specific senders will no longer be considered new senders.

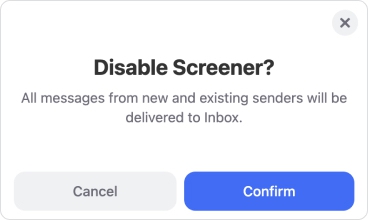
The Disable Screener? dialog appears. If you are sure you want to disable Screener, click Confirm.

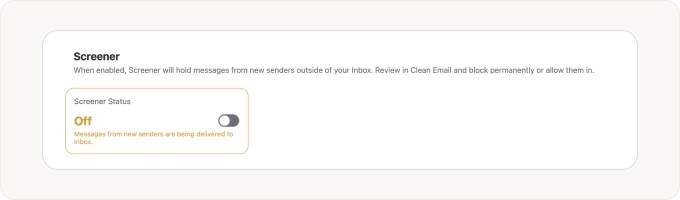
Turning Screener On
When the Screener Status toggle switch is Off, messages from new senders will be delivered directly to your inbox. If you want to enable the Screener, click the card to turn the toggle switch on.
The Enable Screener? confirmation dialog appears.
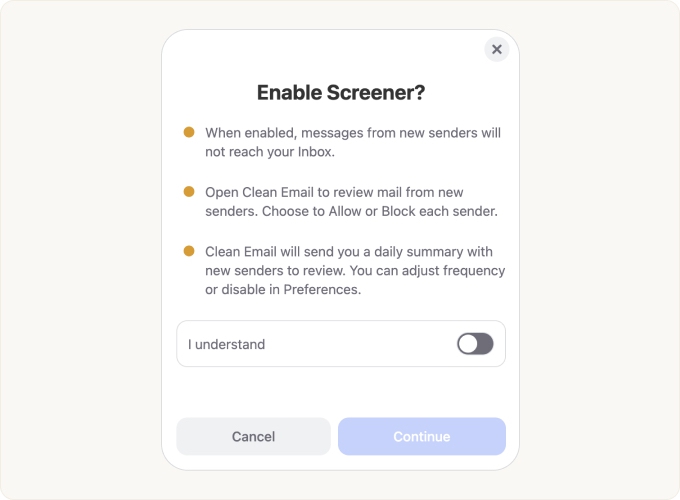
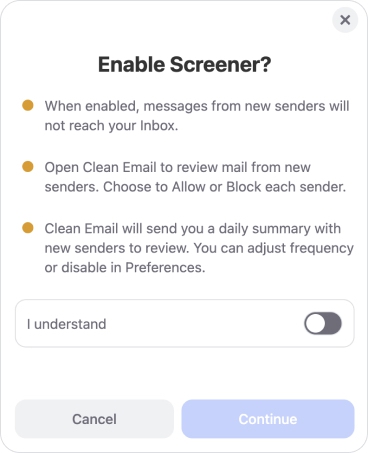
If you are sure you want to enable Screener, click the I understand toggle switch, and then click Continue.
The Settings dialog appears.
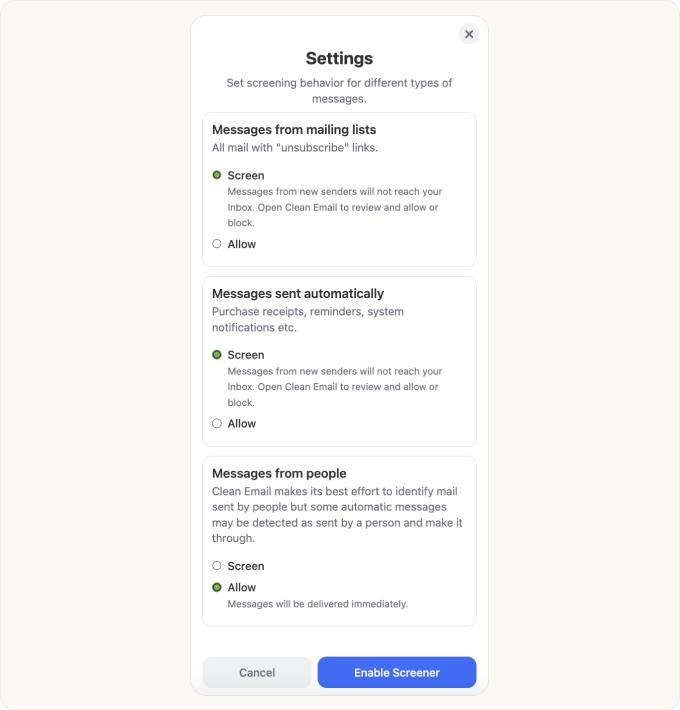
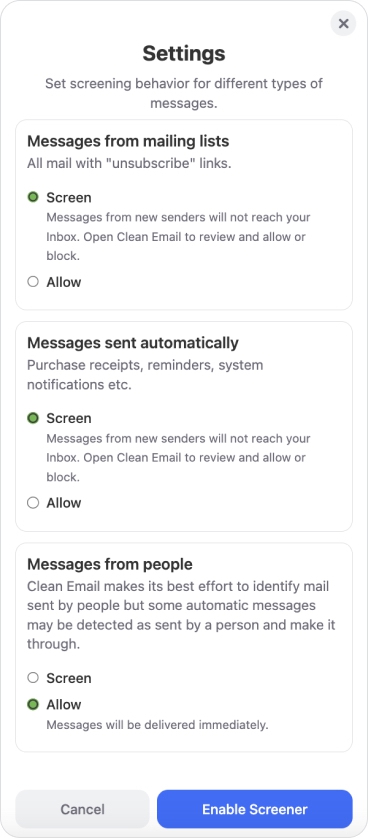
For more information on configuring these settings, please see our article on the Screener tool.
If you are sure you want to enable the Screener, click Enable Screener.
Resetting Screener
In case you want to reset all decisions you have previously made about blocking or allowing new senders, click the Reset card.
📌 Note: If you have previously clicked Unsubscribe for a mailing list or newsletter via the Screener, clicking Reset here will unblock future messages from that newsletter or mailing list. However, if the senders complied with the unsubscribe request, you will not be resubscribed to the mailing list or newsletter.
The Reset Screener Decisions? dialog appears.
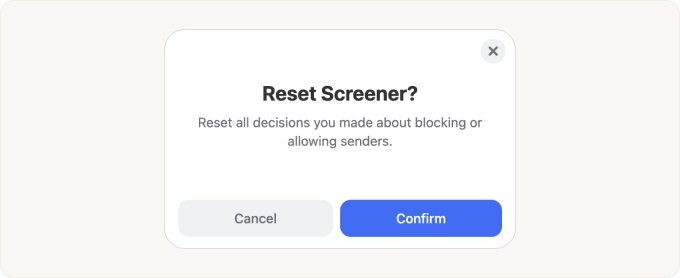
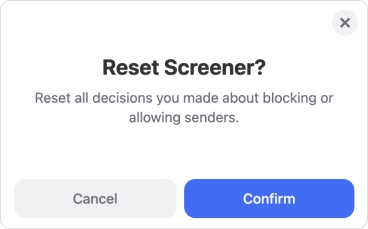
If you are sure you want to undo all previous decisions regarding the Screener, click Confirm.
Reviewing New Screened Senders
In case there are new screened senders awaiting your review, the Control Center displays a separate section showing the number of new screened senders. You can click the review link to jump to the Screener page and review them.
Reviewing Screener History
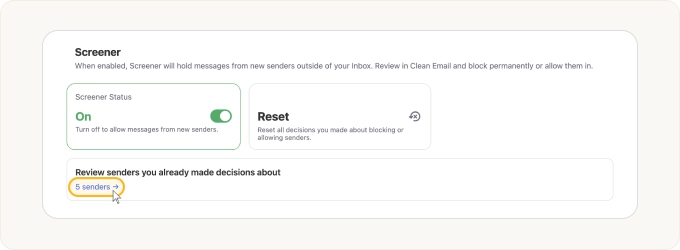
When the Screener Status toggle switch is on, the Review senders you already made decisions about card shows you the number of new senders whose messages are currently being screened and have not reached your inbox. If you want to review the individual senders, click the link showing the number of screened senders.
Managing Unsubscriber
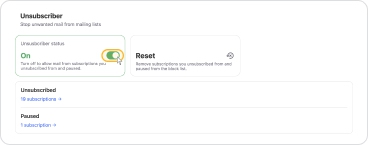
In the Unsubscriber section of the Control Center, you can review and manage the status of the Unsubscriber feature for all senders.
- Turning Unsubscriber Off
- Turning Unsubscriber On
- Resetting Unsubscriber
- Reviewing Unsubscribed and Paused Subscriptions
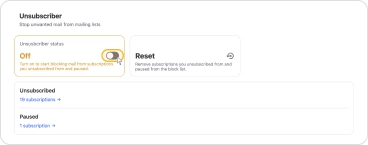
Turning Unsubscriber Off
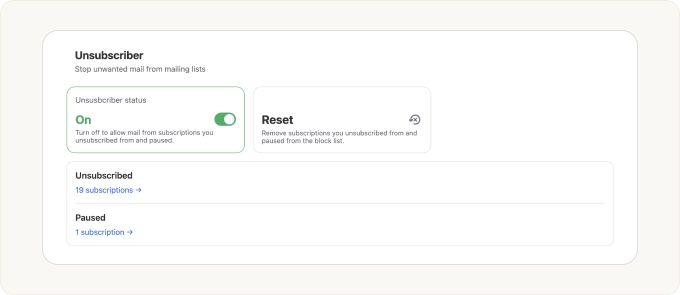
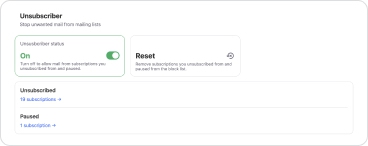
When the Unsubscriber Status toggle switch is On, Unsubscriber will automatically deliver new messages received from unsubscribed and paused mailing lists directly to your trash instead of your inbox.
- For previously unsubscribed mailing lists, Clean Email has also sent an unsubscribe request to the senders, so they may have complied and unsubscribed you. If not, Clean Email automatically delivers their messages to the trash.
- For previously paused mailing lists, Clean Email has not sent an unsubscribe request to the senders, so it is likely that they are still sending messages to you.
If you turn Unsubscriber off, it will allow future messages to reach your inbox from previously unsubscribed and paused mailing lists that did not comply when Clean Email requested to unsubscribe you. To turn it off, click the card to toggle the switch off. This does not re-subscribe you to previously unsubscribed mailing lists.
This also does not delete or remove from the block list any subscriptions you have previously paused or from which you have previously unsubscribed. It simply turns off the function of automatically moving future messages from paused or blocked subscriptions to your trash. This may be ideal if you only want to disable the Unsubscriber temporarily.
The Disable Unsubscriber? dialog appears.
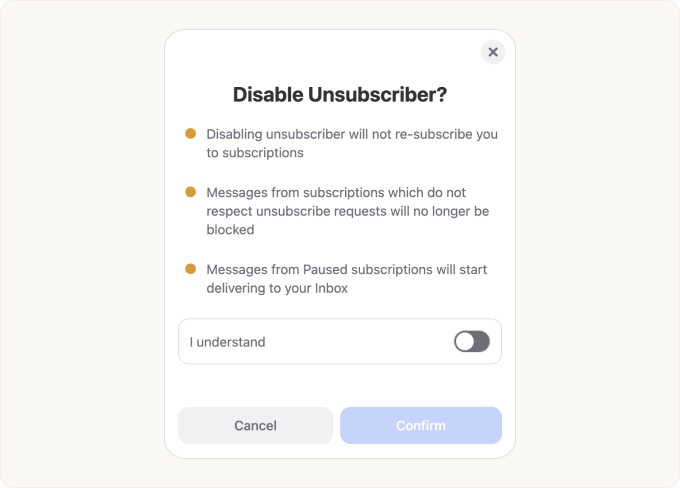
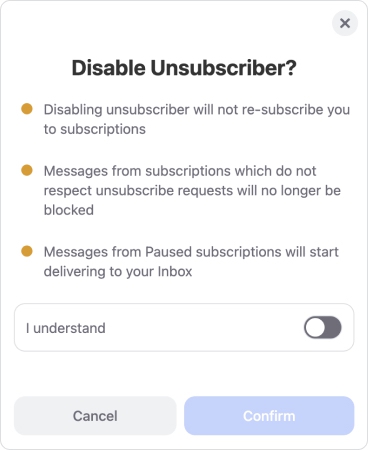
If you are sure you want to disable the Unsubscriber, click the I understand toggle switch to turn it on, and then click Confirm.
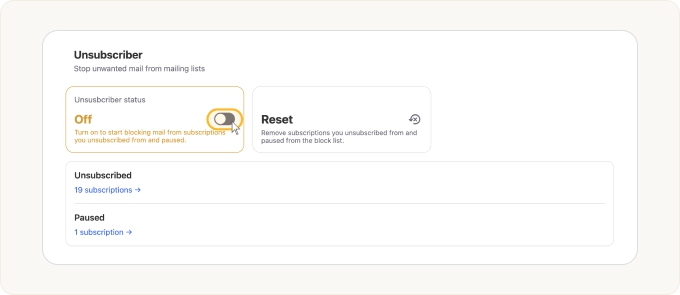
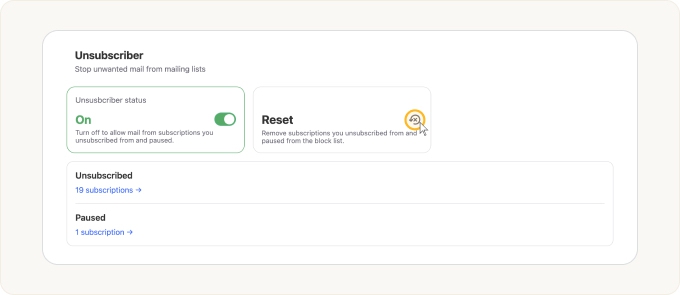
Turning Unsubscriber On
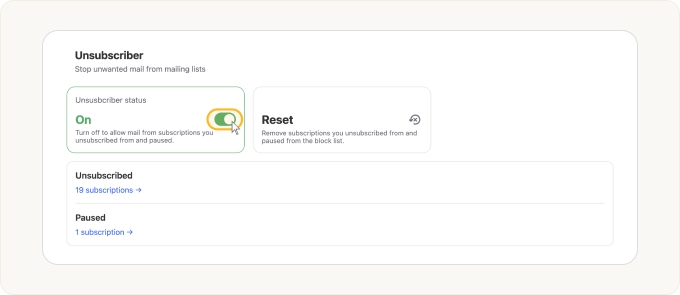
When the Unsubscriber Status toggle switch is Off, messages received from any paused or previously unsubscribed (i.e., blocked) mailing lists will be delivered to your inbox. If you want to turn on the Unsubscriber and have those messages delivered to the trash instead, click the card to turn the switch on.
📌 Note: Turning on the Unsubscriber only affects mailing lists you have previously paused, or those from which you have previously unsubscribed. It does not cause Clean Email to send any new unsubscribe requests. If you want to unsubscribe from or pause a specific newsletter or mailing list for the first time, please see our article Unsubscriber for more information.
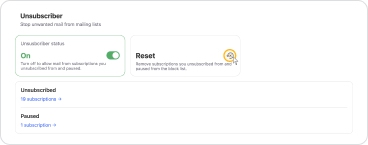
Resetting Unsubscriber
In case you want to unblock all future messages that would have been delivered to the trash due to pausing or unsubscribing from a subscription, click the Reset card. Note that if you unsubscribed from a newsletter or mailing list and the senders complied when Clean Email sent the unsubscribe request, you will still be unsubscribed. Removing subscriptions from the block list will not automatically re-subscribe you.
The Reset Unsubscriber? dialog appears.
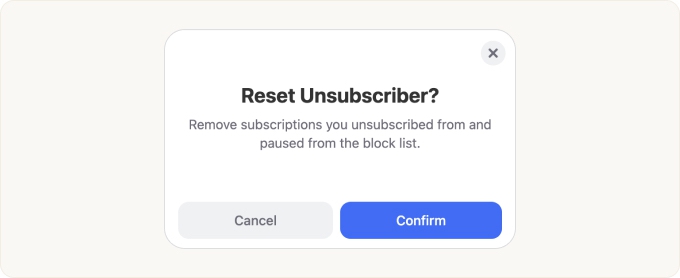
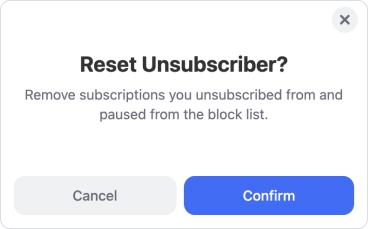
If you are sure you want to remove all unsubscribed and paused subscriptions from the block list, click Confirm.
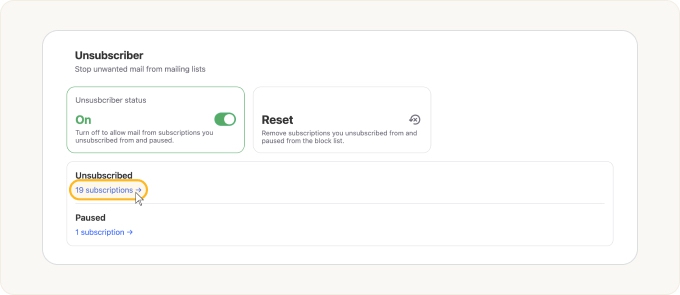
Reviewing Unsubscribed and Paused Subscriptions
If you need to review the list of subscriptions that you have paused or from which you have unsubscribed, click the link in the Unsubscribed card to open the Unsubscriber tool.
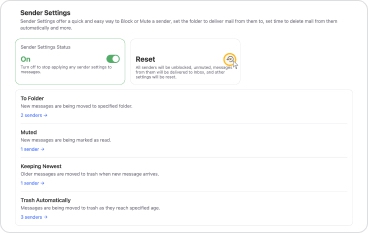
Managing Sender Settings
In the Sender Settings section of the Control Center, you can review and manage the status of the Sender Settings feature and various sender settings you have previously configured.
- Turning Sender Settings Off
- Turning Sender Settings On
- Resetting Sender Settings
- Reviewing Sender Settings
Turning Sender Settings Off
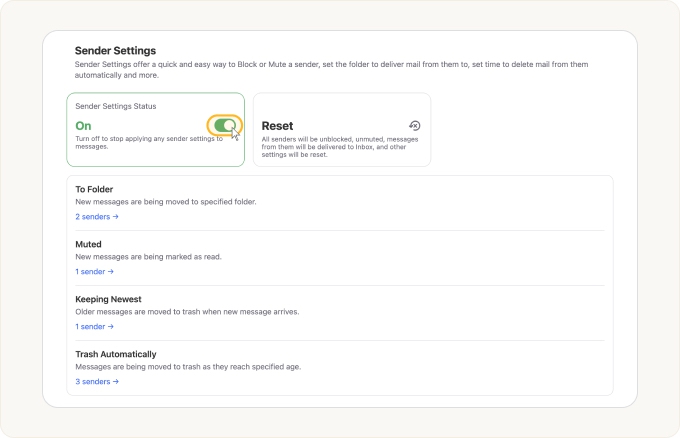
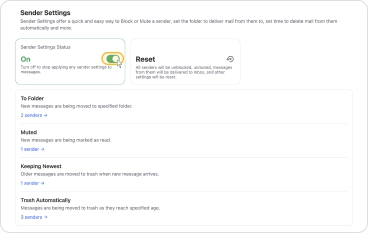
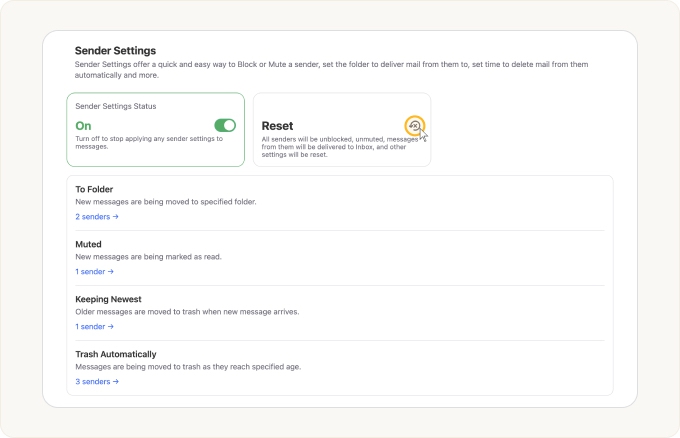
When the Sender Settings Status toggle switch is On, Clean Email continually applies your previously configured sender settings to new messages as they arrive in your mailbox. If you want to completely disable all settings for all specific senders without deleting them–for example, if you only want to turn them off temporarily–click the Sender Settings Status card to turn the toggle switch off.
📌 Note: This status card affects only the Sender Settings feature. It does not affect newsletters or mailing lists, which you can control separately via the Unsubscriber tool, and it does not affect Auto Clean rules.
The Disable Sender Settings? dialog appears.
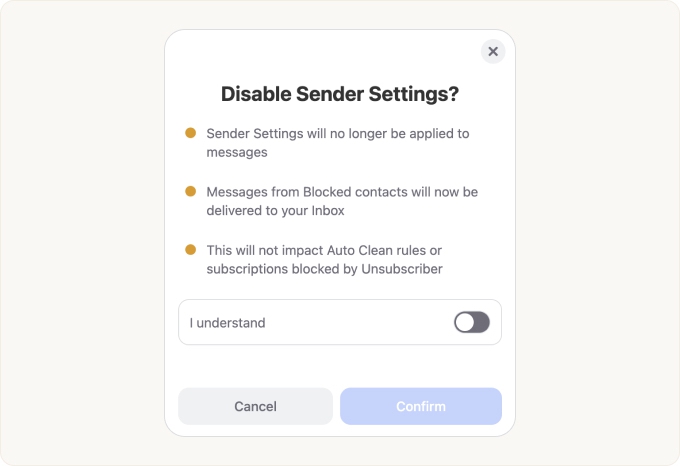
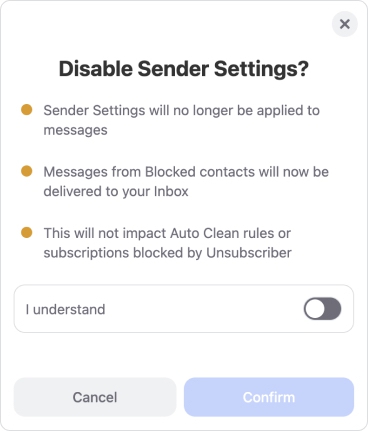
If you are sure you want to disable all sender settings, click the I understand toggle switch to turn it on, and then click Confirm.
Turning Sender Settings On
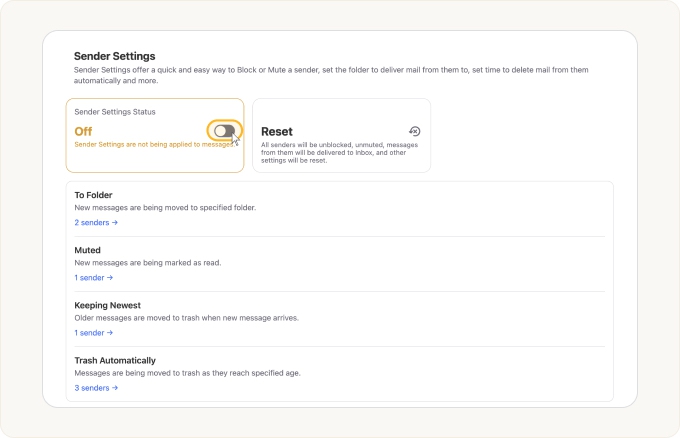
When the Sender Settings Status toggle switch is Off, Clean Email does not apply any sender settings you have configured for specific senders’ messages. If you want Clean Email to resume applying your sender settings for specific senders’ messages, click the card to turn the toggle switch on.
Resetting Sender Settings
If you want to completely delete all sender settings for all specific senders, click the Reset card.
📌 Note: This will not reset Unsubscriber settings or delete Auto Clean rules.
💡 Caution: Use this option with caution. All previously configured settings for all specific senders will be deleted. Deleting sender settings is immediate and permanent, and cannot be reversed.
The Reset all Sender Settings? dialog appears.
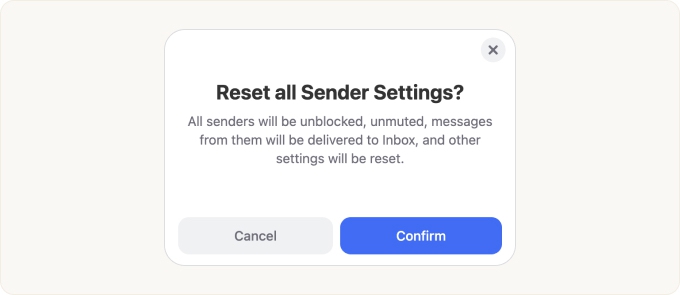
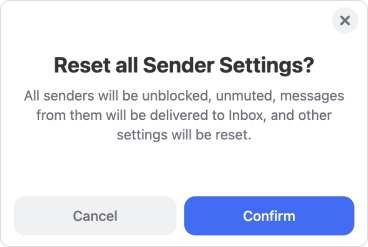
If you are sure you want to delete all previously configured sender settings, click Confirm.
Reviewing Sender Settings
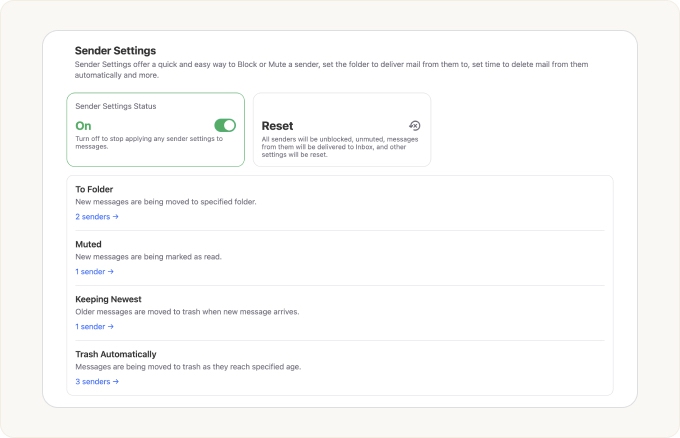
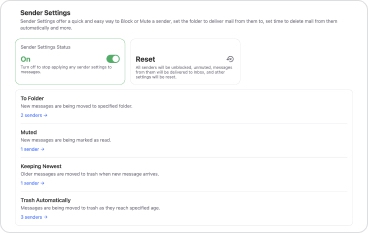
Below the Sender Settings Status card, Clean Email displays a summary of your current sender settings. The summary is dynamic: the sections that you will see here depend on what sender settings you have applied in Clean Email.
In the following example illustration, several senders have been blocked, messages from one specific sender are being directed to a specific mail folder, and another sender’s messages will be trashed as they reach a specified age.
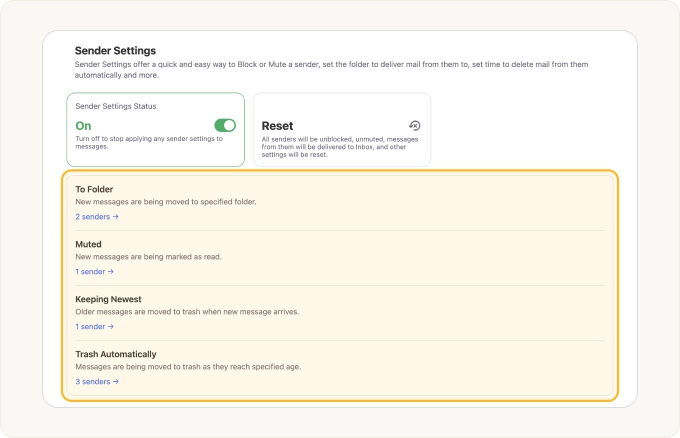
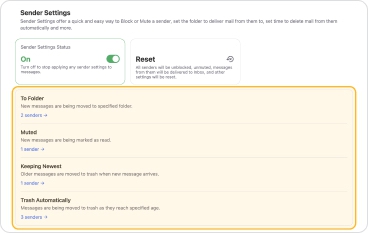
You can click the link below a specific status to review the senders for whom the specified type of settings have been applied.
Please contact us and we will be happy to help.
