Screener
When you enable the Screener feature, Clean Email intercepts all messages coming from new senders and keeps them quarantined for your review instead of delivering them to your inbox.
With the Screener feature, the term “new sender” means any sender that has never sent a message to your address before.
You can review all quarantined messages from new senders in Clean Email and decide whether to accept the senders’ messages or block the senders.
- If you block the sender, Clean Email will automatically block the sender’s future messages. For more information about blocking, please see Does Blocking an Email Address Stop the Sender from Emailing Me?.
- If you approve the sender, Clean Email will deliver all of the approved senders’ future messages directly to your inbox as normal.
- You can easily review the history of senders you have blocked or approved.
Sections of This Article
- Enabling Screener
- Reviewing Screened Senders
- Previewing Messages from Screened Senders
- Adjusting Screener Settings by Message Type
- Pre-Screening Messages by Address, Domain, or Keyword
- Blocking an Email Domain
- Disabling Screener
- How Clean Email Identifies Unique Senders
Enabling Screener
To begin, click the Screener button in the left-hand navigation pane.
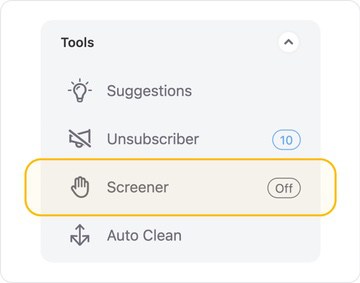
Screener is disabled by default. To enable Screener, you can either click the toggle at the top left corner of the main Screener window, or click Enable Screener.

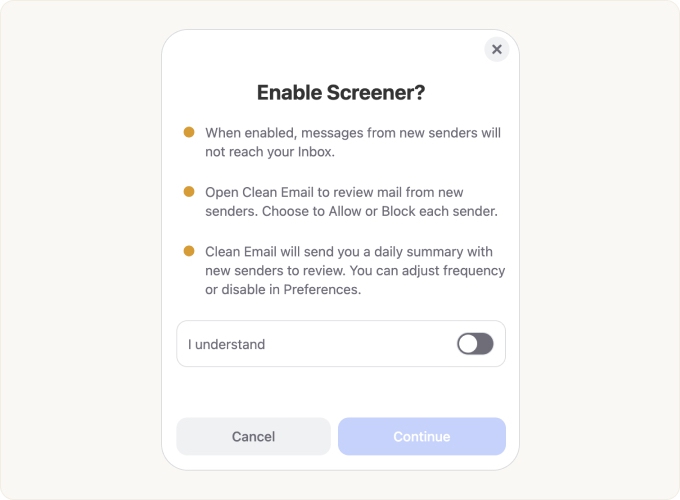
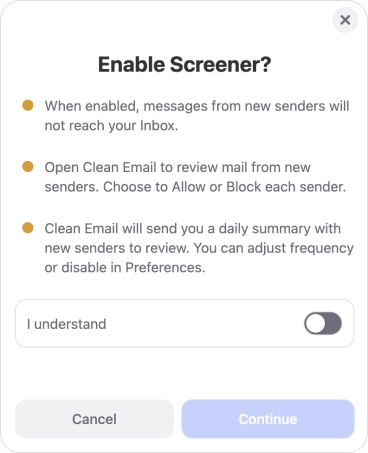
When you click to enable Screener, a confirmation dialog appears, providing an overview of the feature. Click the toggle switch labeled I understand to enable it, and then click Continue.
The Settings dialog appears. Review and select the desired settings.
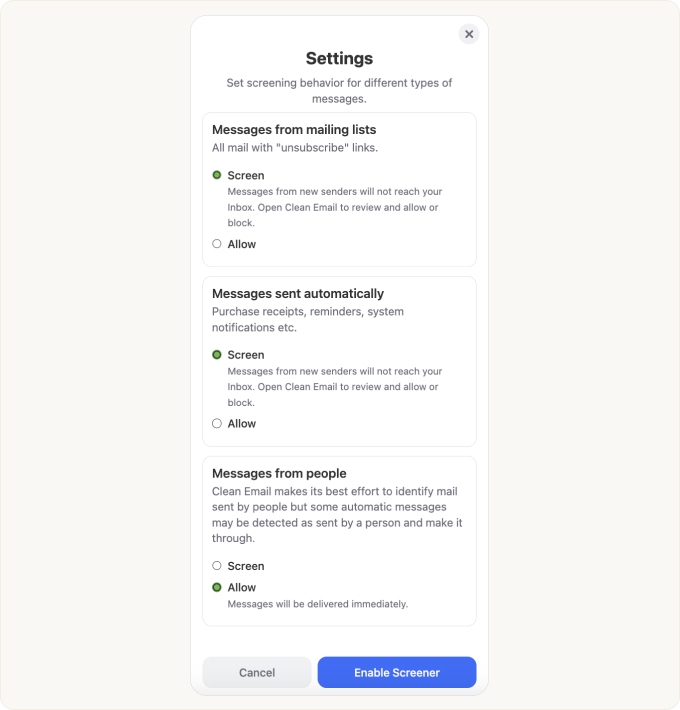
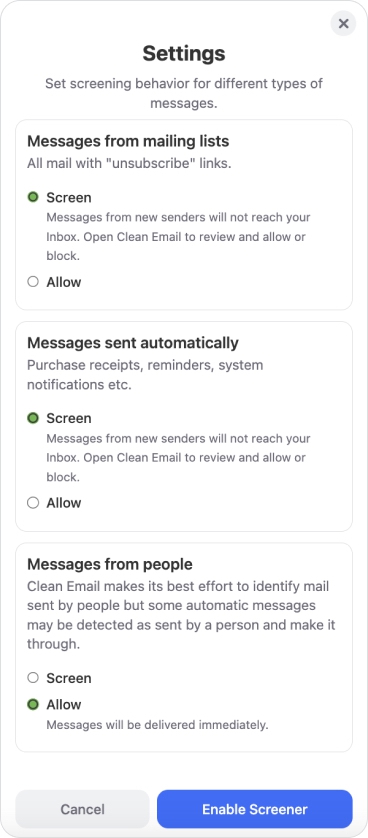
Click Enable Screener to enable the feature with the selected settings.
Reviewing Screened Senders
Any time there are new senders waiting for your review in the Screener, the Screener button on the navigation menu flutters to call your attention to it.
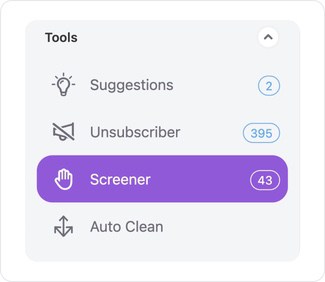
Click the button to open the Screener page.
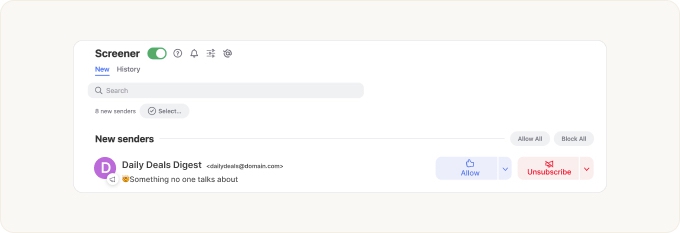
This page lists the senders that are currently quarantined by the Screener.
- To quickly allow the sender’s current and future messages, click Allow. New messages will be delivered to Inbox.
- To block the sender’s current and future messages, click Block. New messages will be moved to Trash.
To explore more delivery options, click the drop-down next to the Allow or Block/Unsubscribe button.

- If you choose Deliver to ‘Read Later’, the sender’s current and future messages will be delivered to the Read Later folder. For more information, please see Read Later Overview.
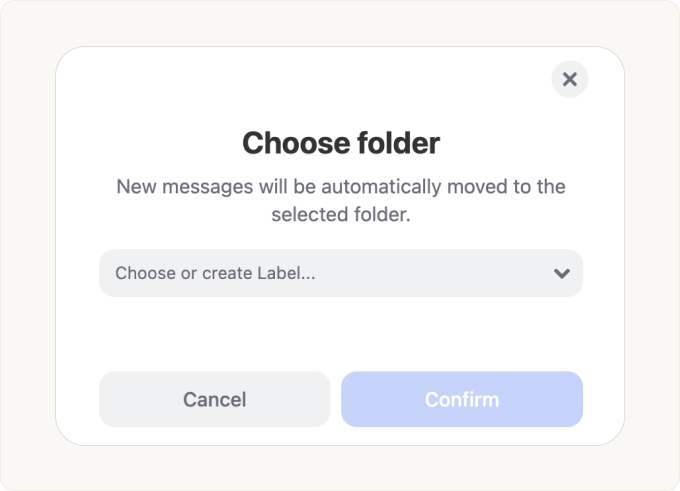
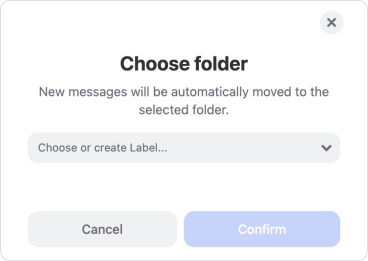
- If you choose Deliver to Folder, you will be prompted to choose (or create) a folder where you want this sender’s current and future messages to be delivered instead of your inbox.
- If you choose Pause (the drop-down next to the Block / Unsubscribe button), all new emails from this sender will be moved to Trash automatically.
Previewing Messages from Screened Senders
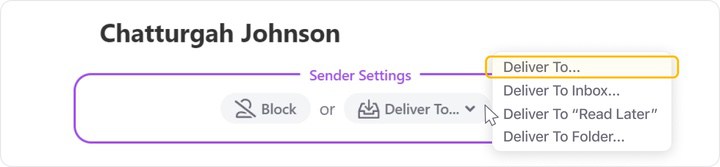
On the main Screener page, you can click any sender to view a preview of the message(s) from that sender in the preview pane.
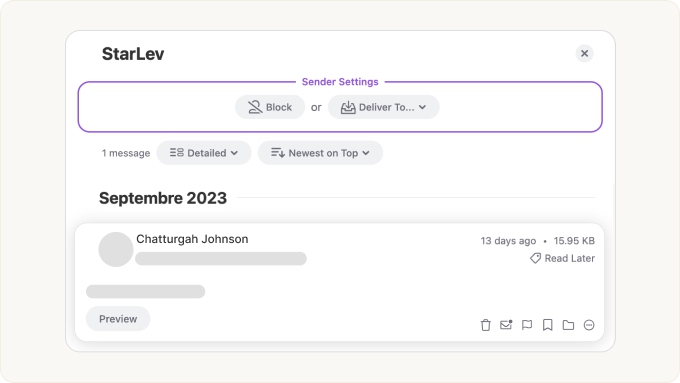
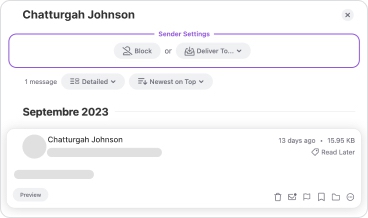
At the top of the preview pane, the Sender Settings dialog lets you quickly Block the sender’s current and future messages, or choose a specific folder where you want the sender’s current and future messages to be delivered rather than your inbox.
If you position the mouse cursor over a message preview, you can see additional options for dealing with the messages.

For more details on each of the actions available, please see Actions Clean Email Supports.
Receiving Notifications About Screened Senders
You can optionally choose to receive notifications via email or on your phone regarding quarantined new senders that are waiting for you to review them.
To enable reminders, click the bell icon at the top of the Screener page (or click your account at the top left and then choose Notifications).
The Notifications page opens. Locate the New Senders to Screen section; you may need to scroll down the page.
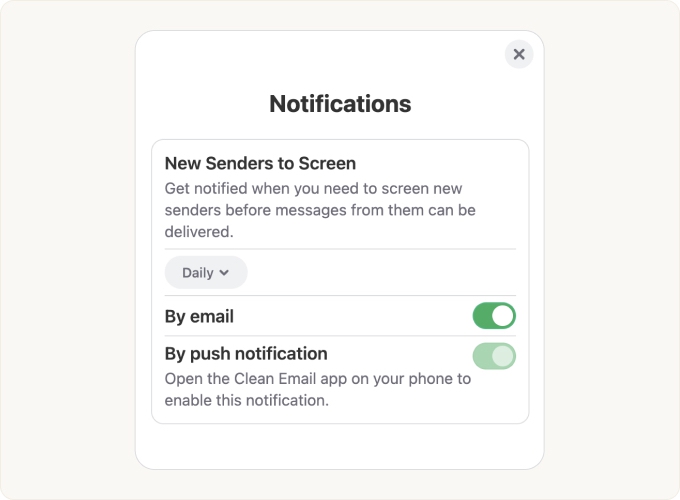
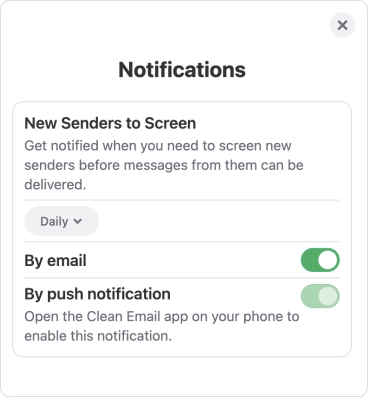
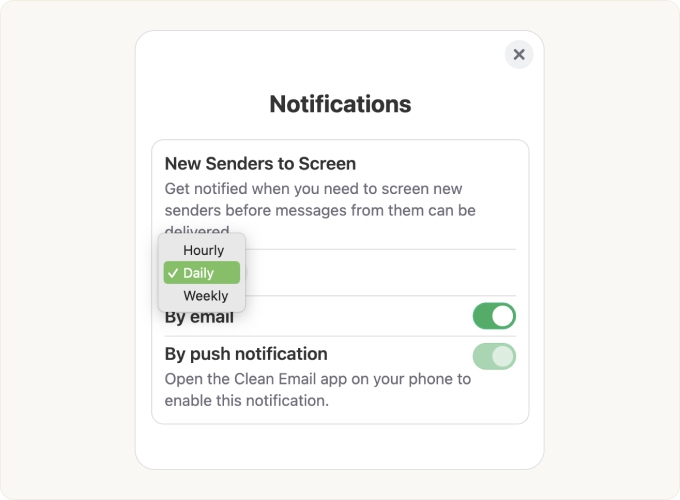
In the drop-down field below the description, you can click to choose whether reminders will be sent hourly, daily, or weekly.
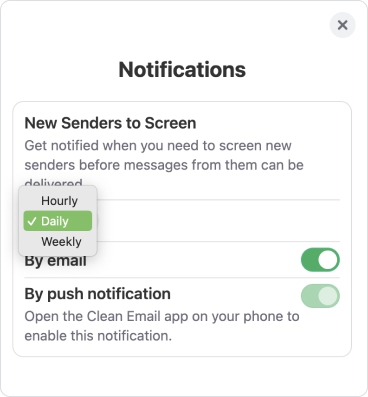
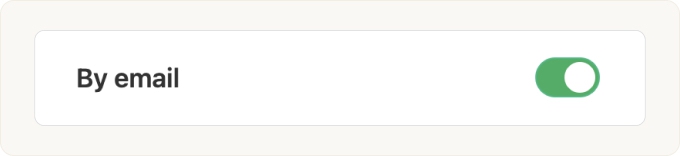
To enable notifications to be sent via email, enable the toggle labeled To Your Email, as illustrated here.

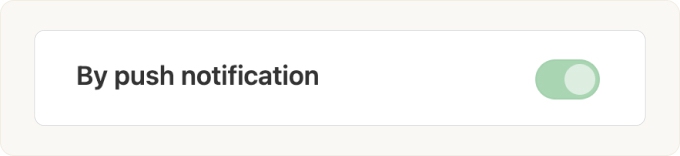
If you want to enable notifications to be sent to your phone, please open the Clean Email app on your phone and then click the toggle next to To Your Phone on this page. In the illustration below, the toggle is turned off for this option.

Adjusting Screener Settings by Message Type
You can control whether or not Screener screens messages from mailing lists, messages that have been sent automatically, and messages sent by people.
To adjust these settings, click the settings icon at the top of the Screener page.
The Settings dialog appears.
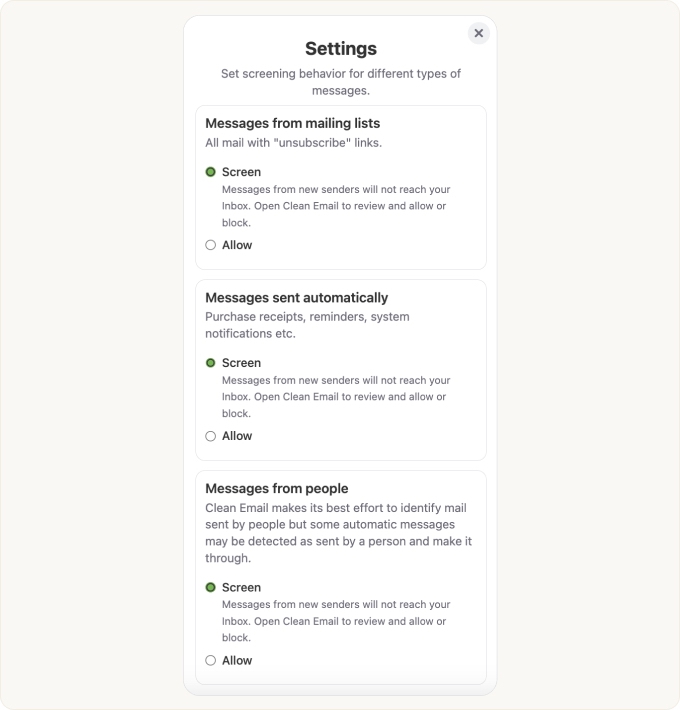
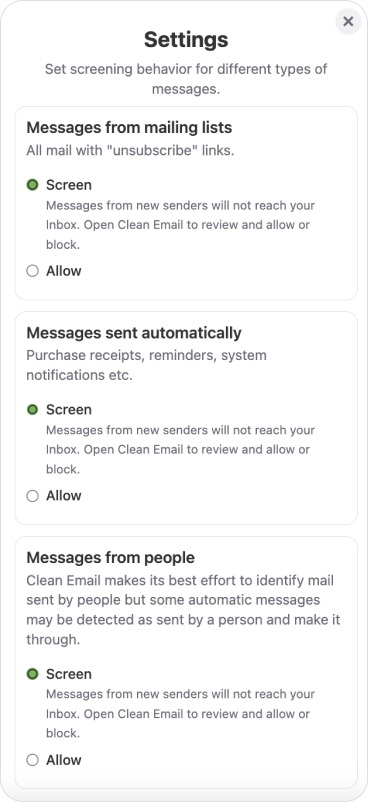
By default, Clean Email will screen each of the three message types. If you want to allow any message type to go directly to your inbox without being screened, click Allow for the desired message type(s). Close the dialog when you are finished configuring the message types.
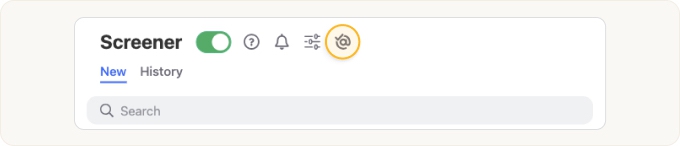
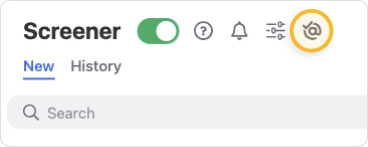
Pre-Screening Messages by Address, Domain, or Keyword
If you want to ensure that certain messages always reach your inbox without being screened but you cannot or do not want to use the Pinned Messages feature, click the @ symbol with a checkmark near the top of the Screener page.
The Pre-screen mail dialog appears.
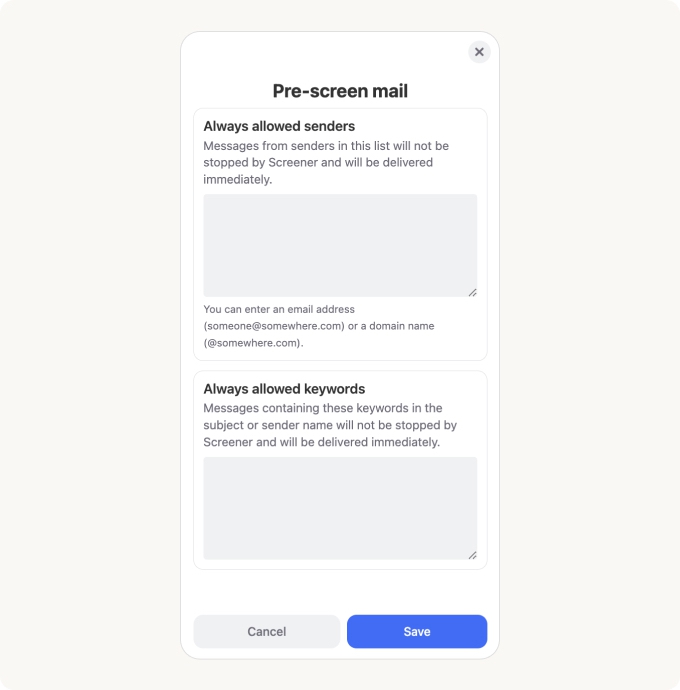

In the Always allowed senders text area, you can enter one or more email addresses (e.g., someone@somewhere.com) or email domains (e.g., @somewhere.com) to ensure that Clean Email never screens messages from those senders; the messages will be delivered directly to your inbox. Press Enter or Return after each address or domain, to start a new line.

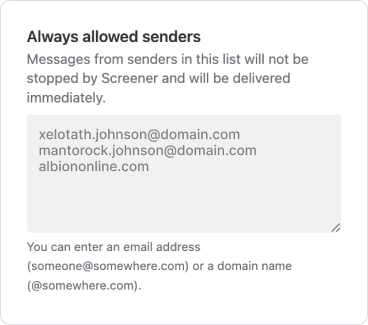
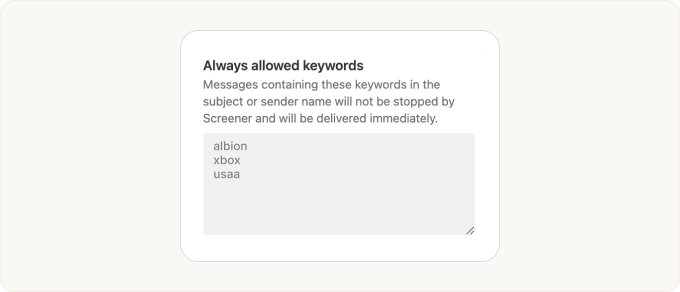
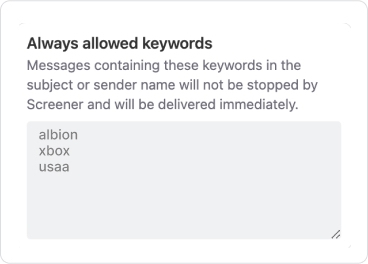
In the Always allowed keywords text area, you can enter one or more keywords to ensure that Clean Email never screens messages that include those keywords in the subject or sender name; the messages will be delivered directly to your inbox. Press Enter or Return after each keyword, to start a new line.
Click Save at the bottom of the dialog when you are finished configuring the options.
Blocking an Email Domain
If you find yourself blocking multiple senders from the same email domain, you might choose to block the entire email domain. You can do this by creating an Auto Clean rule, but please use caution when exercising this option to ensure that you do not block messages that you would have expected to receive.
For information on how to block all messages from a specific email domain, please see our article Block All Messages Sent from a Specific Domain.
Disabling Screener
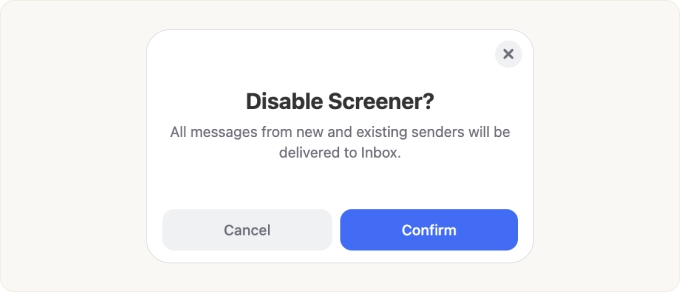
If you decide to turn off the Screener feature, simply click the Screener button in the left-hand navigation menu to access the Screener page, and then click the toggle at the top of the page to toggle Screener off, as illustrated here.

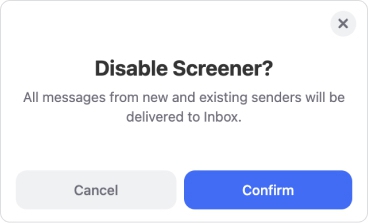
A confirmation dialog appears. Click Confirm to disable Screener.
How Clean Email Identifies Unique Senders
You may notice in your account that some email addresses have multiple sender names. In the illustration below, both groups represent messages sent from no-reply@bookstore.com, but the sender names are different: Book Store and Book Store News.
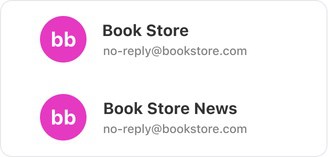
Clean Email identifies unique senders based on the combination of name and email address. In the example above, Clean Email treats Book Store and Book Store News as separate senders, because the sender names are different even though the email address is the same.
Please contact us and we will be happy to help.
