Sender Settings
Clean Email helps you keep your email account clean automatically, without requiring you to continually clean messages you do not want to see.
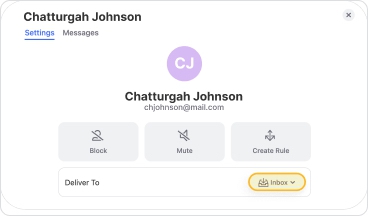
Sender Settings offer an easy way to control delivery of messages for each sender found in your Inbox. You can block a sender, mute notifications for their incoming messages, automatically move their messages to the trash after a certain amount of time, only keep the latest of their messages and more.
📌 Note: Advanced features such as Sender Settings require a premium account. For more information about upgrading to premium, please click here.
📌 Note: The Control Center lets you control all Sender Settings in one convenient location. For example, you can:
- Turn the Sender Settings feature off for all senders, while preserving the settings for future use.
- Turn the Sender Settings feature back on so that existing sender settings will once again be applied.
- Or even delete all sender settings at once.
Table of Contents
This article consists of the following sections:
- Blocking a Sender’s Messages
- Muting a Sender’s Messages
- Choosing Where to Deliver Messages from a Sender
- Trashing a Sender’s Messages Automatically After a Period of Time
- Adding a Star or a Flag to a Sender’s New Messages
- Keeping Only the Newest Message from a Sender
- Adding a Sender to Sender Groups
- Pinning a Sender’s Messages
- Creating an Auto Clean Rule for a Sender’s Messages
- How to Access Sender Settings
Blocking a Sender’s Messages
Blocking a sender’s messages prevents them from being delivered to your inbox. The sender can continue to send messages to your address, but Clean Email will automatically move them to the trash upon receipt so they will not appear in your inbox. For more information, please see our article here.
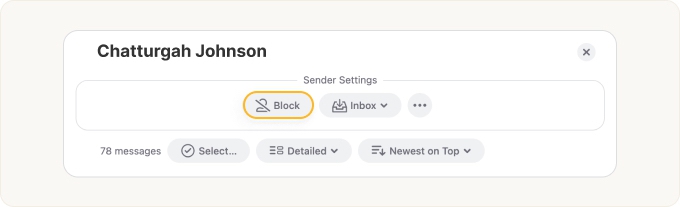
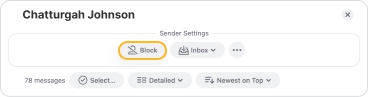
To block a sender’s messages, click Block in the Sender Settings section.
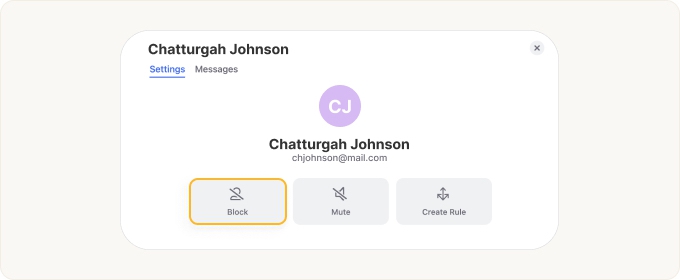
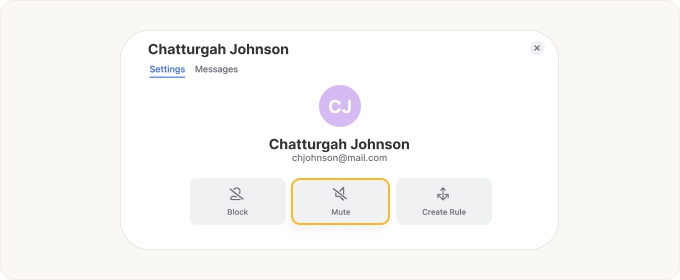
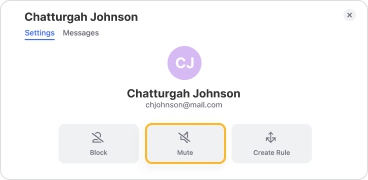
Blocking a Sender via the Advanced Sender Settings
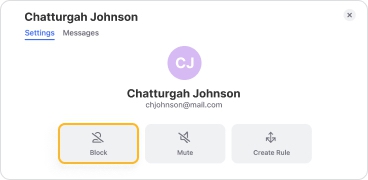
Another way to block a sender is to click Block in the advanced Sender Settings dialog.
Either way, when you click Block, a confirmation dialog appears.
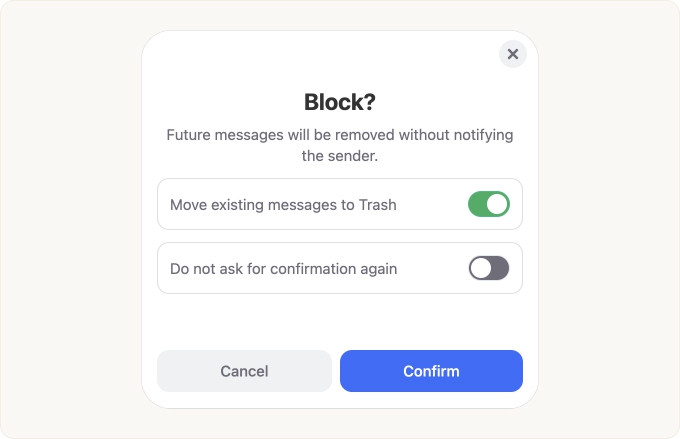
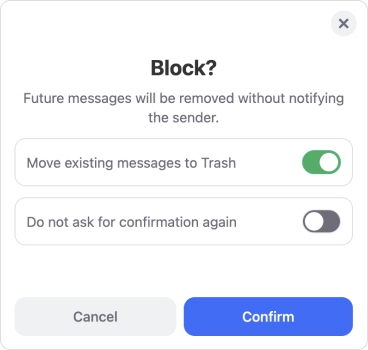
Move messages to Trash:
- If you want to move all of the sender’s existing messages to the trash, leave this option enabled.
- If you disable this option, only future messages from the sender will be moved to the trash automatically.
Do not ask for confirmation:
- If you do not want Clean Email to prompt you to confirm the Block action for other senders in the future, enable this option.
- If you disable this option, the confirmation dialog will appear the next time you click the Block button to mute another sender.
📌 Note: If you would prefer to stop all incoming messages from new senders from reaching your inbox, rather than blocking each new sender individually, consider activating the Screener feature.
If you are not sure about blocking a sender, you can approve the sender in the Screener and then use Sender Settings to manage the sender's future messages.
For more information, please see the Screener Overview.
back to top
Muting a Sender’s Messages
If you mute a sender, Clean Email will continue to deliver the sender’s future messages to your inbox, but will automatically mark them as read upon receiving them–so they don’t appear as new messages.
To mute a sender, click the Mute button in the advanced Sender Settings dialog.
A confirmation dialog appears.
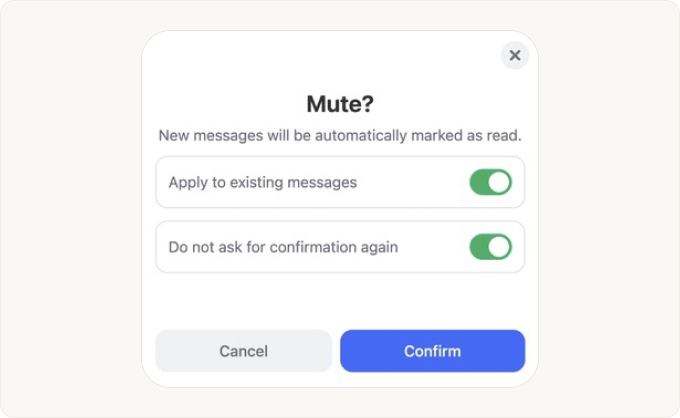
Apply to existing messages:
- If you want to mark all of the sender’s existing messages as read, leave this option enabled.
- If you disable this option, only future messages from the sender will be marked as read automatically.
Do not ask for confirmation:
- If you do not want Clean Email to prompt you to confirm the Mute action for other senders in the future, enable this option.
- If you disable this option, the confirmation dialog will appear the next time you click the Mute button to mute another sender.
Click Confirm to confirm that you want to mute the sender.
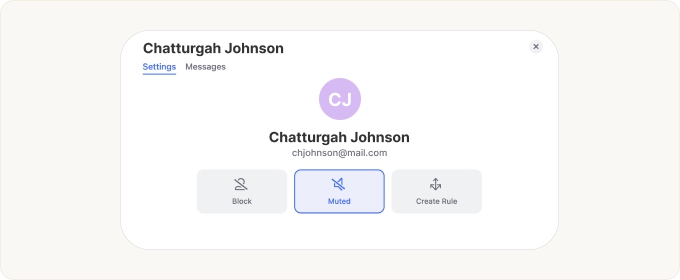
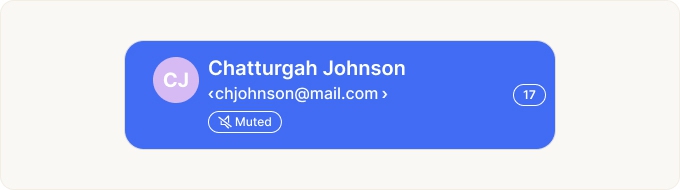
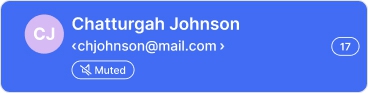
Once you have muted a sender, the Sender Settings dialogs change when you view that sender’s message groups. A Muted button appears near the top of the advanced Sender Settings dialog.
The Muted label is shown on the sender’s message groups:
If you decide to unmute the sender, simply click the Muted button. The Mute feature is turned off for the sender, and the button disappears.
back to top
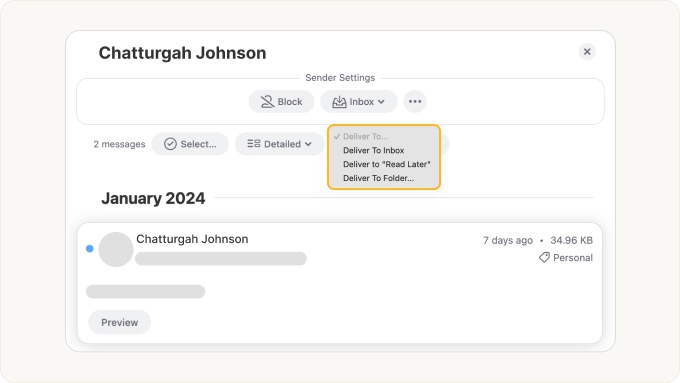
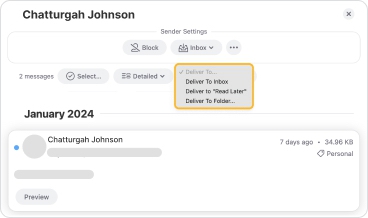
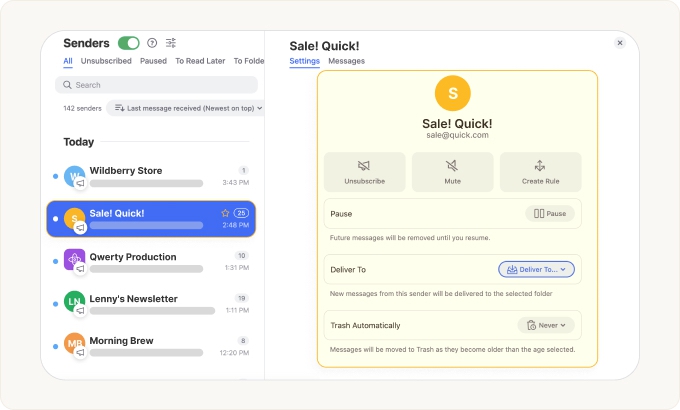
Choosing Where to Deliver Messages from a Sender
If you want to have messages from a sender delivered to a different folder or label rather than the inbox, click the folder name that appears in the Sender Settings section of the preview pane on the right-hand side of the page (by default, it is Inbox).
Then, in the drop-down menu, click Deliver to “Read Later” or Deliver to Folder…
For more information about the Deliver to ‘Read Later’ option, please see Read Later Overview.
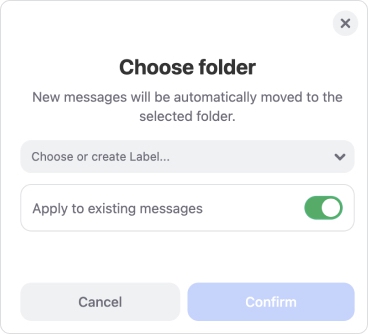
If you choose Deliver to Folder…, the Choose folder dialog appears.
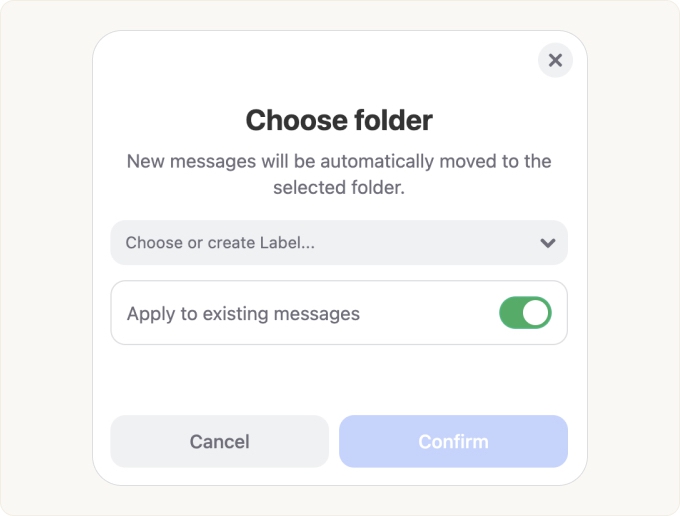
Click the drop-down and select an existing folder or label where you want Clean Email to deliver future messages from this sender.
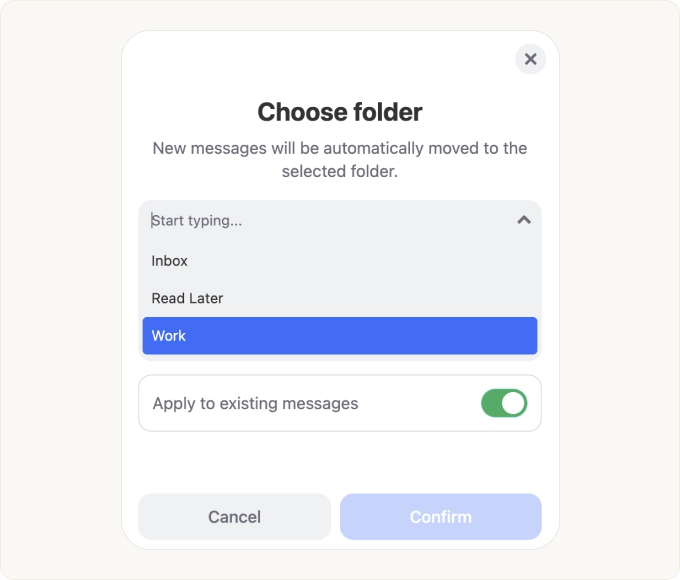

Or, click the Choose or create Label… field and enter the name of a new folder or label, and then either click the new name in blue or press Enter.
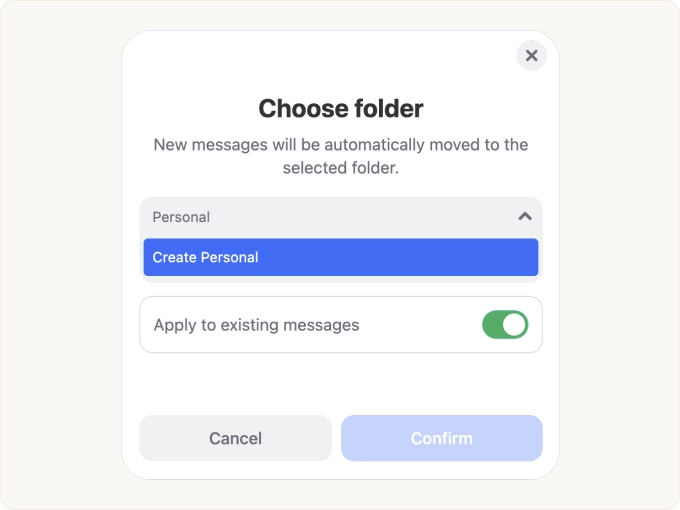
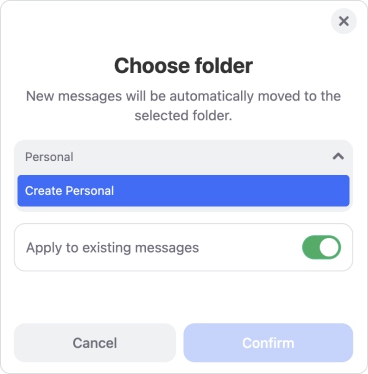
⚠️ Important: When you have selected a folder, the folder name appears in blue with an X you can use to deselect it, as pictured below. If you do not see the folder name in blue, you still need to click the name or press Enter to select the folder. Otherwise, the folder name will not be saved when you click Confirm.
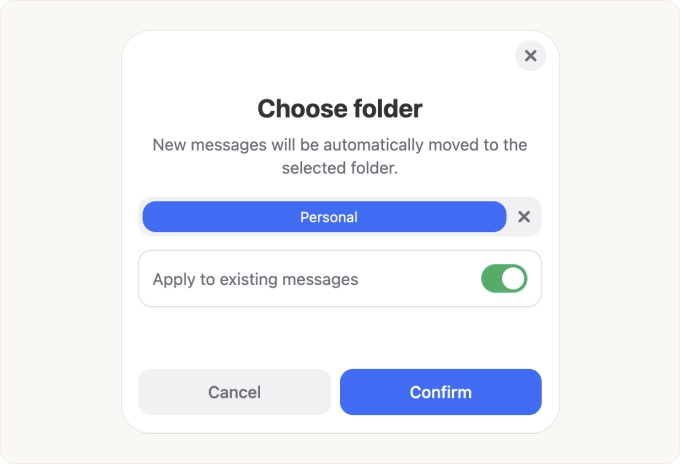
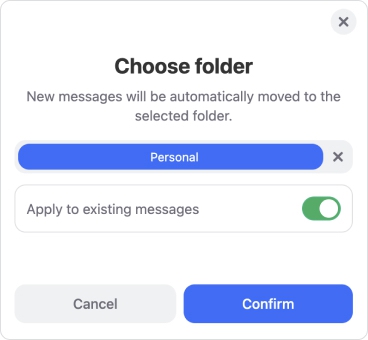
If you leave the Apply to existing messages toggle enabled, Clean Email will move the sender’s existing messages, too. Click Confirm to confirm your selection.
Choosing a Folder via the Advanced Sender Settings Dialog
Another way to choose where a sender’s messages will be delivered is to click the folder drop-down in the Deliver To field of the advanced Sender Settings dialog.
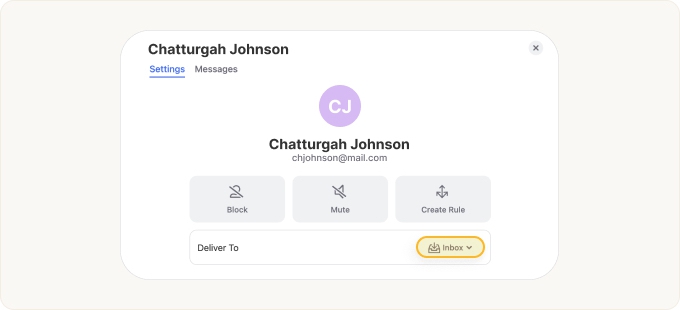
Regardless of which method you use to choose a folder, both locations will reflect the newly selected folder.
back to top
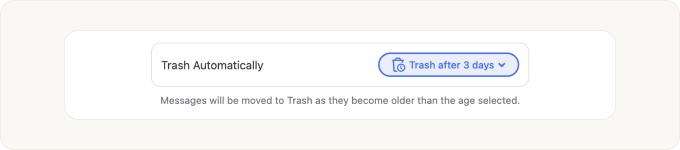
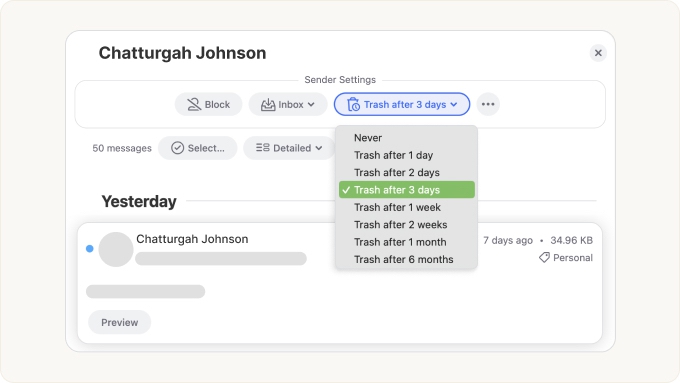
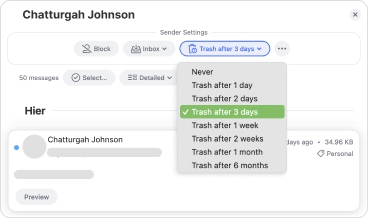
Trashing a Sender’s Messages Automatically After a Period of Time
The Trash section of the advanced Sender Settings dialog tells Clean Email to automatically move the sender’s future messages to the trash when the messages are older than a certain number of days.
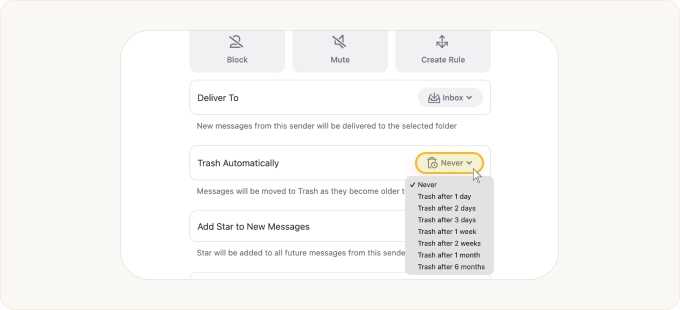
For example, if you select 1 day, messages received from the sender today will be sent to the trash automatically tomorrow.
When you select a time frame, the Automatically Trash older messages confirmation dialog appears.
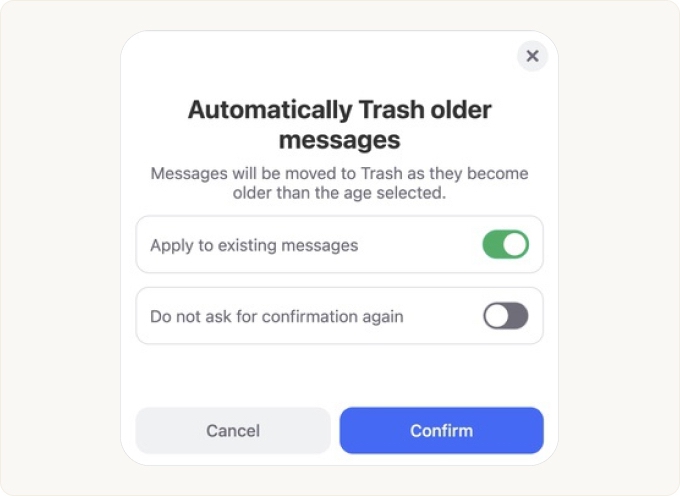
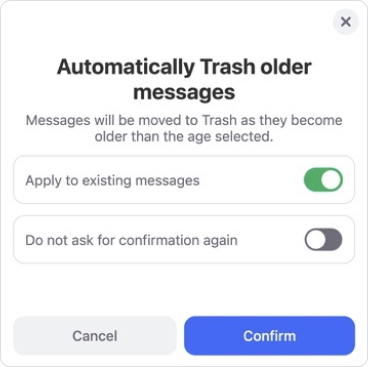
Apply to existing messages:
- If you want to trash the sender’s existing messages that are currently older than the selected time frame, leave this option enabled.
- If you disable this option, the sender’s existing messages will not be moved to the trash.
Do not ask for confirmation:
- If you do not want Clean Email to prompt you to confirm the Trash action for other senders in the future, enable this option.
- If this option is disabled, the confirmation dialog will appear the next time you click the Trash button for another sender.
Click Confirm to confirm the action.
Once you have enabled this feature for the sender, the Sender Settings dialogs will change when you view that sender’s message groups. A Trash button appears with the selected time frame.
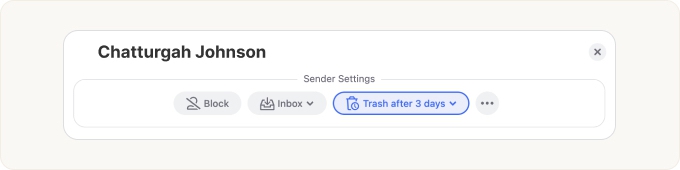


If you want to change the time frame or turn off the Trash feature for this sender, click the button and select the desired time frame, or choose Never.
back to top
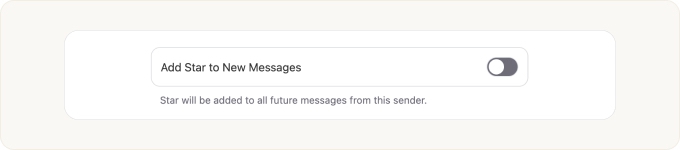
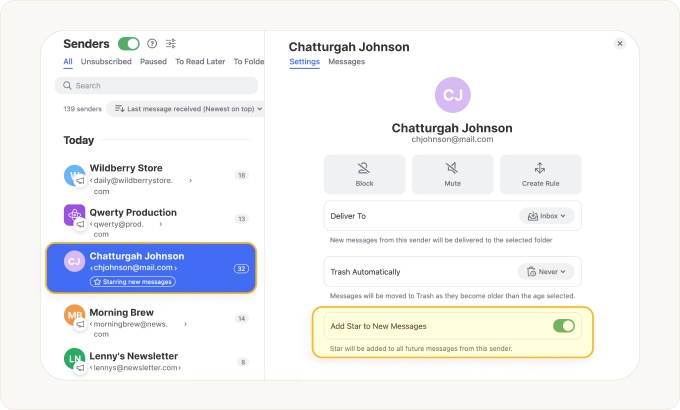
Adding a Star or a Flag to a Sender’s New Messages
The Add Star to New Messages feature tells Clean Email to automatically mark new messages from the sender with a star (or a flag, in some email clients) as they arrive.
To enable this feature, click the toggle switch labeled Add Star to New Messages–in the advanced Sender Settings dialog–to turn it on.

A confirmation dialog appears.
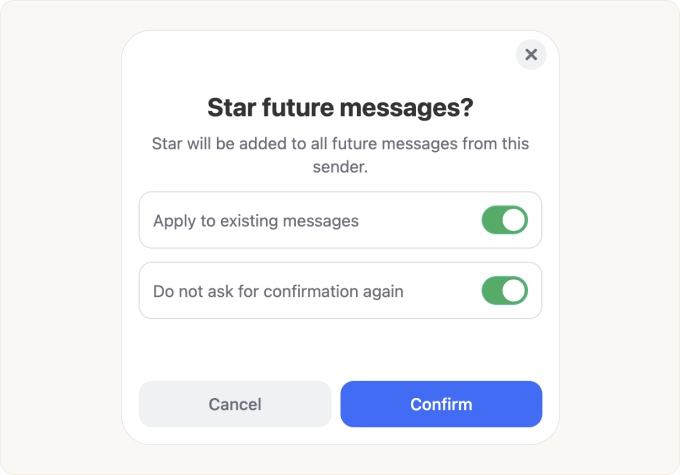
Apply to existing messages:
- If you want to add a star or a flag to all of the sender’s existing messages, leave this option enabled.
- If you do not want to add a star or a flag to all of the sender’s existing messages, disable this option.
Do not ask for confirmation:
- If you do not want Clean Email to display this confirmation dialog when you enable the Add Star to New Messages feature for other senders, enable this option.
- If you disable this option, the confirmation dialog will appear the next time you click Add Star to New Messages for a sender.
Click Confirm to enable the feature.
Once you have enabled this feature for the sender, in the Sender Settings you will see the Add Star to New messages toggle turned on. A Starring new messages label on that sender’s message groups appears.

If you decide to stop adding a star or a flag to the sender’s new messages, simply turn off the toggle to turn the feature off for this sender.
back to top
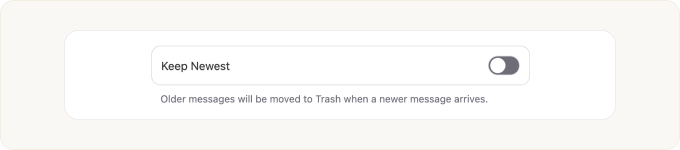
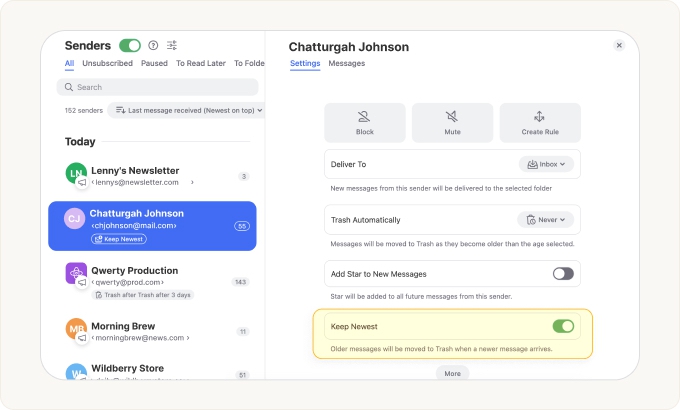
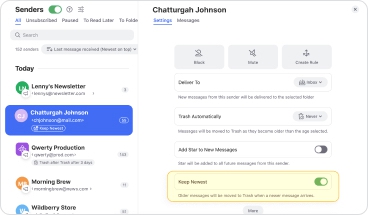
Keeping Only the Newest Message from a Sender
The Keep Newest feature tells Clean Email to move all existing messages from the sender to the trash every time a new message from the sender is received. Only the new message stays in your inbox.
To enable this feature, in the advanced Sender Settings dialog, click the toggle switch labeled Keep Newest to turn it on.

When you click the toggle switch to enable this feature, a confirmation dialog appears.
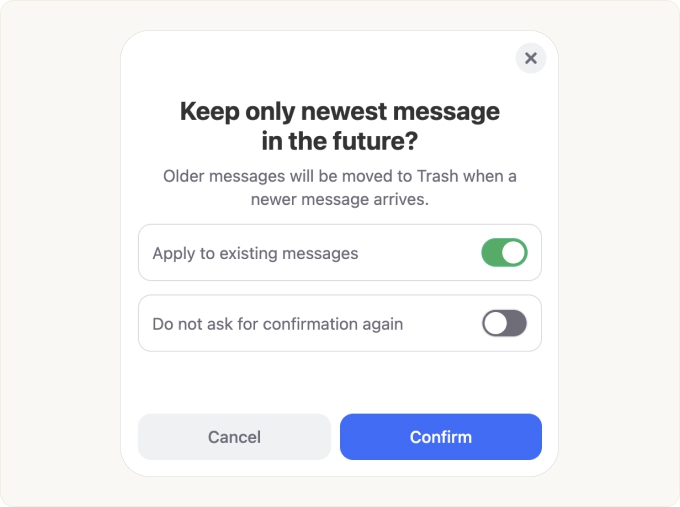
Apply to existing messages:
- If you want to trash all of the sender’s existing messages except the newest one, leave this option enabled.
- If you disable this option, the sender’s existing messages will not be moved to the trash.
Do not ask for confirmation:
- If you do not want this confirmation dialog to appear when you enable the Keep Newest feature for other senders in the future, leave this option enabled.
- If you disable this option, the confirmation dialog will appear the next time you click Keep Newest for a sender.
Click Confirm to enable this feature.
Once you have enabled this feature, in the Sender Settings you will see the Keep Newest toggle on quick actions dialog will change when you view the sender’s message groups. A Keep Newest label on the sender’s message groups appears to let you know the feature is turned on.
If you decide to resume keeping all messages from the sender, by default, simply turn off the Keep Newest toggle. The feature is turned off and the label disappears.
back to top
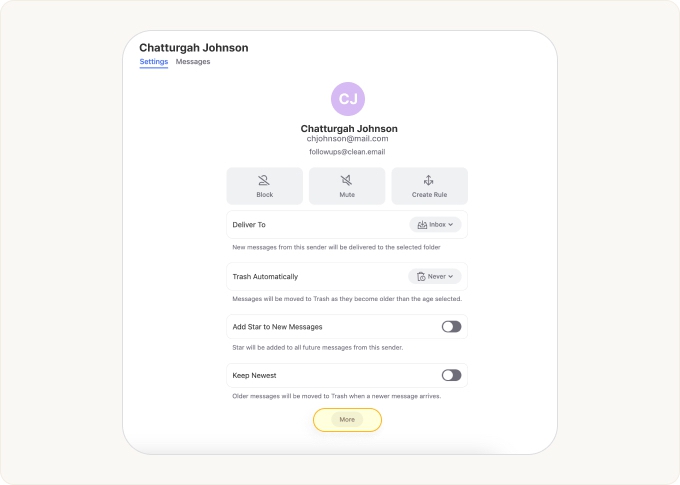
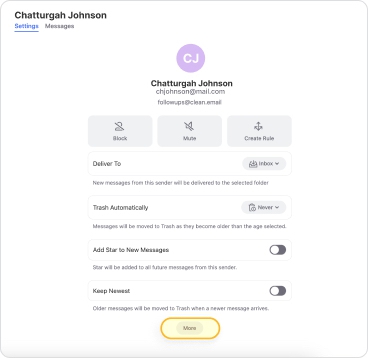
Adding a Sender to Sender Groups
In the Sender Groups section of the advanced Sender Settings dialog, you can optionally add the sender to one or more of your sender groups. To view this section of the dialog, click the More button below Keep Newest.
The Sender Groups section of the dialog appears.
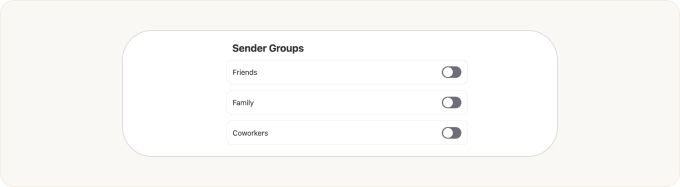
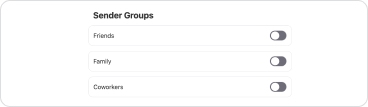
To add the sender to any of your sender groups, simply click the toggle switch for the desired group.
For more information about contact groups, please see Senders.
back to top
Pinning a Sender’s Messages
The Pinned section of the advanced Sender Settings dialog lets you control whether or not messages to and from the sender are pinned, meaning that most rules in Clean Email do not apply to the messages.
To view this section of the dialog, click the More button below Keep Newest.


The Pinned section of the dialog appears.
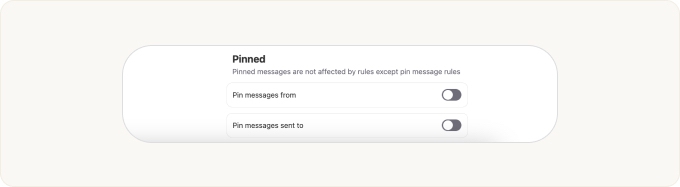
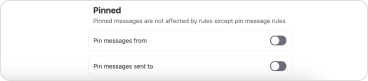
To pin all messages received from the sender or all messages sent to the sender, simply click the toggle switch for the desired setting.
For more information, please see Pinned Messages.
back to top
Creating an Auto Clean Rule for a Sender’s Messages
Although the standard sender settings described in this article are usually enough to help you keep your mailbox clean going forward, advanced users who need a custom solution can create their own Auto Clean rules for each sender.
To do this, click Create Rule in the advanced Sender Settings dialog.
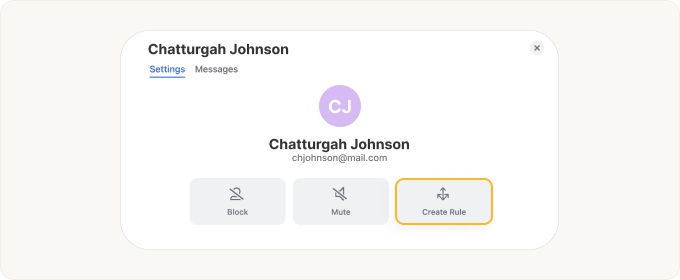

For more information on creating Auto Clean rules, please see Creating and Editing Auto Clean Rules.
How to Access Sender Settings
For your convenience, there are several ways you can access the Sender Settings feature for a particular sender.
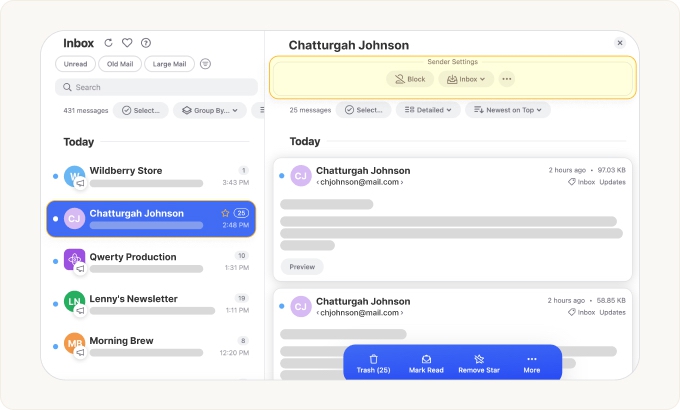
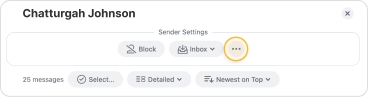
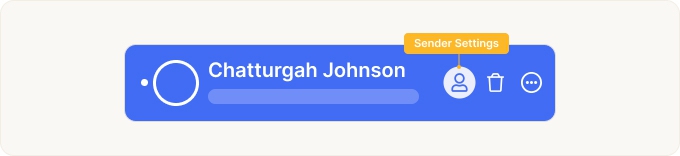
When you select a message group, a Sender Settings section with popular sender settings appears at the top of the preview pane.
To access the advanced Sender Settings dialog, use any of the following methods:
- Click the triple dot button in the Sender Settings section of the preview pane.
- Click the Settings button next to a message group:
- Click the person icon for a selected message group (with the preview pane open):
- Select any sender on the Senders page:


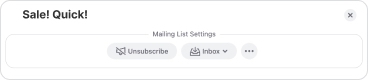
About Mailing List Settings
If a message group is from a mailing list or newsletter, selecting a message group causes the Mailing List Settings quick actions dialog to appear in the preview pane instead of the Sender Settings dialog.
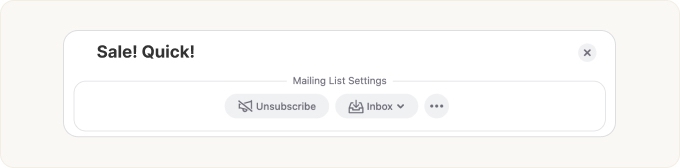
Clicking Settings for a message group with the megaphone icon…


…or clicking the megaphone icon after selecting a message group opens the full Mailing List Settings dialog.
Mailing List Settings work the same way as Sender Settings, but with slightly different options for messages delivered via a mailing list or newsletter. For more information about the various options available for handling mailing list or newsletter messages, please see Unsubscriber Overview.
Related Articles
Check out these related articles:
Please contact us and we will be happy to help.
