


What Email Overload Is
When opening your inbox causes anxiety and you can’t focus on other tasks, email overload could be to blame. Our guide explains inbox overload and how to manage emails effectively to stop and prevent the overwhelm from returning. We’ll help you make managing email overload a thing of the past.
The best way to explain what email overload is, is with a simple equation:
Too many messages + Constant interruptions + No system in place = Email overload
Knowing that what you’re dealing with has a name and learning that it’s experienced by many, should also let you know that this isn’t a personal failure or flaw. Email overload is a structural problem that can be fixed and controlled --- and it should be.
If left without addressing it, inbox overload can lead to stress and email anxiety, missed messages, and a loss of focus.
Let’s look at the causes of email overload and then move onto how to stop it quickly and keep it from returning.


Causes and Why Overload Keeps Returning
There are some common causes of email overload that go beyond just having too many messages. These not only add to the problem but allow overload to keep returning if they’re not addressed.
| Cause | Why It Happens | What Fixes It |
|---|---|---|
| Too many subscriptions | One-click signups | Bulk unsubscribe |
| CC culture | Fear of missing out | Rules & filtering |
| Constant notifications | Default settings | Scheduled checking |
| No cleanup system | Inbox as storage | Automated rules |
Subscriptions: Signing up for newsletters and promotional communications gets easier all the time with one-click options on many websites. But subscriptions simply add to the chaos of your inbox.
CC culture: Whether you’re asked to be copied on emails or are added to the CC line without your consent, these messages can also needlessly cause inbox clutter.
Notifications: Email alerts are helpful in some cases but distracting in others. Constant notifications can make you lose focus and deter you from your current task which can lead to decreased productivity and missed deadlines.
No maintenance after cleanup or processing rules: Not taking the time to set up automated rules for incoming messages and avoiding long-term maintenance only add to the problem.
The Reset: Get Out of Overload Fast
Relieving yourself from inbox overload quickly is possible, but takes effort. Luckily, there are methods and tools that can help with a fast reset.
| Action | One-Time Cleanup | Ongoing Prevention |
|---|---|---|
| Unsubscribe | Yes | Yes |
| Bulk delete | Yes | Occasionally |
| Filters / rules | Optional | Essential |
| Automation | Optional | Required |
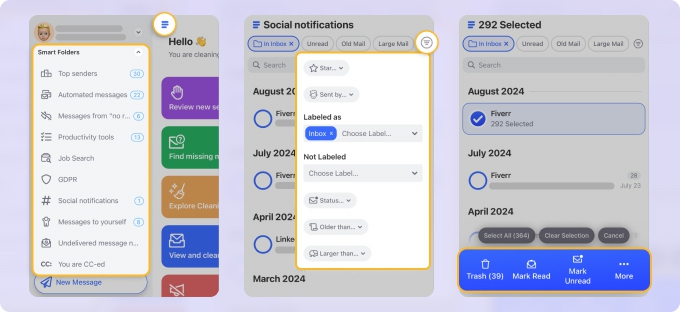
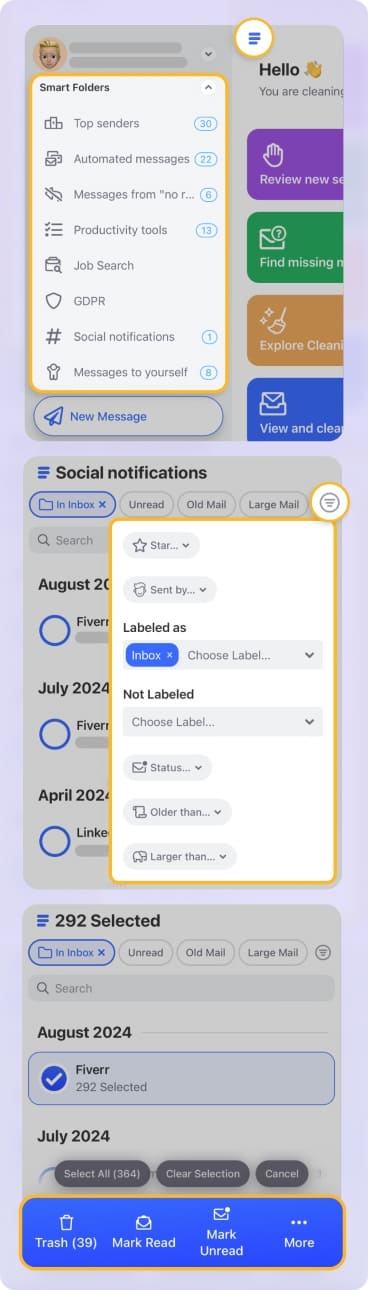
Bulk unsubscribe: Most email providers offer an Unsubscribe feature to remove yourself from mailing lists and reduce subscription messages. For unsubscribing one-by-one, this is fine. But, for many subscriptions, tools like Clean Email offer an Unsubscriber feature allowing you to unsubscribe in bulk.
Group delete or archive: Acting on groups of emails is a true time-saver. If you have multiple messages that you can delete or archive, consider grouping and handling them in one fell swoop.
Reduce inbox to action-only emails: Along with unsubscribing and group email management, you can reduce your inbox to only those emails requiring an action. By using filters, rules, and other automations to effortlessly manage and organize other messages, you can ensure that the emails remaining in your inbox are only those that need your attention.
To work with the features offered by your email provider, consider Clean Email as a quick reset tool. As mentioned, you can use Unsubscriber to unsubscribe in bulk. But you can also use Cleaning Suggestions to act on groups of emails at once and Auto Clean to set up advanced inbox rules. You can try it for free with your IMAP-based email account.


The System That Prevents Overload
Now that you learned more about email overload and how to perform a fast reset, you should implement a system that prevents the problem from recurring. Without a proper procedure in place, you’ll end up right back where you were.
Here are several proven methods for reducing overload and relieving email anxiety long-term.
Batch email checks: Create a schedule for checking emails such as an hour in the morning and another in the afternoon. This allows you to stay focused on more important tasks without distractions, but still address your inbox when the time comes.
Simple decisions: Use an email triage system to quickly prioritize and manage new messages. Do emails that can be acted on in under two minutes, Defer messages that require more of your time, Delegate emails that can be handled by someone else, and Delete messages that you don’t need.
Fewer notifications: Adjust your default email notification settings to signal just the important messages or only for new emails during specified timeframes.
Remember, a clear inbox doesn’t mean an empty one. It just means that you’ve handled and organized your messages.
Maintenance: Keep It Under Control
Once you have a solid system in place, you’ll also want to maintain it and keep your mailbox under control. Here again, tools like Clean Email that work alongside your email provider offer features that go beyond the basics for time-saving and automated mailbox management.
| Manual Inbox | Automated Inbox |
|---|---|
| Constant decisions | Fewer decisions |
| Same emails daily | Rules handle repeats |
| Reactive | Proactive |
| Easy to relapse | Stable over time |
Automate Repetitive Decisions
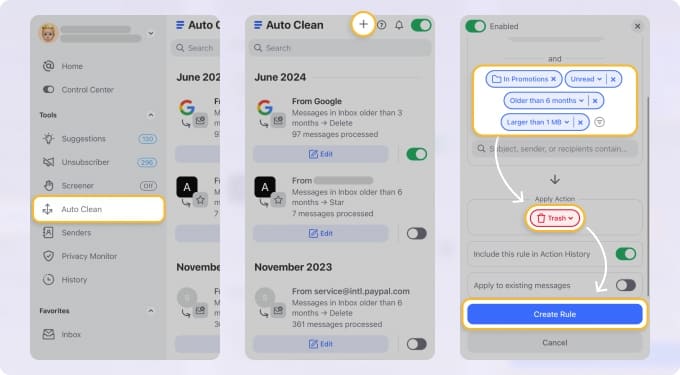
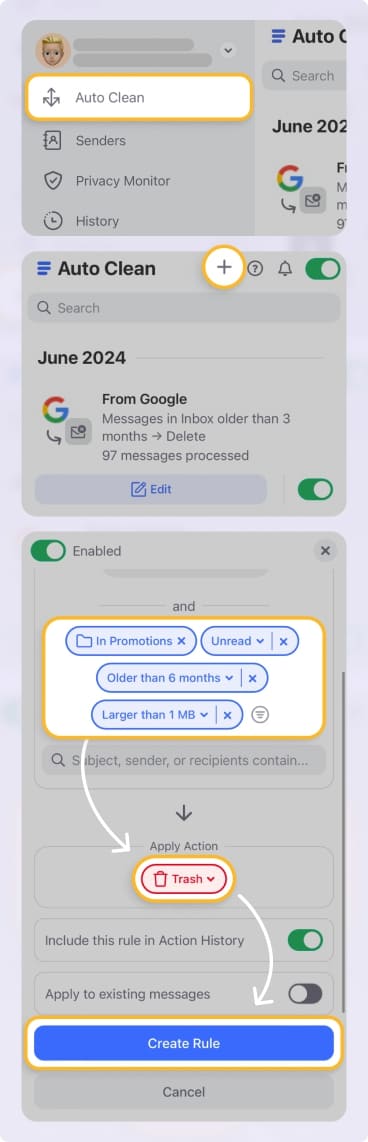
Automating repetitive decisions isn’t only for a fast reset but also for ongoing inbox maintenance. Providers like Gmail, Outlook, and Yahoo Mail offer automated rules and filters that effortlessly manage incoming messages. With Clean Email, you can use the Auto Clean feature to create more advanced rules based on multiple conditions not offered by most providers.
Reduce Background Noise
Reducing background noise for email subscriptions and unwanted messages from new senders also keeps the chaos under control. Along with unsubscribing with your provider’s tool or Clean Email’s Unsubscriber to manage these messages in bulk, Clean Email offers a Screener feature which keeps emails from unknown senders away from your inbox until you review them.
Manage Emails in Groups
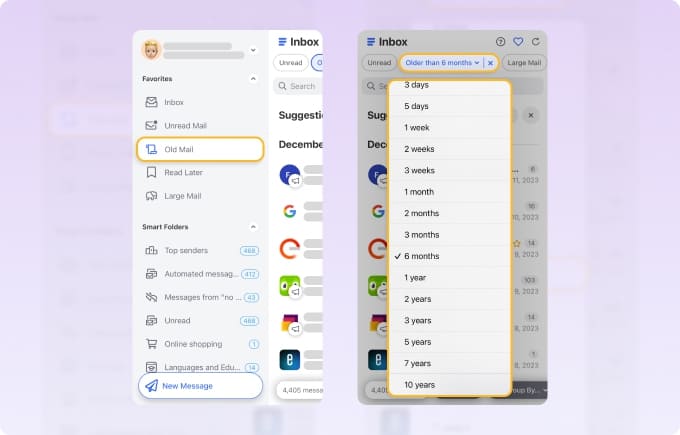
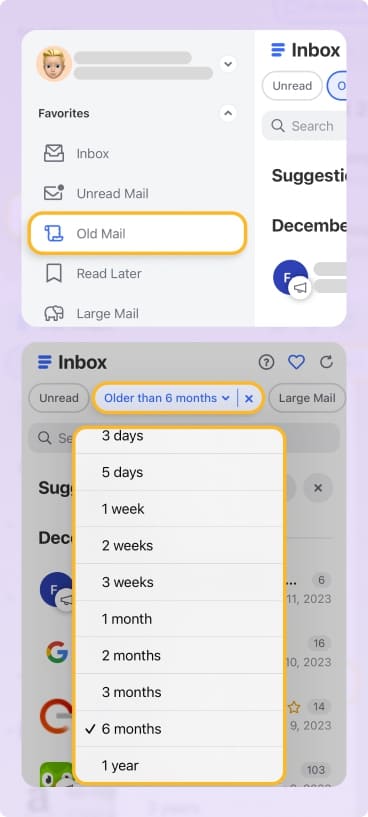
Managing emails in groups rather than one at a time is an efficient maintenance method. Many providers give you options for handling emails in bulk. But with Clean Email’s grouping and sorting features, you can more easily spot and manage large or old messages.
Additionally, Clean Email’s Smart Folders automatically filter emails for you, letting you quickly act on groups of related messages for a fast and effective cleanup.
Using these tools and others, you can reduce time-consuming email decisions, efficiently manage daily messages, and employ a structured system that remains stable and reliable over time.
Email Boundaries That Work
You may think about setting boundaries with others to keep your job and duties on track. But by creating email boundaries for yourself, you can better preserve your email overload strategies.
Decide When to Check Email
As mentioned earlier, setting a schedule to check your inbox and handle emails helps improve focus and boost productivity. But that schedule is only good if you stick to it. Of course, there may be times when you must open your inbox and work on an important message. However, this should be a one-off action not a frequent one.
Know When Not to Reply
There are some people who really need to hear this, “you don’t have to reply to every email.” As a matter of fact, there are several types of emails that you should avoid replying to, even though you might be tempted.
The most obvious types of emails that you shouldn’t reply to include spam, malicious messages, and harassing communications. But there are other times when replying isn’t recommended like if you are emotional or angry about the email, if the message doesn’t require a response, and if you are copied on an email.
An Inbox Is Not a Task Manager
This is a boundary that many don’t think about but is one that’s crucial to remember. Unless you specifically set out to use your inbox as a task manager, stop doing it. There are plenty of to-do list tools out there and even providers like Gmail and Outlook let you turn emails into tasks.
Allowing a crossover where your inbox acts as a task manager can not only create a more chaotic experience overall but also cause more overwhelm in the long run.
Conclusion
Are you distracted by emails when you try to perform other tasks? Do you feel like the excessive emails in your mailbox are too much to handle? You’re likely experiencing email overload.
Learning methods for how to manage too many emails is key to not just efficiently handling the messages but to improved productivity and reduced stress.
The solution lies in systems rather than willpower. With the proper systems in place, you can perform a one-time reset along with ongoing maintenance using time-saving automation and smart features.
Remember, applications like Clean Email can provide the tools you need to manage inbox overload. Stop saying, “there are too many emails in my inbox” and instead say, “I know how to manage email, so it doesn’t overwhelm me.”


