


How to Check Email Sender Reputation
Think of your sender reputation as your “credit score,” but in terms of email. The better your reputation, the better your messages reach your target audience. Your email sender reputation score determines whether your emails get delivered, go to spam, or get blocked entirely.
According to Hubspot’s Email Deliverability Report, over 21% of emails don’t reach their intended recipient. However, a good email sender reputation (ESP) can help improve your email deliverability.
A good email sender reputation score is vital in email marketing, especially since Google and Yahoo (two popular email platforms) announced that all bulk email senders need to implement SPF, DKIM, and DMARC. Otherwise, they could get marked as spam.
In this article, we will break down five of the best ways to check your email sender reputation and make sure your emails go through.
1. Check Your Sender Score
Improving your sender reputation begins with knowing where you stand. Your sender score gives you a clear, accurate picture of the health of your email sender reputation. You can use three tools to check: SenderScore.org, Google Postmaster Tools for Gmail, and Microsoft SNDS for Outlook.
📌 The tools will measure your email reputation from 0 to 100. Any number above 90 is healthy, while being scored between 70 to 89 indicates a moderate risk of getting flagged as spam. However, a score below 70 means your email will almost certainly end up in your recipient’s spam folder.
2. Monitor Your IP and Domain Reputation
ISPs look at both your sending IP and domain reputation to decide if your emails should reach inboxes or get flagged as spam. A bad reputation on either can tank your deliverability, even if your content is solid.
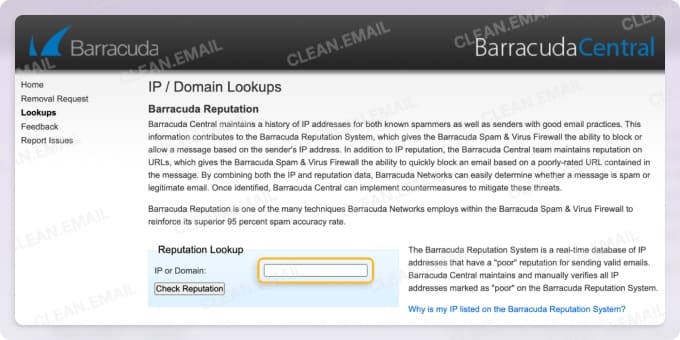
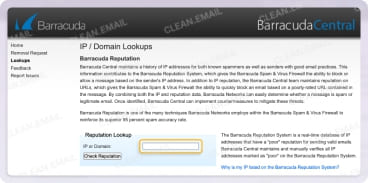
To check your IP reputation, use Talos Intelligence or Barracuda Reputation Lookup. A low score usually means spam complaints, a sudden jump in email volume, or sharing an IP with bad senders. If you’re on a dedicated IP, poor reputation likely comes from inconsistent sending patterns or too many bounces.
For domain reputation, Google Postmaster Tools shows whether Gmail trusts your domain. If your reputation drops, it could be due to spam complaints, low engagement, or failing the SPF, DKIM, or DMARC email verification.
Red flags you should watch out for:
- Low trust scores
- History of spam complaints or high spam score
- Getting blacklisted
💡 Tip: Check out our article on how to test email deliverability.
3. Analyze Bounce Rate and Spam Complaints
Bounce rates are another factor that affects your email sender reputation. Generally, if you have a high bounce rate, your deliverability gets negatively impacted.
📌 A healthy bounce rate is typically below 2%, meaning only a small fraction of your emails fail to deliver. Anything between 2-5% is a warning sign, and if it climbs above 5%, you need to take action to avoid serious deliverability issues.
✅The best way to reduce bounces is to clean your email list regularly.
VerifiedEmail helps businesses remove invalid, misspelled, or inactive addresses before sending campaigns. It checks for syntax errors, domain validity, and disposable emails.
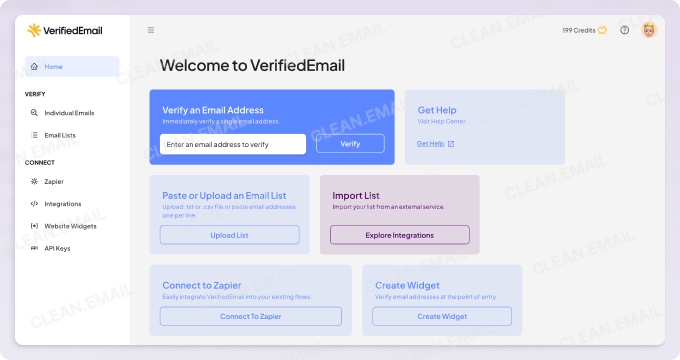

It can also seamlessly integrate with platforms like HubSpot and Klaviyo. Using VerifiedEmail before sending a campaign prevents hard bounces, improves deliverability, and protects your sender reputation.
📌 Try this free online email checker to clean up your email list.
✅ Another smart move is enabling double opt-in when collecting emails.
With it, you get to keep your list clean and ensure that only engaged users end up on your list. Combined with VerifiedEmail’s real-time API and bulk cleaning features, marketers can keep their lists healthy, avoid spam traps, and maximize their inbox placement.
💡 Tip: Read our guide to choosing the best email bounce checker.
4. Authenticate Your Emails (SPF, DKIM, DMARC)
According to Statista, phishing attacks went up from 1.44 million in January 2022 to 9.45 million in December 2023, indicating a nearly tenfold increase in the number of cyberattacks in almost two years. Authenticating or validating your email is one of the best ways to protect your email from a spoofing or phishing attack.
SPF, DKIM, and DMARC are email authentication protocols that help prevent email spoofing, phishing, and spam. They work hand in hand to ensure that an email is actually sent from the domain it claims to be from. To further safeguard your domain, it’s also important to validate DNS integrity. Running a dnssec record check helps ensure your DNS records are protected against tampering, adding another layer of trust to your authentication setup.
- SPF: Also known as Sender Policy Framework, this works as a guest list for your domain. It tells mail servers which IP addresses can send emails on your behalf. If an email comes from an unlisted IP, it may be flagged as spam.
- DKIM: Domain Keys Integrated Mail adds a digital signature to emails to verify they haven’t been altered. Think of it as a tamper-proof seal, like the ones you would find on your medicine bottles. Use Google Postmaster Tools to check if DKIM is set up, and add a DKIM key to your DNS records if needed.
- DMARC: Also known as Domain-based Message Authentication, Reporting and Conformance, this tells mail servers what to do with emails that fail SPF or DKIM (for example, monitor, quarantine, or reject them). A strong DMARC policy prevents spoofing and improves deliverability.
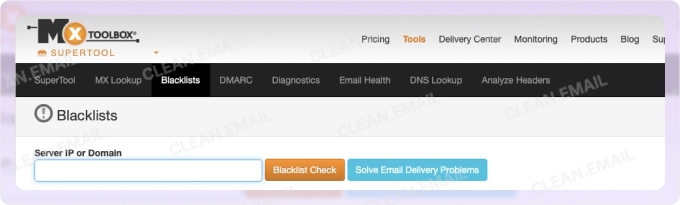
You can use MXToolbox to validate SPF, DKIM, and DMARC.
💡 Tip: Follow our guide for simple methods to check if an email is valid and discover 5 ways to validate an email address.
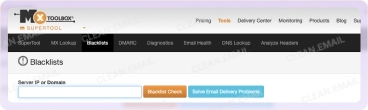
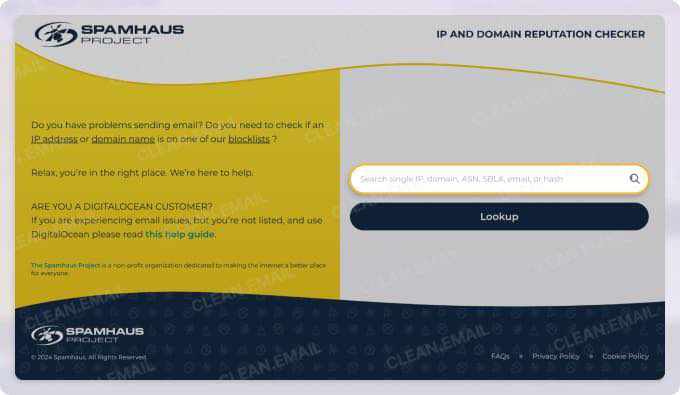
5. Check Blacklist Status and Get Delisted
When your email is blacklisted, ISPs automatically block your emails. The most common culprits for this are spam complaints, sudden spikes in sending volume, or poor email hygiene.
To check your status, use Spamhaus Blocklist Checker or MultiRBL, which scans across 50+ blacklists at once.
Getting removed requires submitting a removal request with proof that your email list is clean and compliant. If spam complaints trigger the block, pause sending, clean your list, and adjust your email strategy before requesting for your email to get delisted.
Improve Your Email Sender Reputation for Better Deliverability
Monitoring to improve sender reputation is essential for keeping emails out of spam folders and maintaining high deliverability. A poor reputation can hurt open rates, block messages entirely, and damage customer trust. Regularly checking your IP and domain reputation, reducing bounce rates, and ensuring proper authentication (SPF, DKIM, DMARC) can make all the difference.
One of the simplest ways to protect your reputation is by verifying your email list before sending. VerifiedEmail offers real-time email verification to remove invalid addresses and reduce bounce rates, helping businesses keep their sender reputation strong.
FAQs
What tools can I use to perform an email sender reputation check?
You can check your sender reputation using SenderScore, Google Postmaster Tools, Microsoft SNDS, and Talos Intelligence. To see if your domain or IP is blacklisted, use Spamhaus Blocklist Checker or MultiRBL.
How does SenderScore work, and what does my score mean?
SenderScore rates your email sender reputation from 0 to 100, with higher scores meaning better deliverability. If your score is below 70, your emails are more likely to land in spam or get blocked.
How often should I check my sender reputation?
Check your sender reputation at least once a month or anytime you notice a drop in open rates or high bounce rates. Regular monitoring helps catch issues early before they impact your email campaigns.